


| Home | History | Layout | Roster | Overhead Railway | Halloween Railway | Tech Tips | Links |
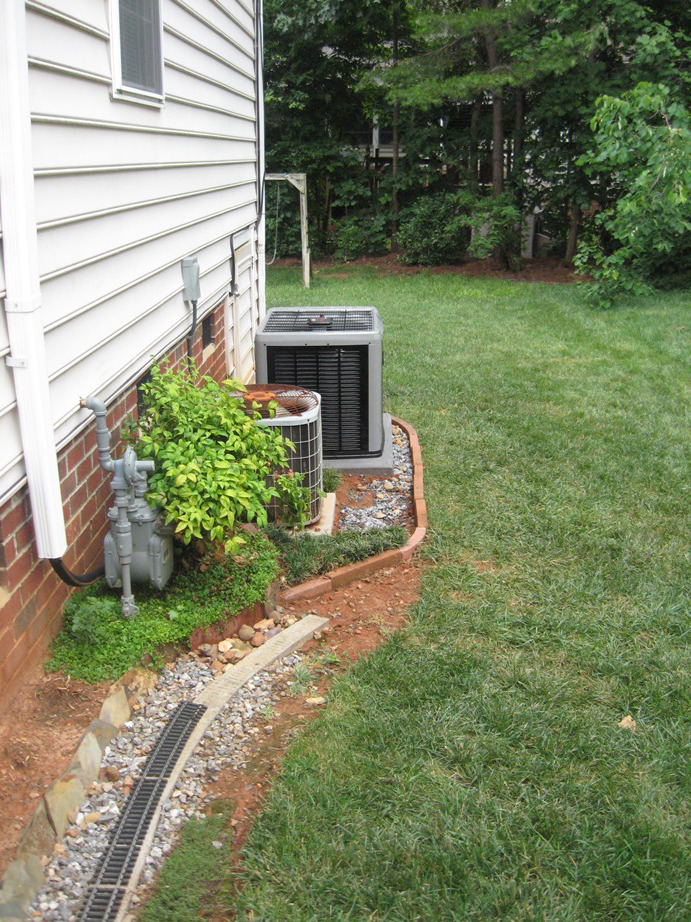
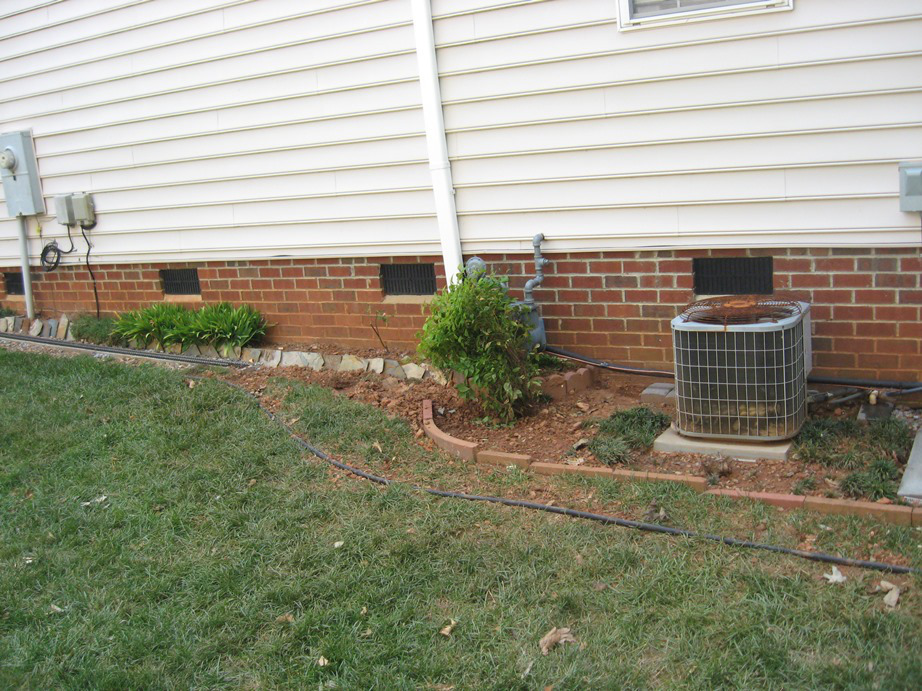
Unfortunately this summer one of our HVAC unite expired and we needed to replace it. This meant that I would have to move the track since the new compressor unit would be much larger than the old unit. This would involve removing the concrete roadbed, moving the edging, and pouring the new roadbed in the new location.
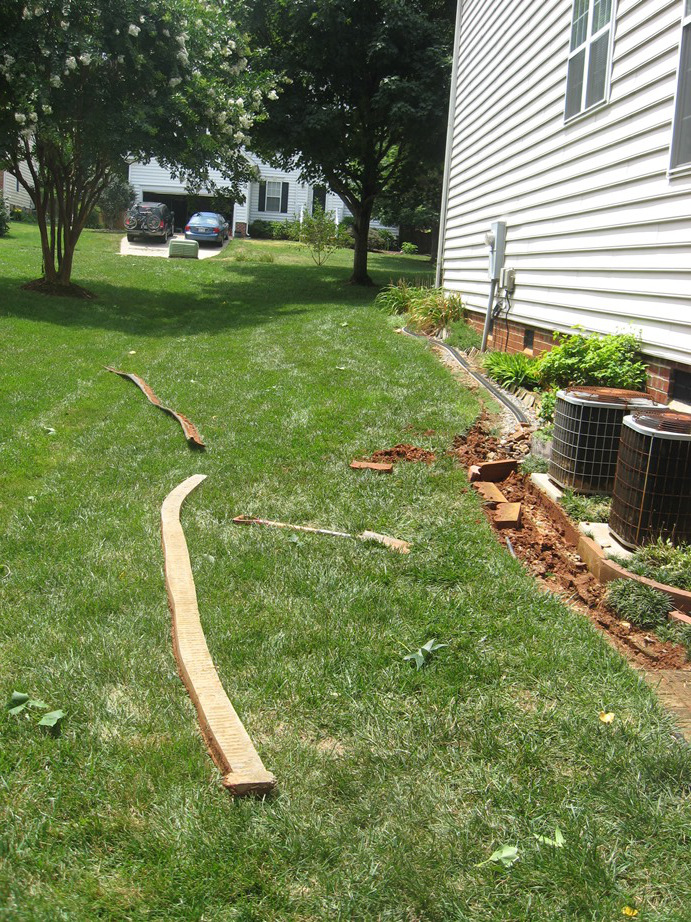
The first step was to remove the track in prep to pull up the concrete.
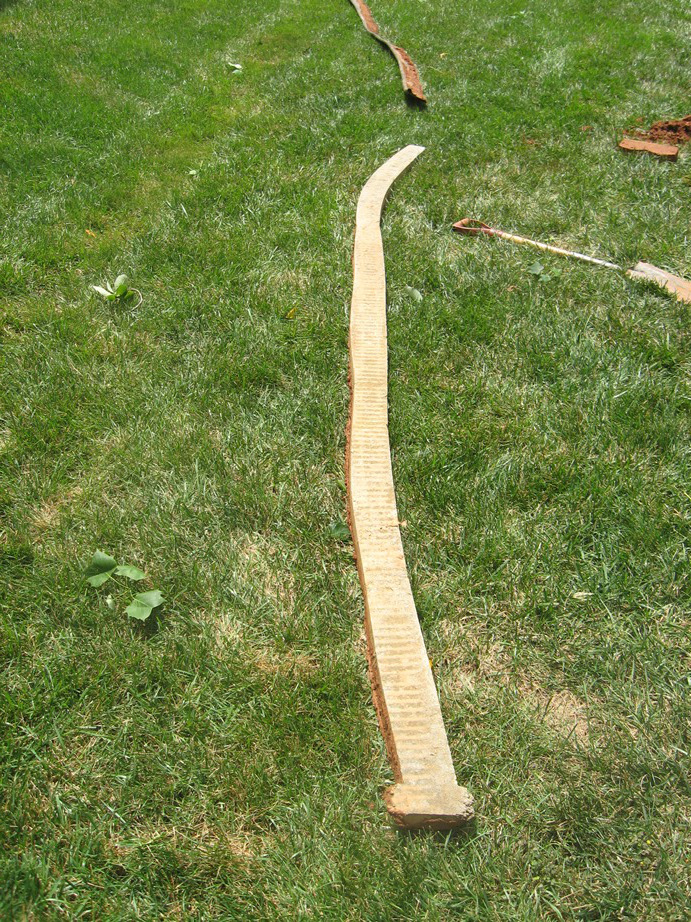
The next step was to remove the roadbed. I cut the concrete and rebar with a masonry sawblade and my Skil Saw. I pulled up the section of roadbed and put it aside to demolish later. I also pulled out the plastic edging since that would also be under the new HVAC compressor.
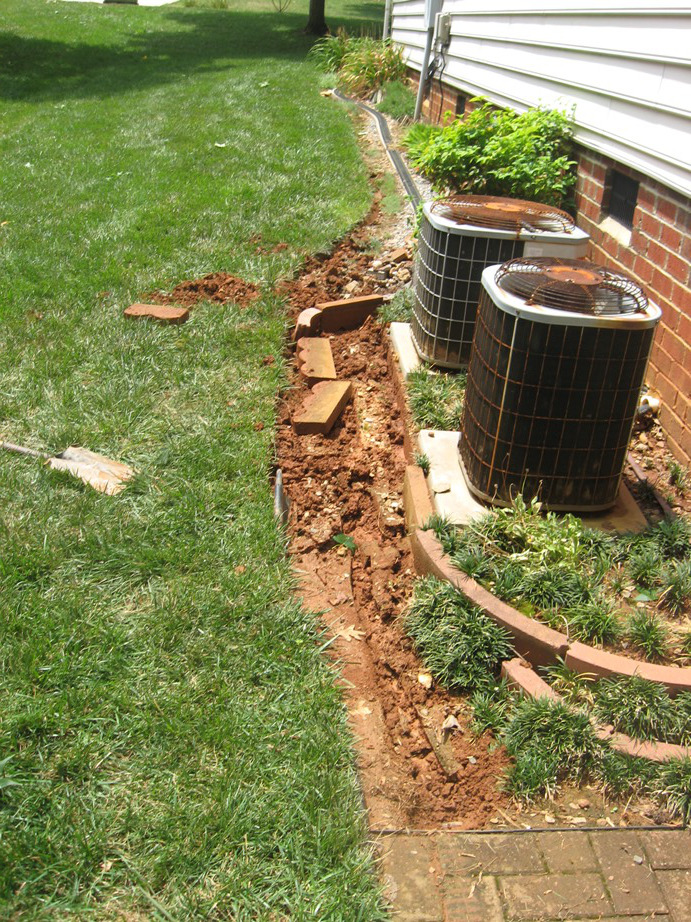
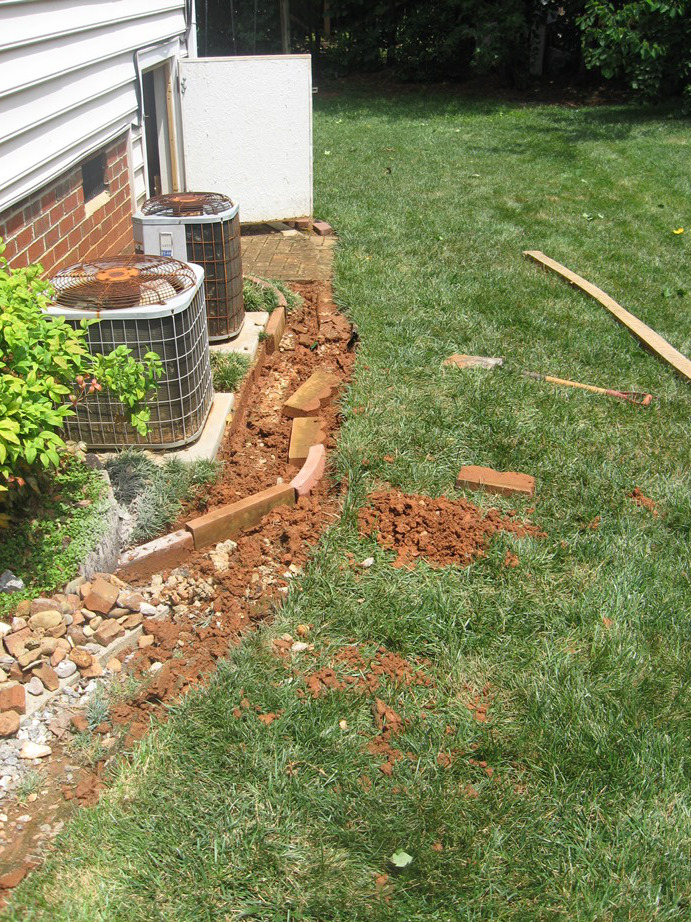
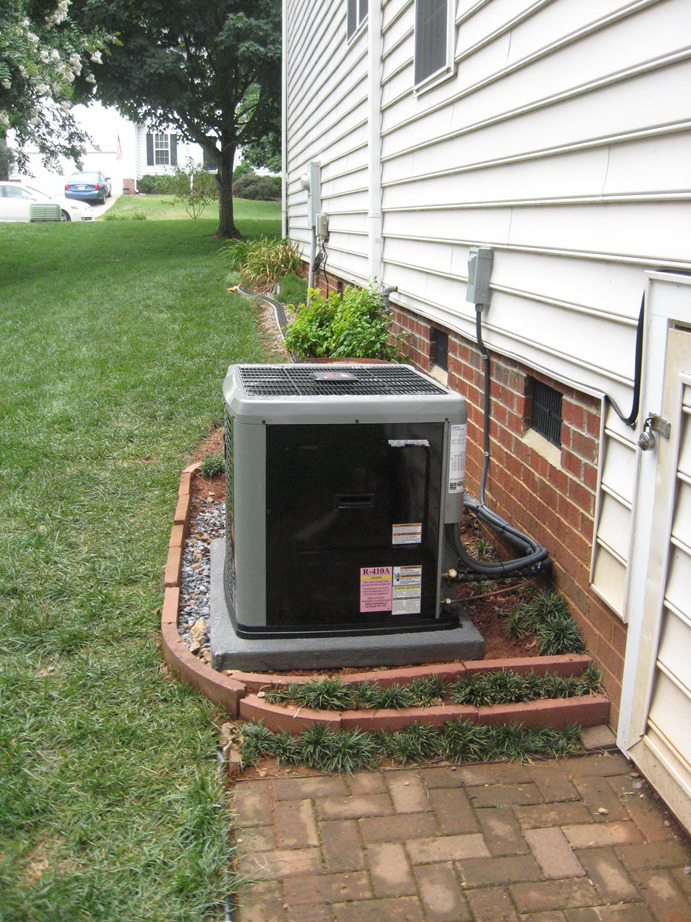
I then moved and rebuilt the wall made of cement landscape edging and prepped the area for the new compressor.
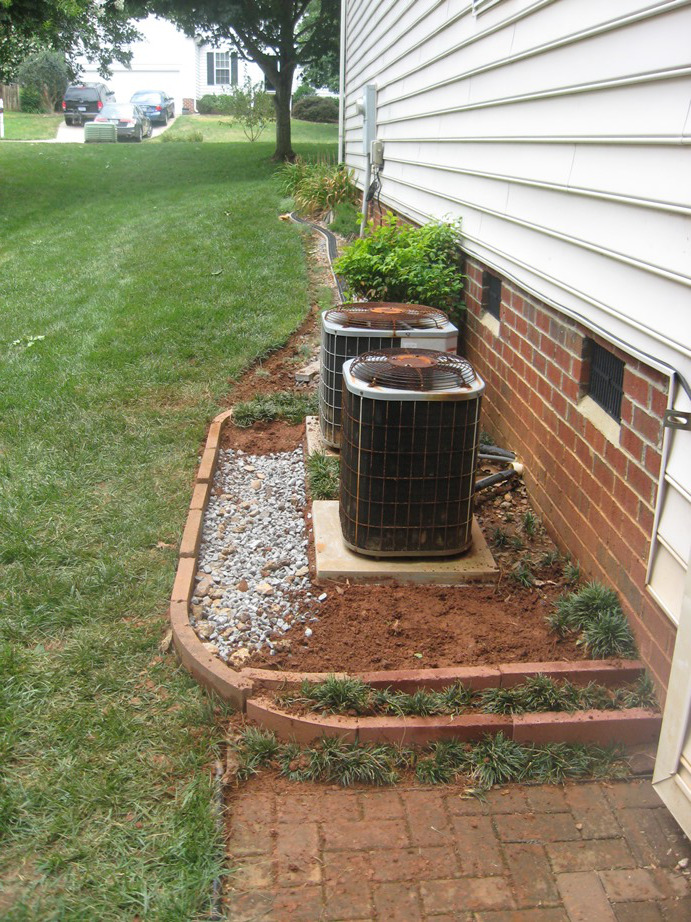
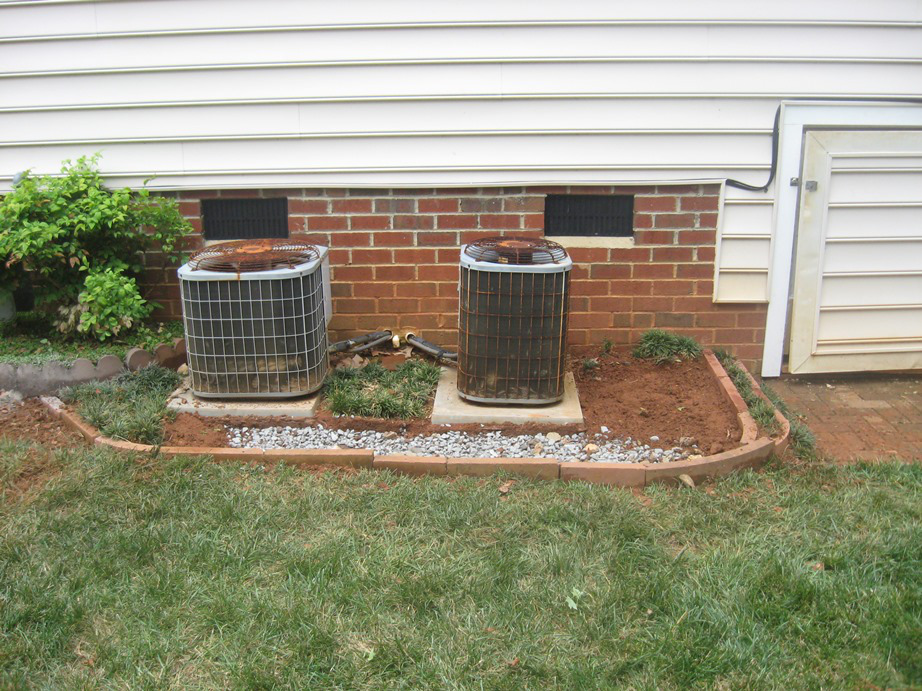
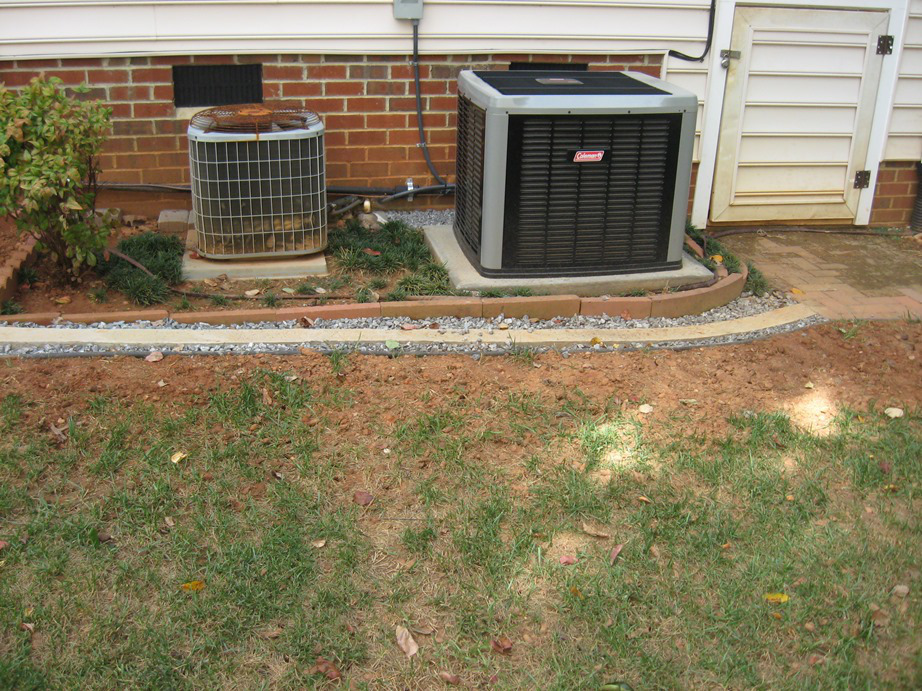
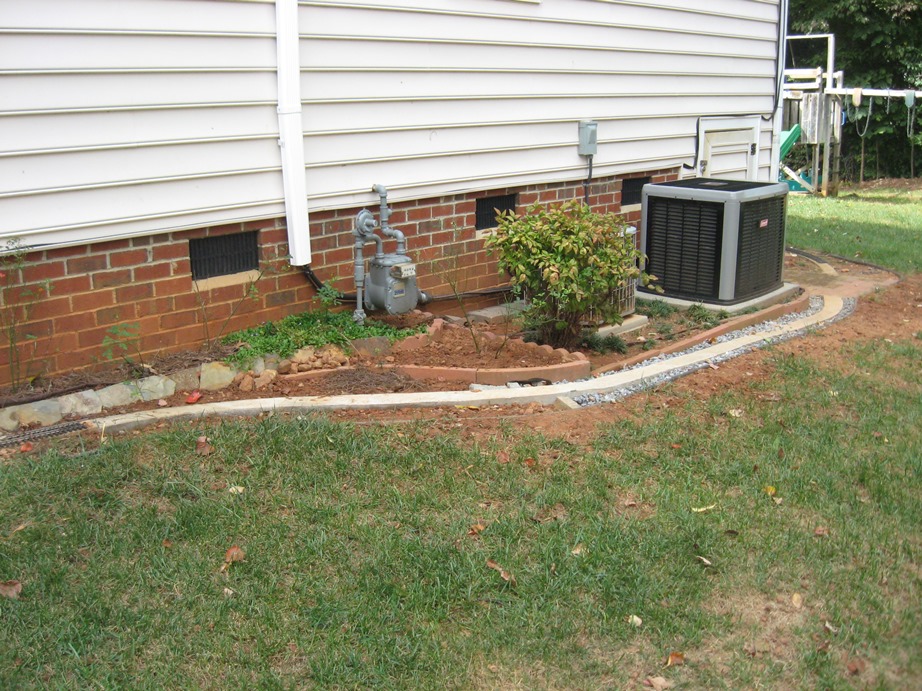
The first week of July, the new HVAC system was installed.
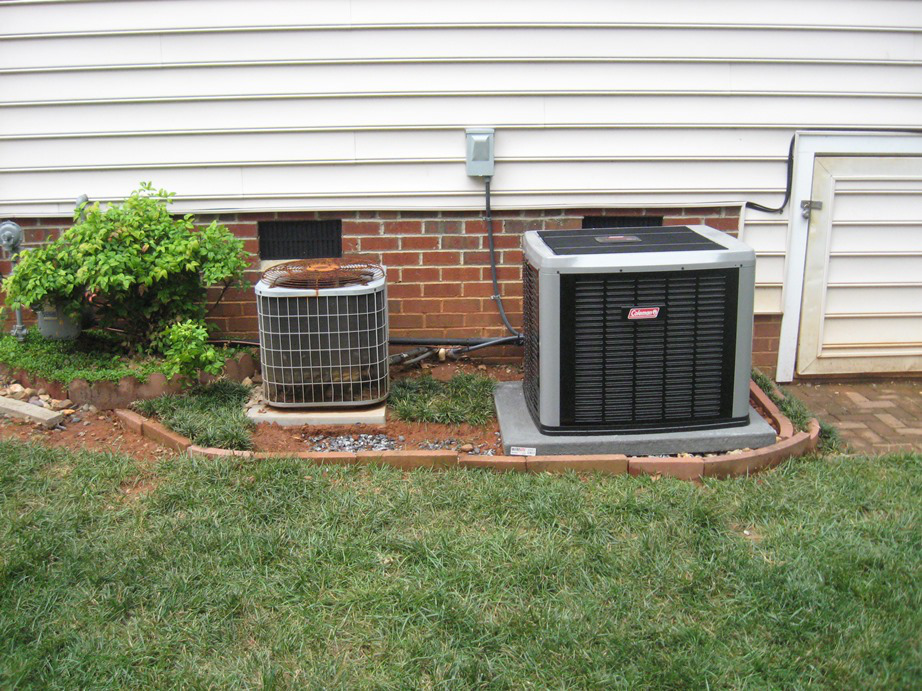
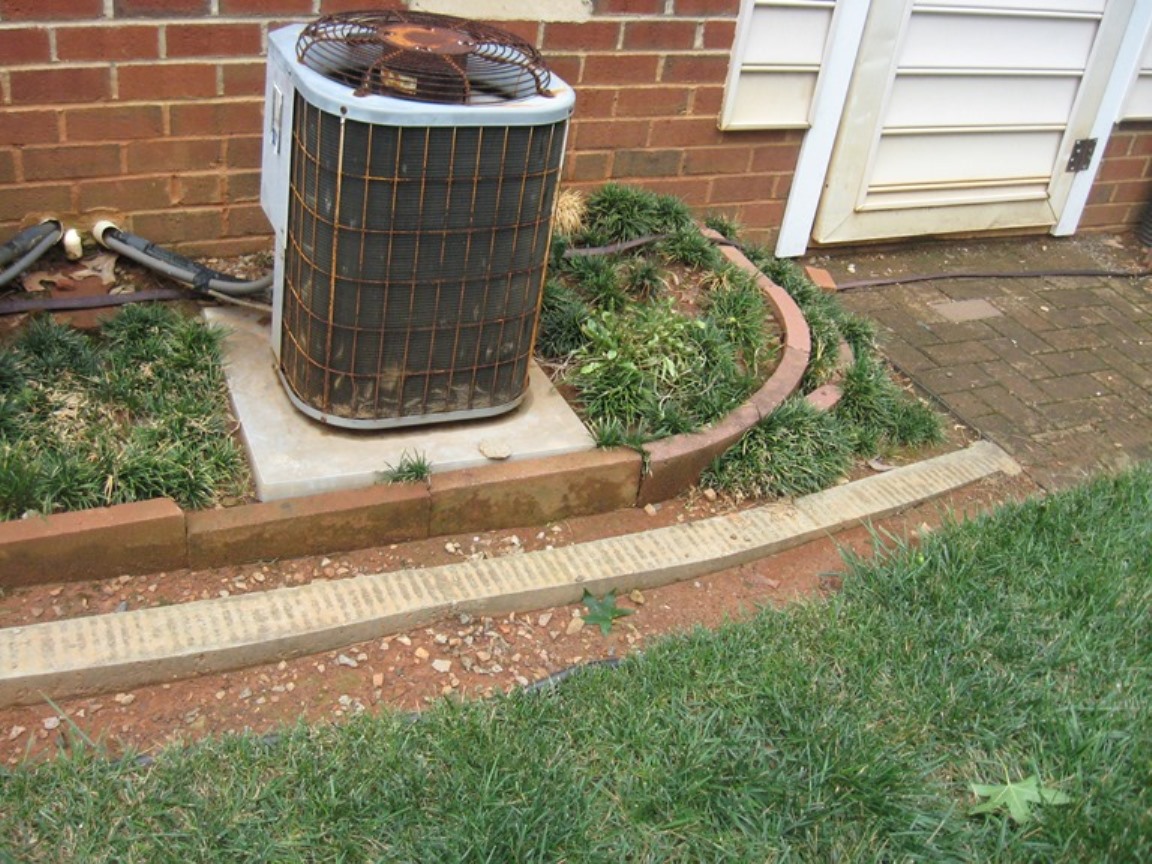
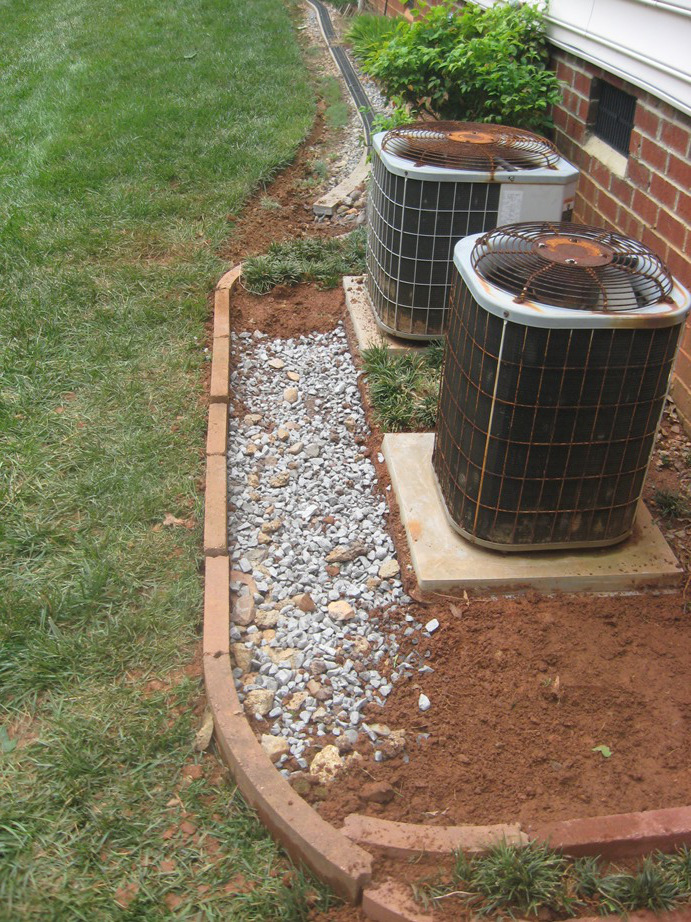
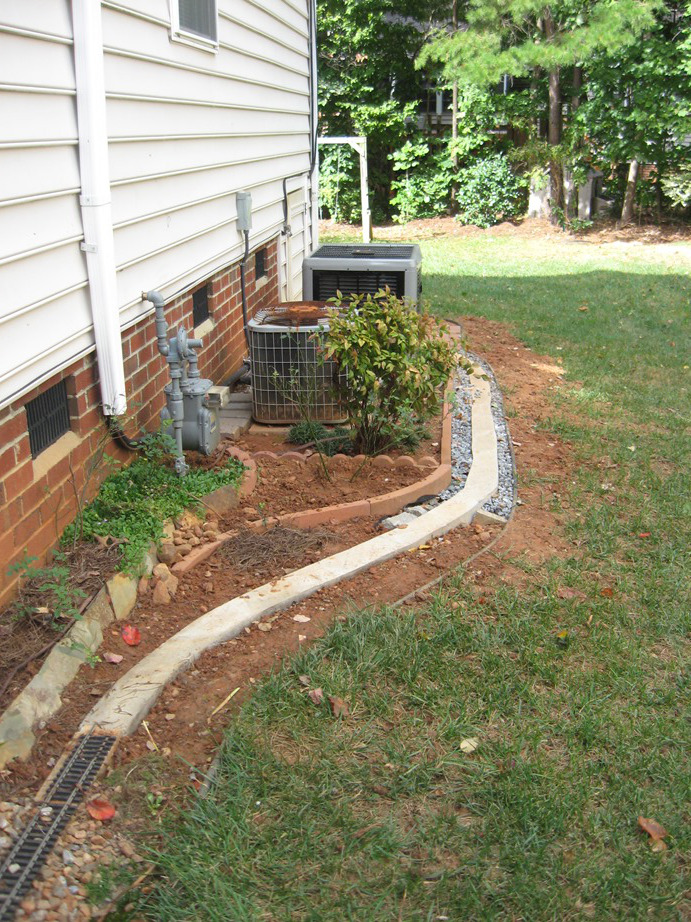
Looking at the area after the new compressor was in place, I decided I needed to remove more roadbed so that when the other HVAC compressor needed to be replace, I would have to do this all again. So I removed more roadbed, expanded the paver area to the crawlspace door, and then installed the new plastic landscape edging.

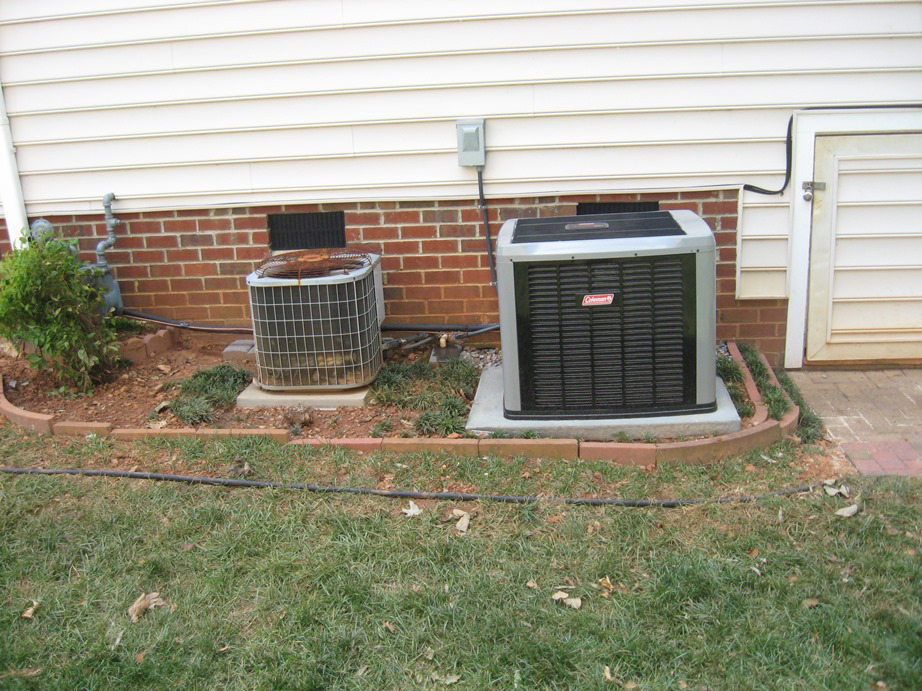
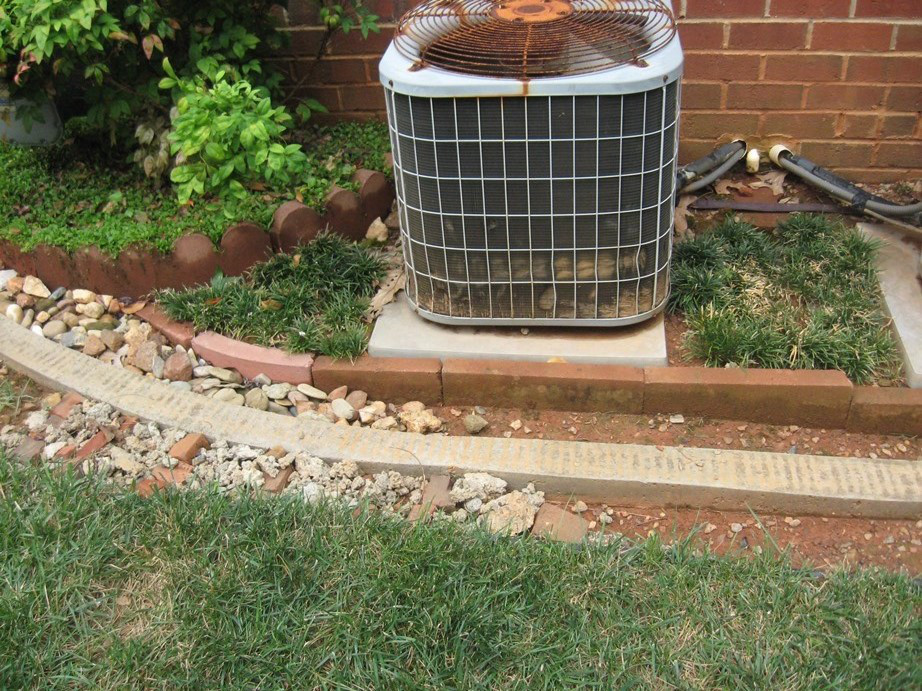
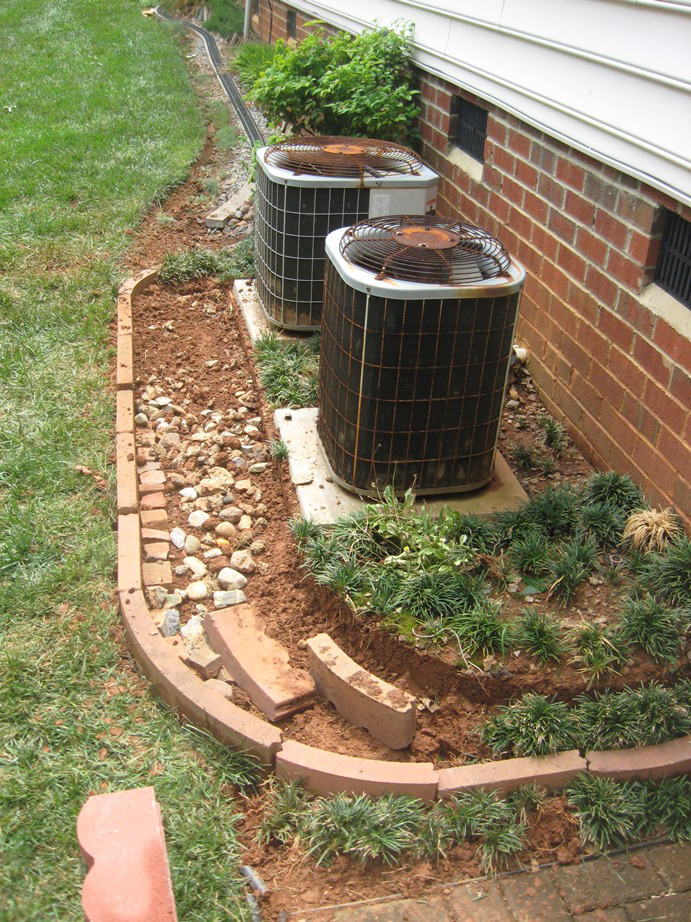
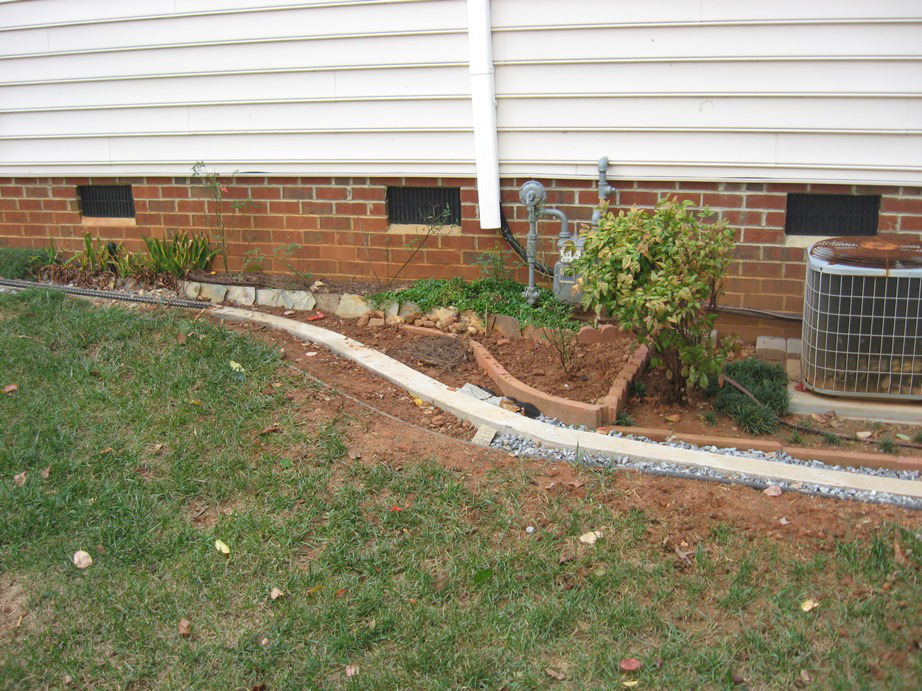
I then trenched, and set the forms for the new roadbed. I installed the rebar and poured the new roadbed. After the roadbed was cured, I redid the landscape wall around the gas meter to make the area around the second compressor level. I filled in around the roadbed near the compressors with stone and moved the plants to the new locations.
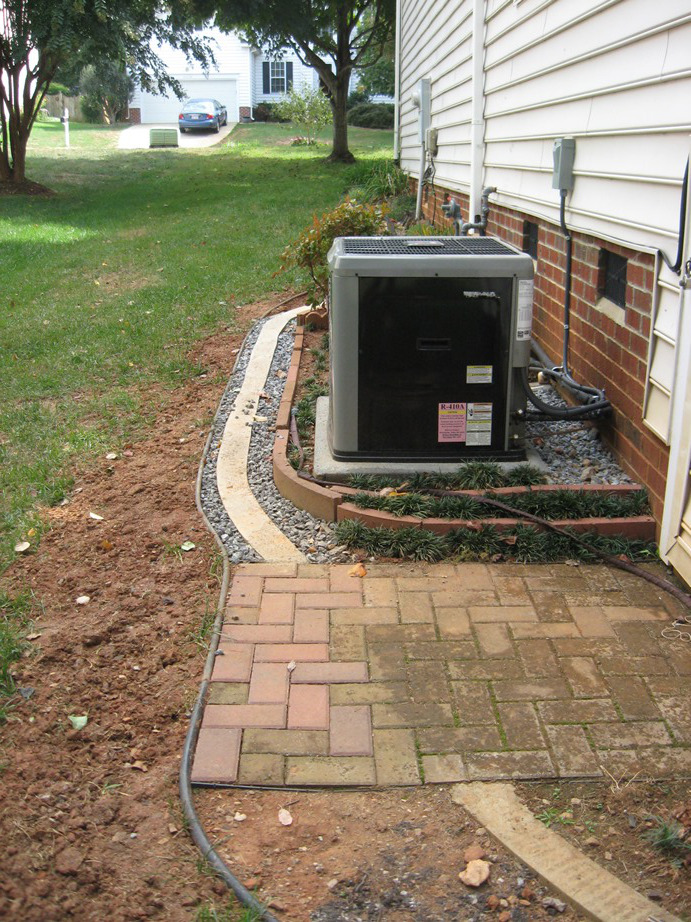
Now things were just about ready to put the track back down. I had to take my angle grider with a masonry blade to smooth the transition from the old roadbed section to the newly poured section.
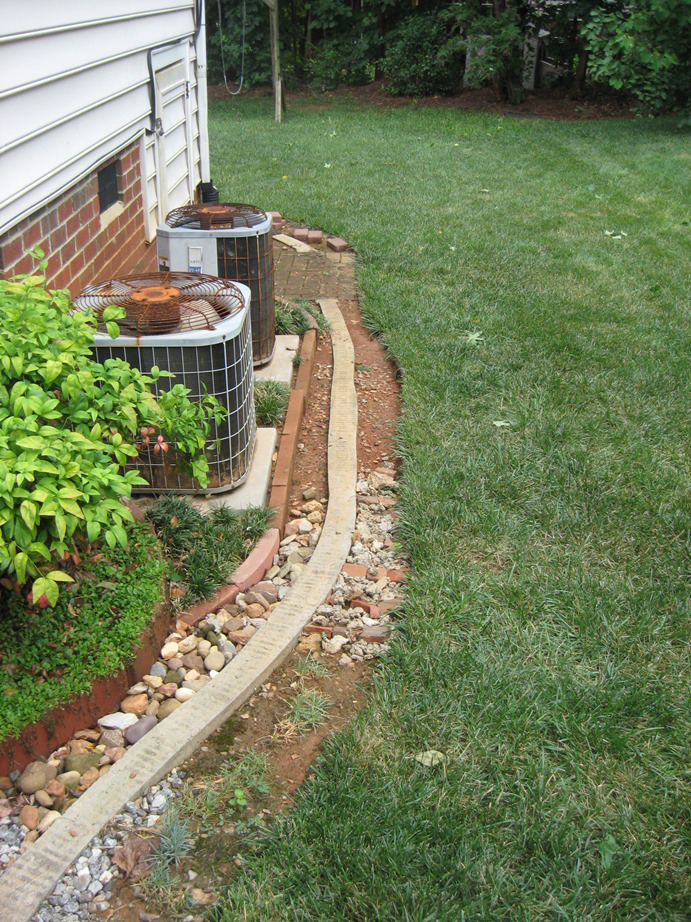
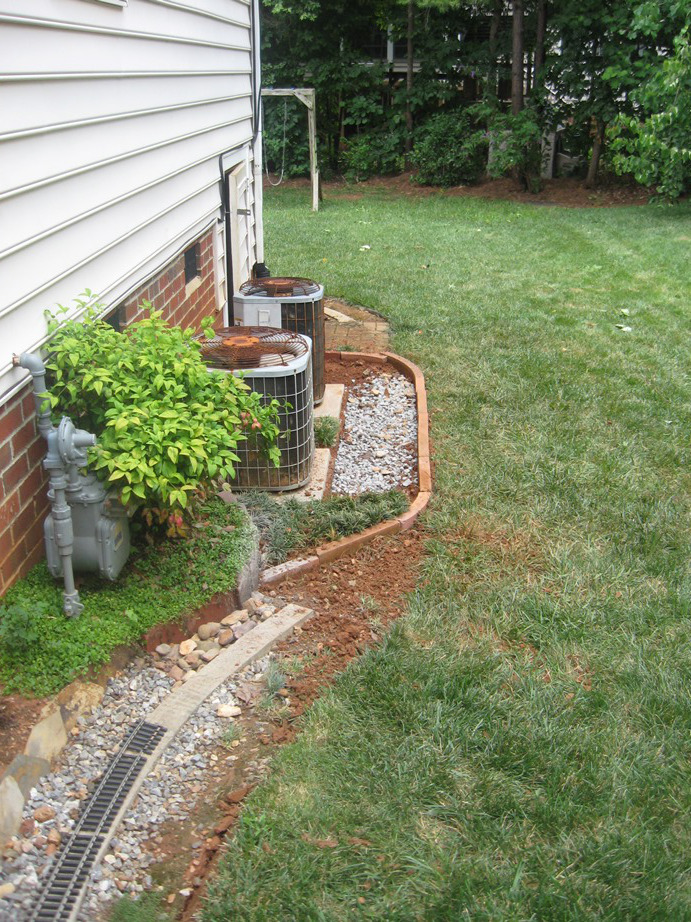
Finally I got around to laying the track again.
So what did this construction cost me? Here's what I've used and how much it cost.
| Item | Cost |
|---|---|
| 3-way switch | 4.17 |
| 14-3 Wire | 30.79 |
| 15 amp receptical | 1.07 |
| outlet cover | 0.20 |
| speaker outlet | 16.18 |
| single gang wall box | 3 @ 0.88 |
| snap switch | 1 @ 2.99 |
| single light switch cover already had | 1 @ 0.00 |
| concrete 80# bags | 2@3.23 2@5.32 4@3.85 |
| cement 47# bags | 1@4.18 1@4.98 |
| cement 94# bags | 1@10.66 |
| 3/8" rebar (10') | 3@3.77 4@4.04 |
| 1/4" plywood (4'x8') | 8.20 |
| 1x2x18 stakes (24) | 4.22 |
| Sub Total | 150.25 |
| Sales Tax | 10.14 |
| Total | 160.39 |
This page last updated July 7, 2010


