


| Home | History | Layout | Roster | Overhead Railway | Halloween Railway | Tech Tips | Links |
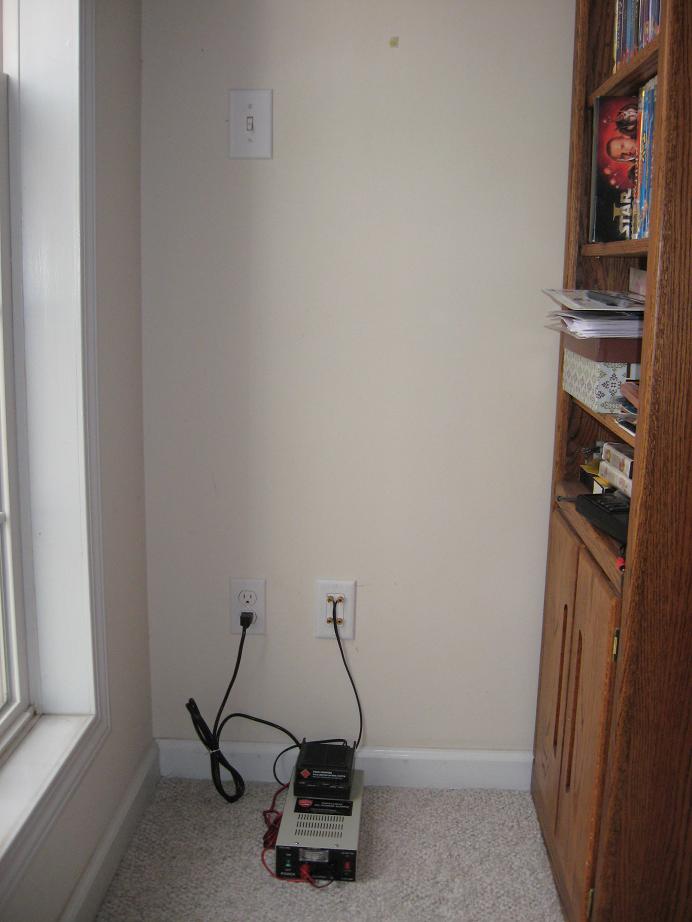
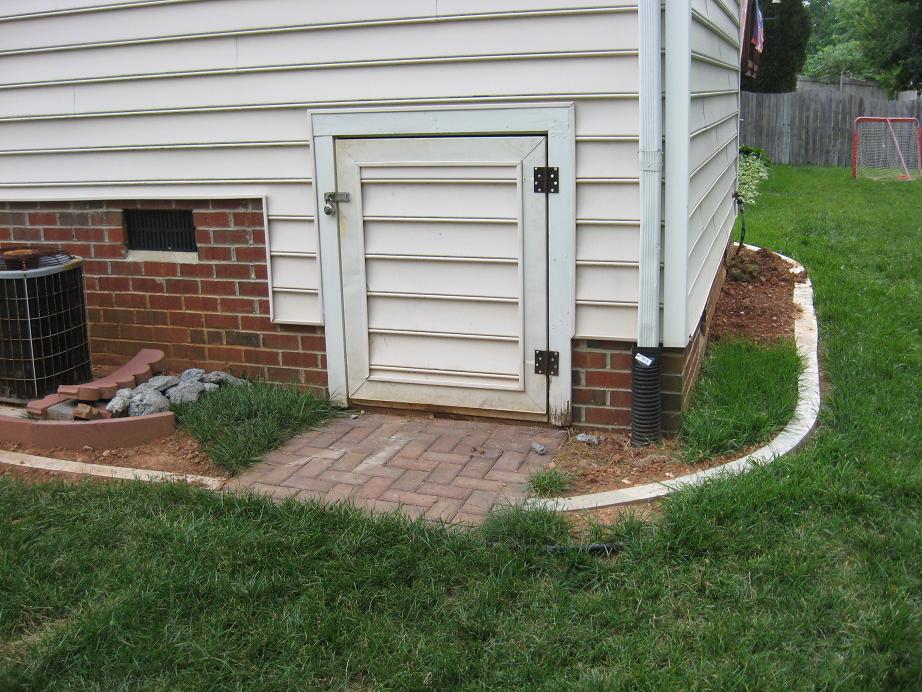
I wired the switch in the crawlspace as a 3-way switch with the second switch in the family room. The switches control one outlet in the crawlspace and one outlet in the family room. I then wired a low voltage line from a speaker outlet box in the family room to the variable DC block in the crawlspace. I used a two circuit speaker outlet in case I even wanted to run a second track control circuit.
I will have the Aristocraft Elite power supply and Train Engineer receiver in the family room. The output from the Train Engineer will be wired to the speaker outlet box. This way the electronics can then stay in the house. I will have to see how the reception of the train engineer is with it located in the house.


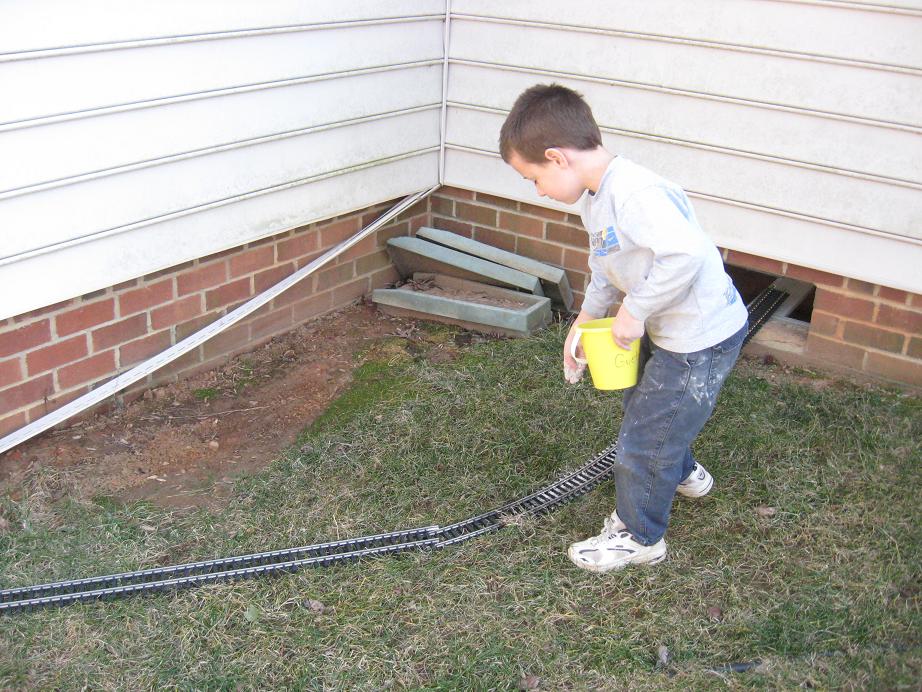
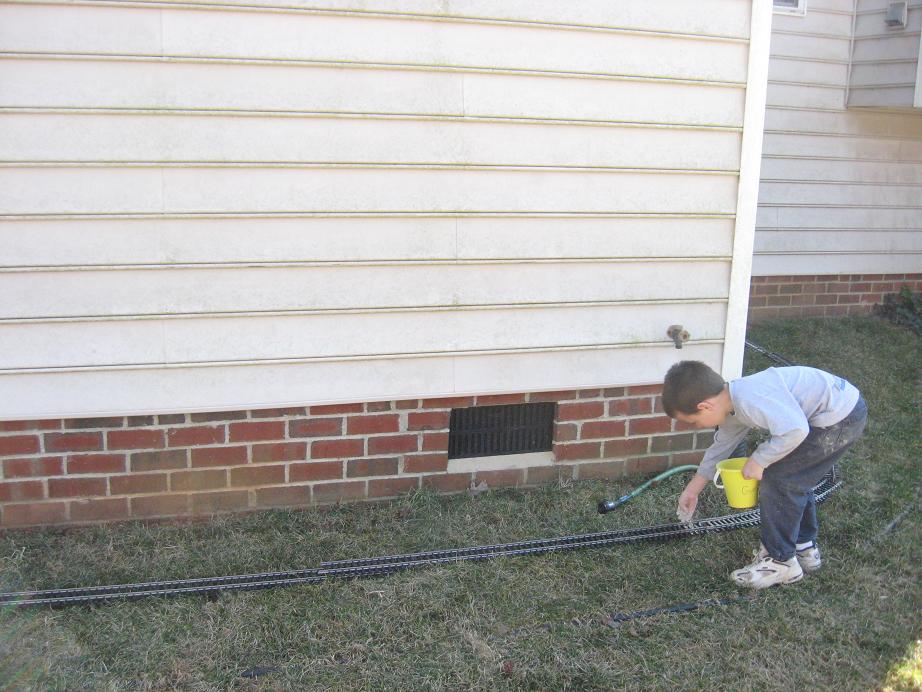
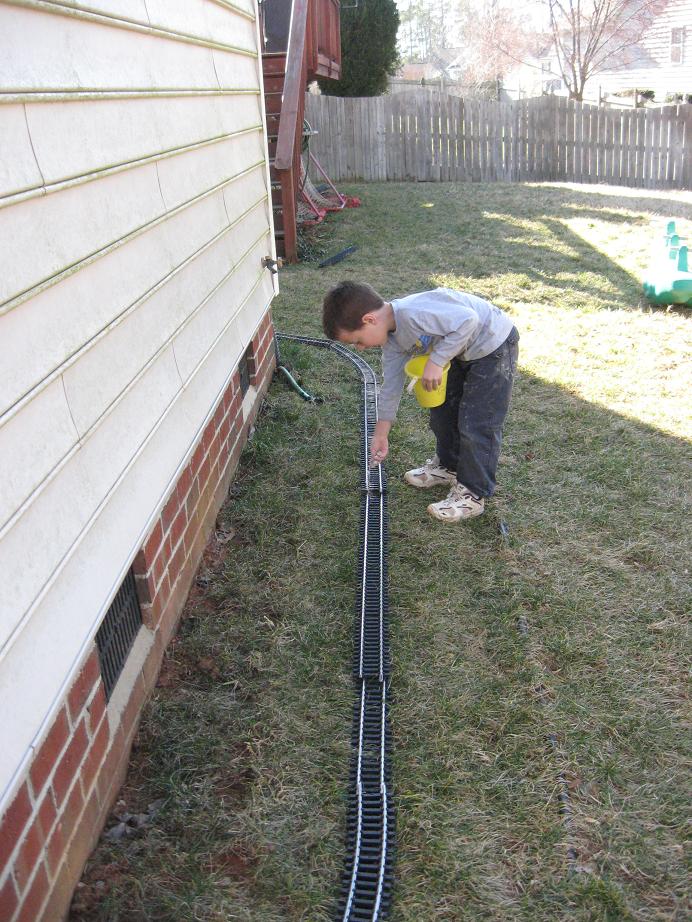
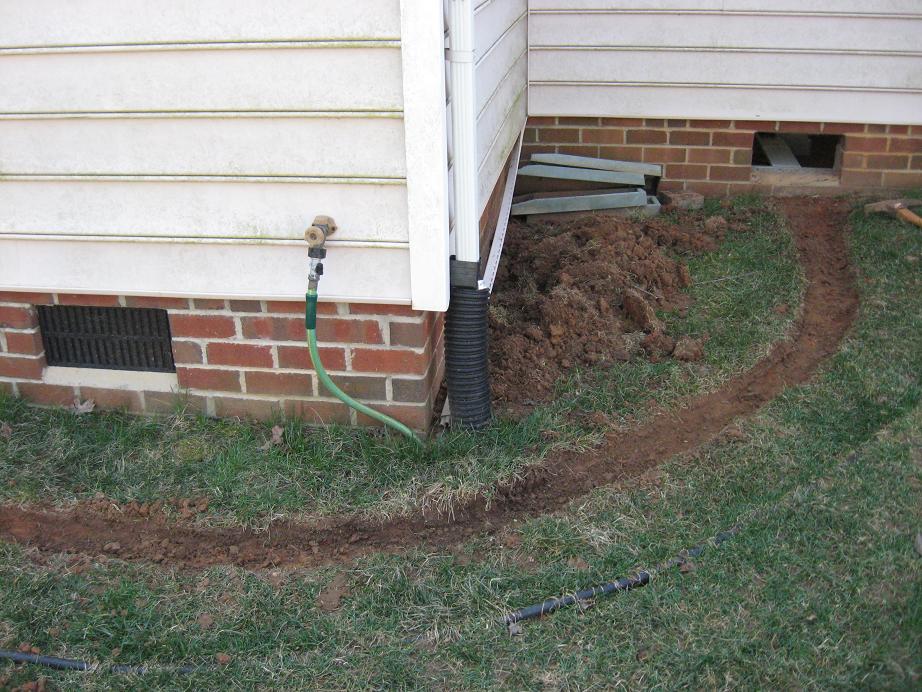
After a snowy winter, I finally got back outside to start clearing for the mainlines. I laid out the track roughly were it will be. My son they sprinkled chalk dust on the track to mark where the track was laid out.
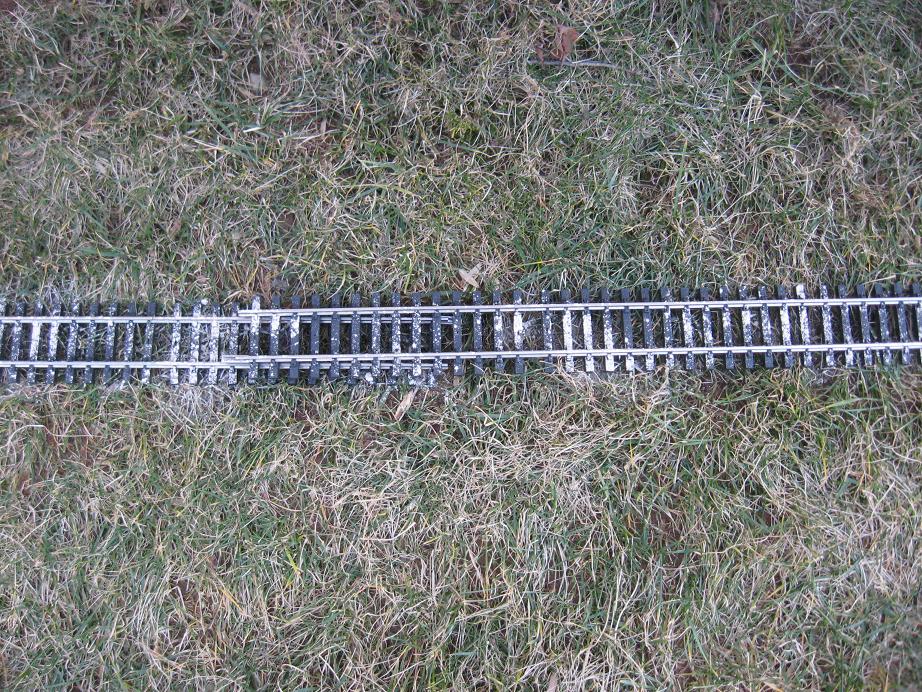

I then took a string timmer to clear the grass and sprayed with Round-up for good measure.
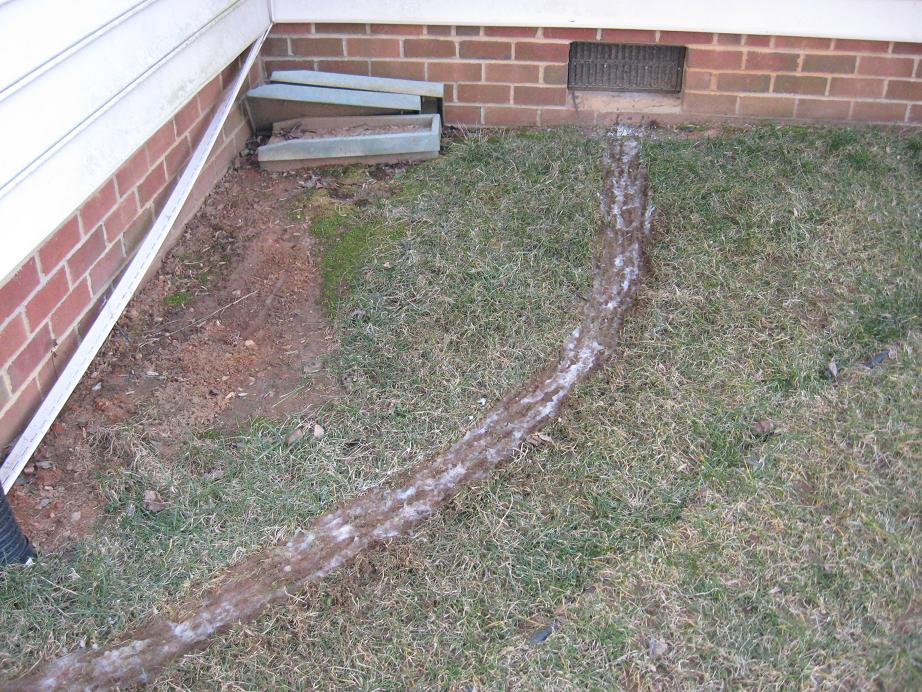
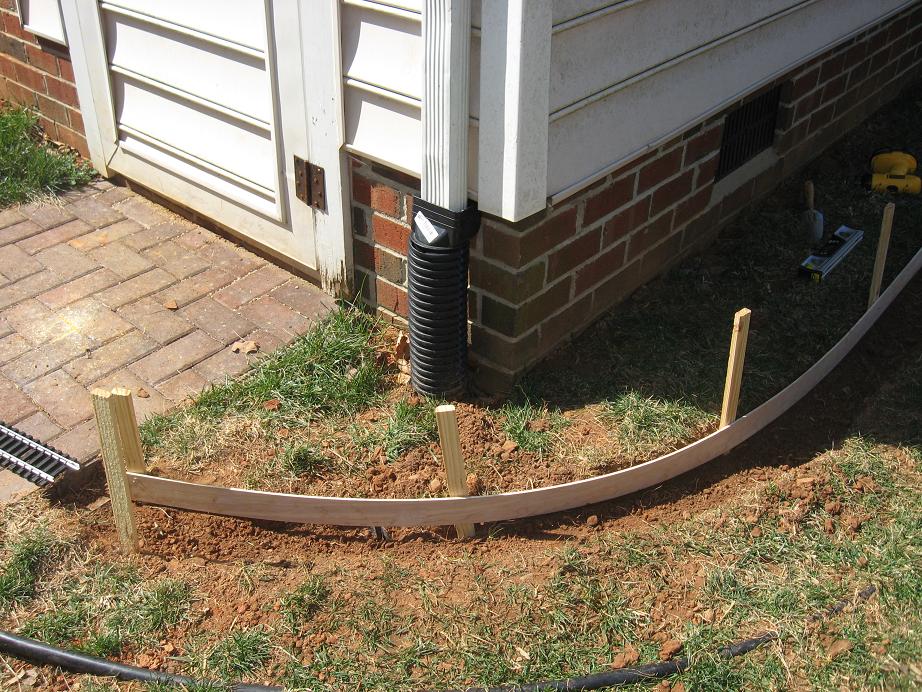
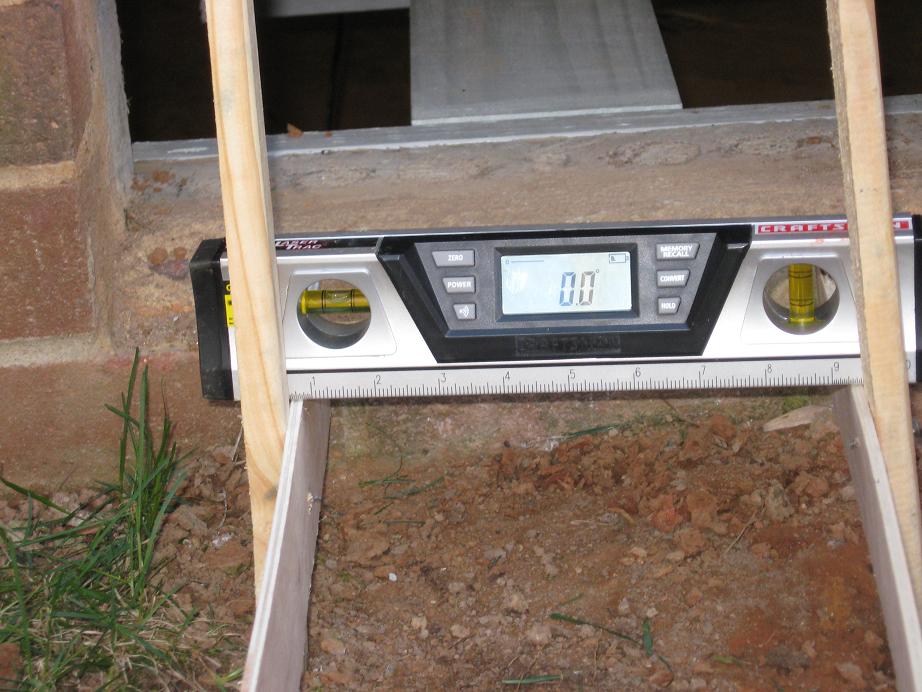
More digging was on tap next. I dug a trench so I could set the forms for the concrete roadbed. I used 1/4 plywood for the forms. I leveled the forms side-to-side using a Craftsman digital level. It can show slope in percent, degrees, or inches per foot. The percent centing is great for getting a continous grade on the forms. From the pad by the crawlspace door to the train door is about a 1.5% grade.

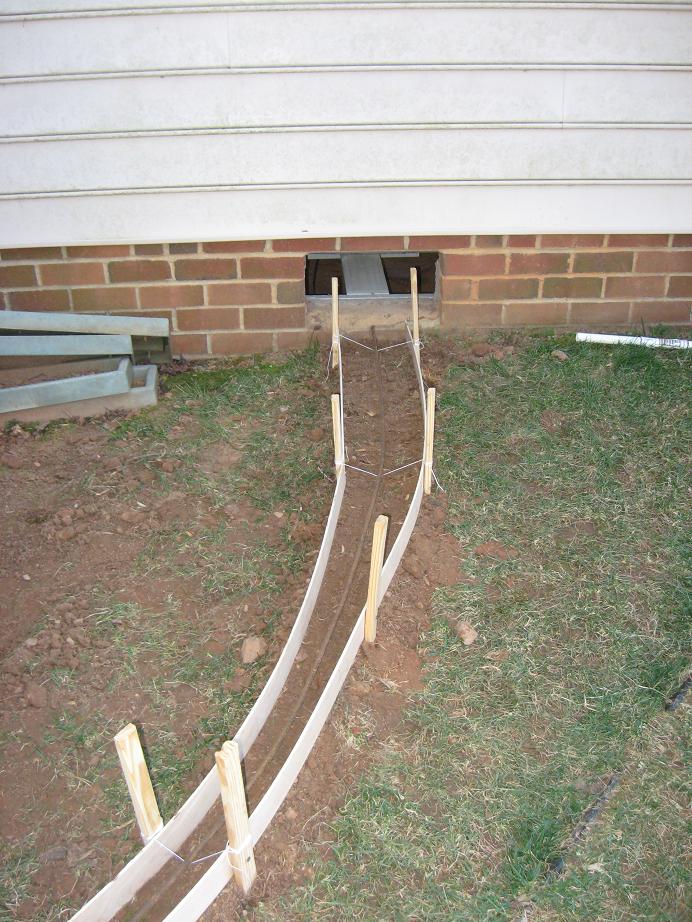
Once the forms were in place is bent 3/8 rebar and laid in the forms. I then suspended the rebar to the desired level using string wrapped around the stakes.


I then mixed the concrete and cement and poured into the forms using a 2x4 to screet the concrete. Once finished I unwrapped the string from the stakes and pulled in out from the concrete. I got about half of the form filled on Saturday.

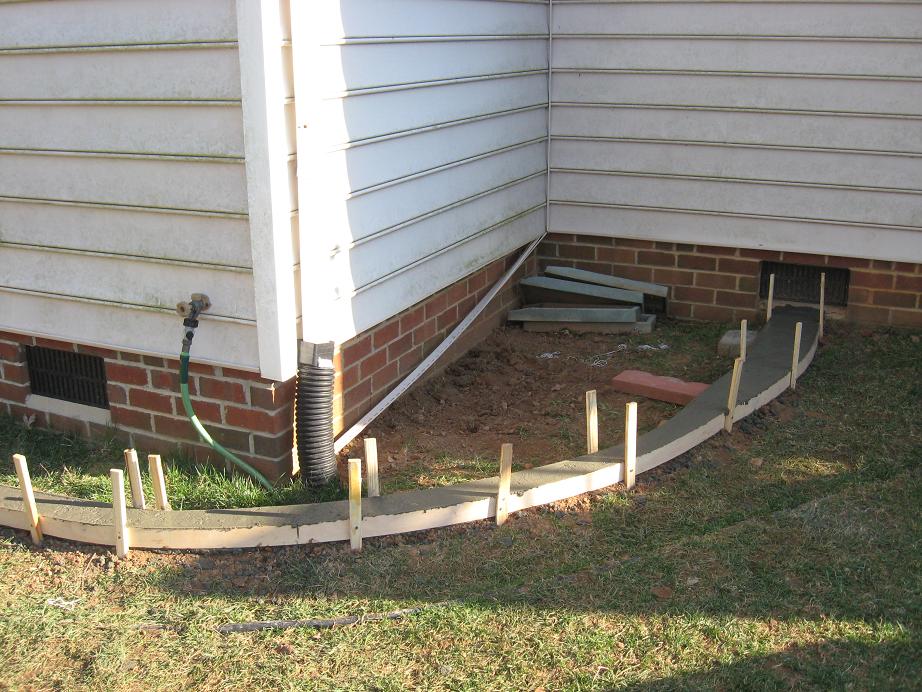

On Sunday I did a second pour to finish the roadbed from one crawlspace train door to the pad by the main door to the crawlspace. The total length of the roadbed from the back of the house to the pad by the crawlspace is about 28'.
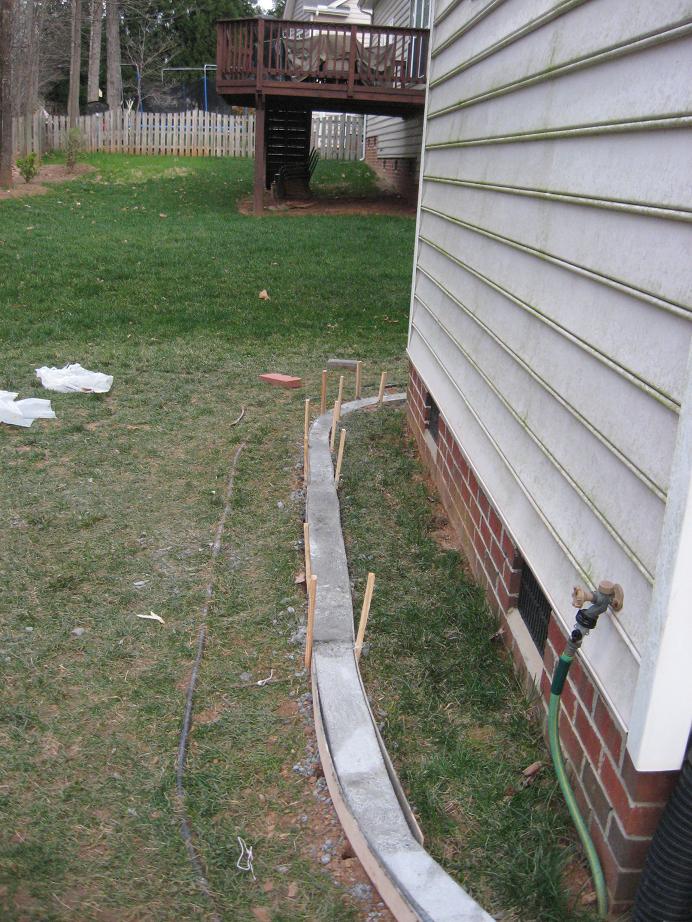
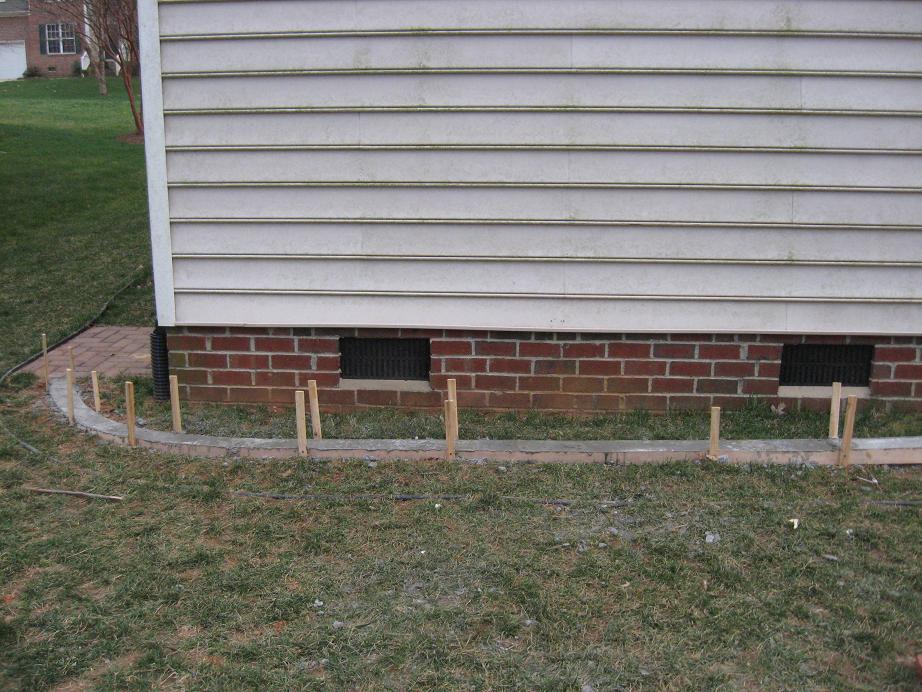
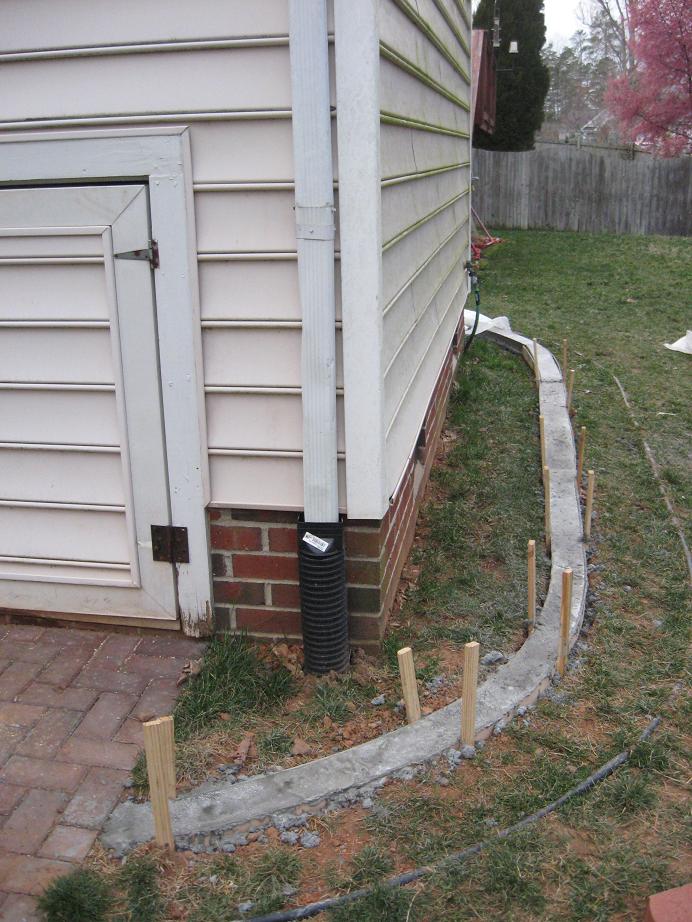
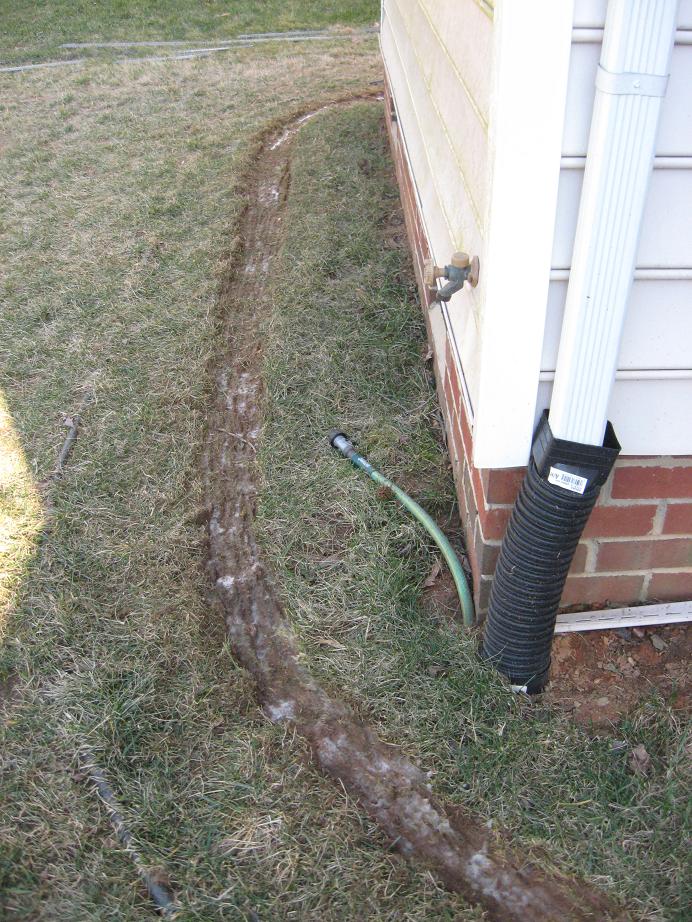
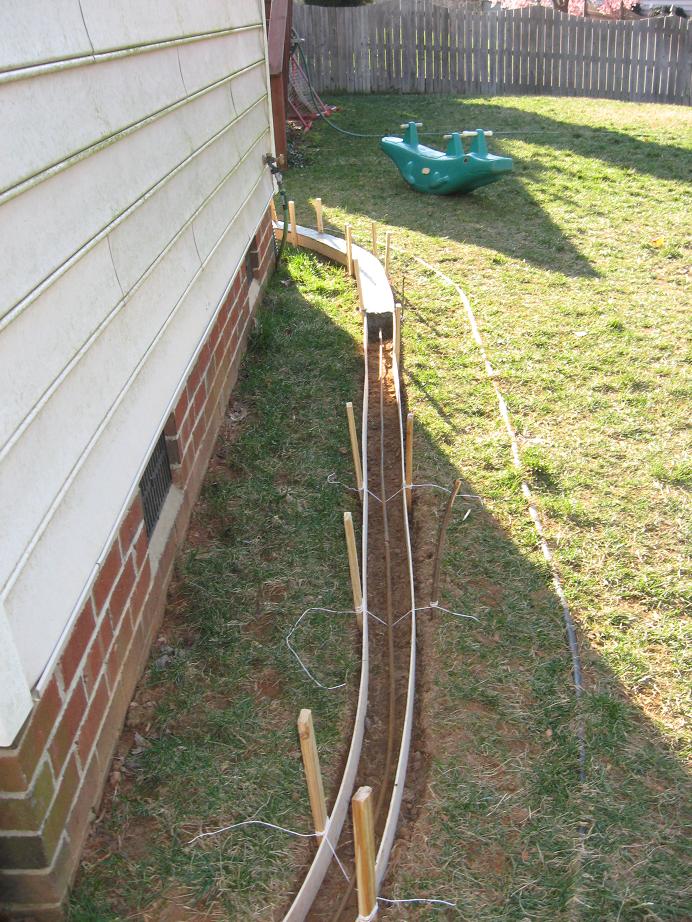
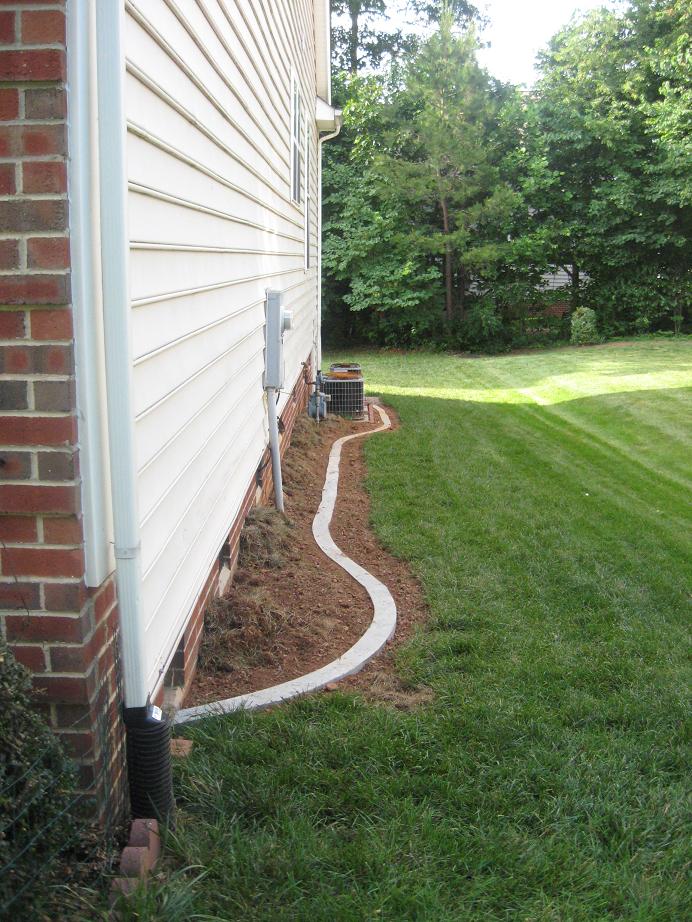
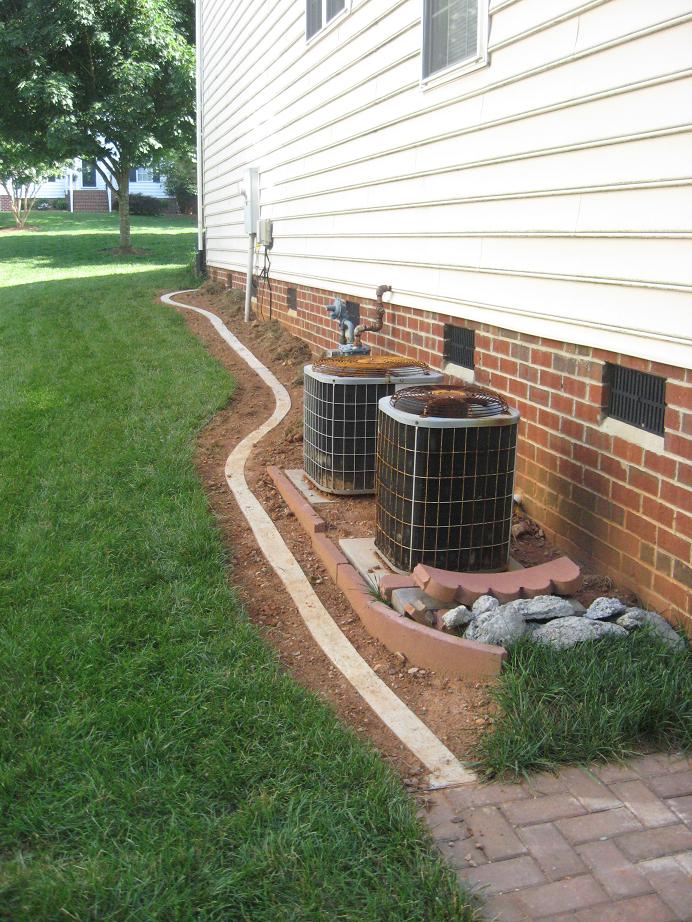
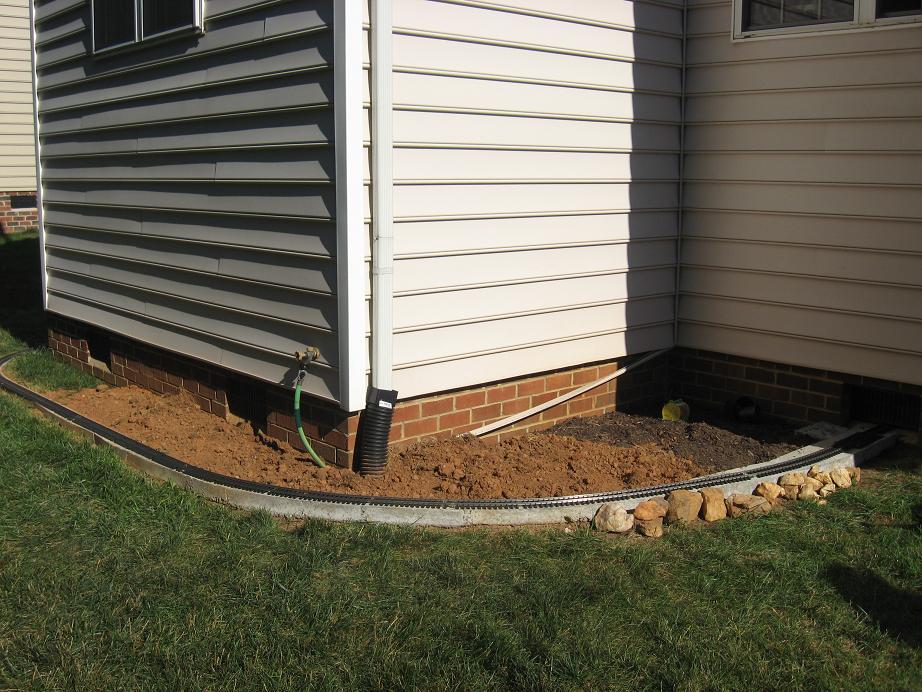
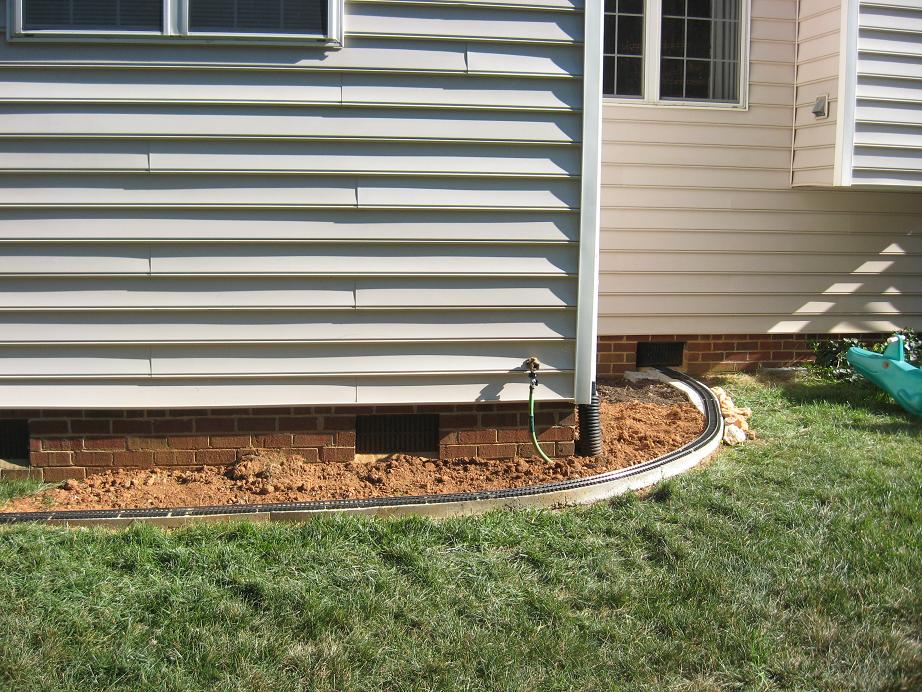
I continued the roadbed up the side of the house. I trenched from the pad by the crawlspace to the vent door near the front of the house. I did this in two pours for a combine length of about 41'.
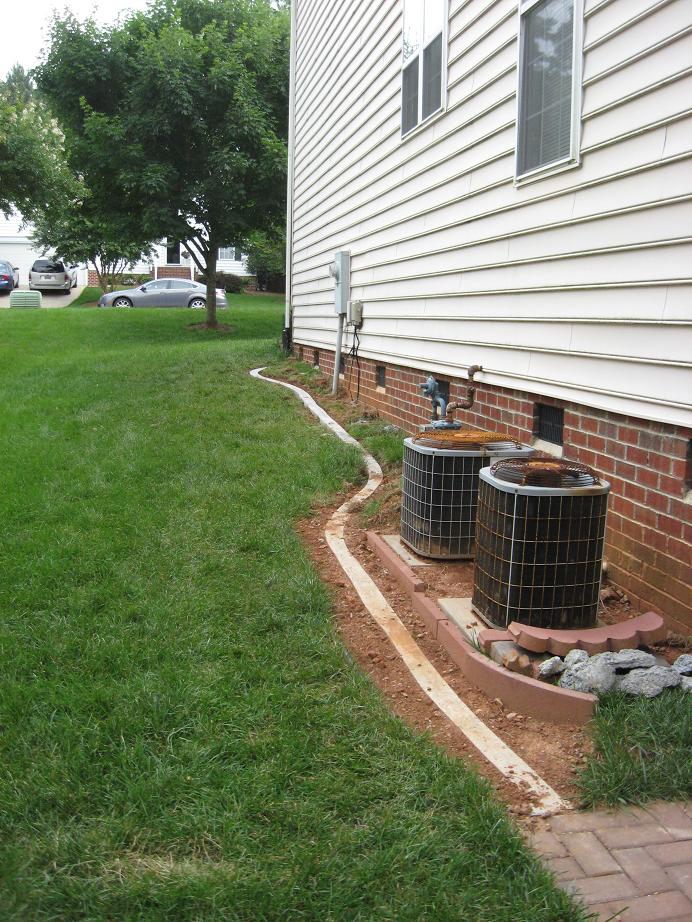
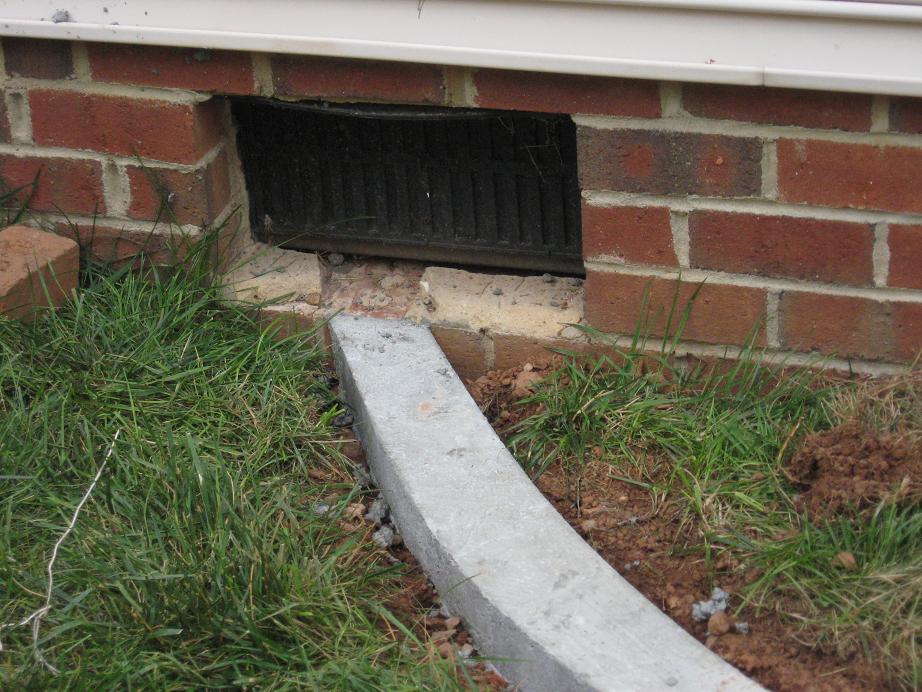
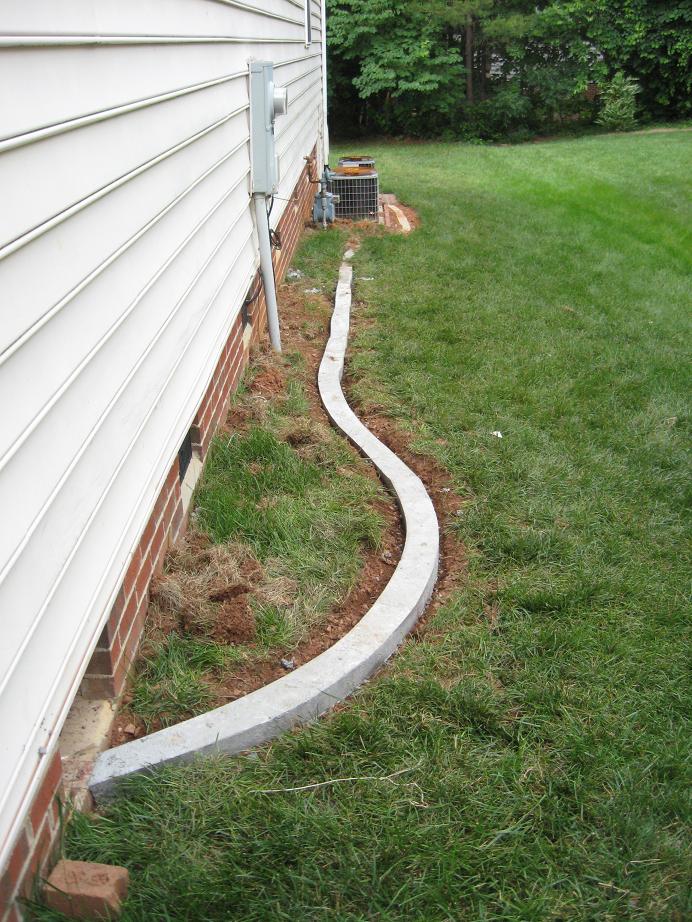
After the forms were removed, I worked on ripping out the grass with a maddock and graded the area inside the edging to match the roadbed.
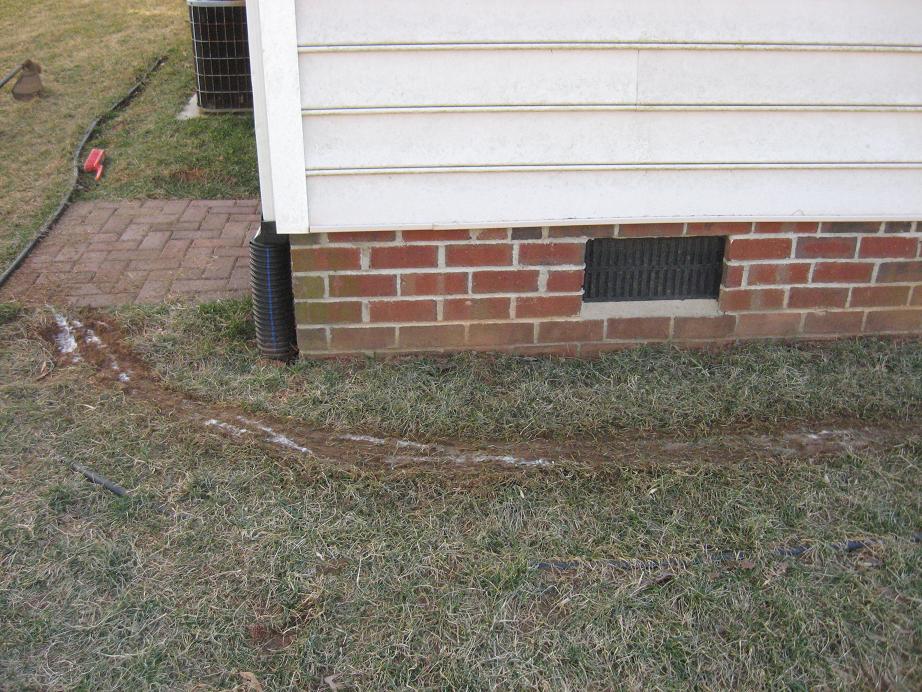
I have laid the track along the side of the house. I Stopped just before the crawlspace door pad. I'm planning making a grade crossing with cement and want to have a single piece of track across the pavers so there will not be a rail joint in the crossing.
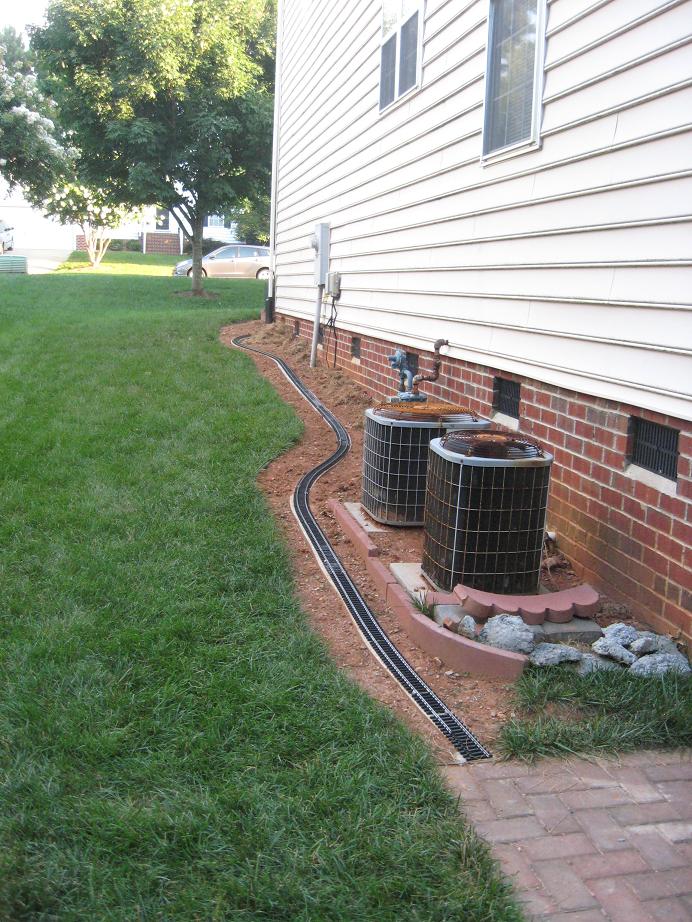

I finally finished the loop! I have work to do on the crossing by the crawl space door. To finish the loop I cut track to fit. I will rearrange pieces to have the single piece across the pavers, but for now the trains can run.
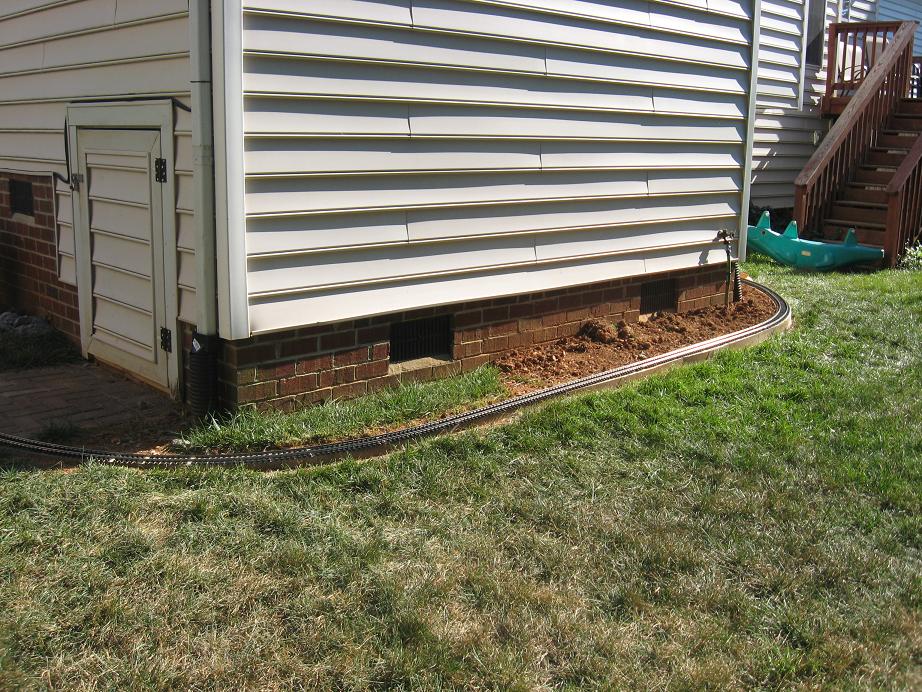
To test the loop I ran my Dash-9 and SD-45 around the loop. They seemed to run fine at slow speed. There are two places in the track where the roadbed has a hump to it that sometimes causes the lead truck on the SD-45 to derail. One is where the track exits the crawlspace on the side of the house. The second is the joint between two separate pours of the cement roadbed. I will have to get out my angle grider and reshape the road bed in these spots.
Below are two videos of the first run of the coal train.
So what has construction cost me this year? Here's what I've used and how much
it cost.
| Item | Cost |
|---|---|
| 3-way switch | 4.17 |
| 14-3 Wire | 30.79 |
| 15 amp receptical | 1.07 |
| outlet cover | 0.20 |
| speaker outlet | 16.18 |
| single gang wall box | 3 @ 0.88 |
| snap switch | 1 @ 2.99 |
| single light switch cover already had | 1 @ 0.00 |
| concrete 80# bags | 2@3.23 2@5.32 4@3.85 |
| cement 47# bags | 1@4.18 1@4.98 |
| cement 94# bags | 1@10.66 |
| 3/8" rebar (10') | 3@3.77 4@4.04 |
| 1/4" plywood (4'x8') | 8.20 |
| 1x2x18 stakes (24) | 4.22 |
| Sub Total | 150.25 |
| Sales Tax | 10.14 |
| Total | 160.39 |
This page last updated July 7, 2010


