| Home | History | Layout | Roster | Overhead Railway | Halloween Railway | Tech Tips | Links |
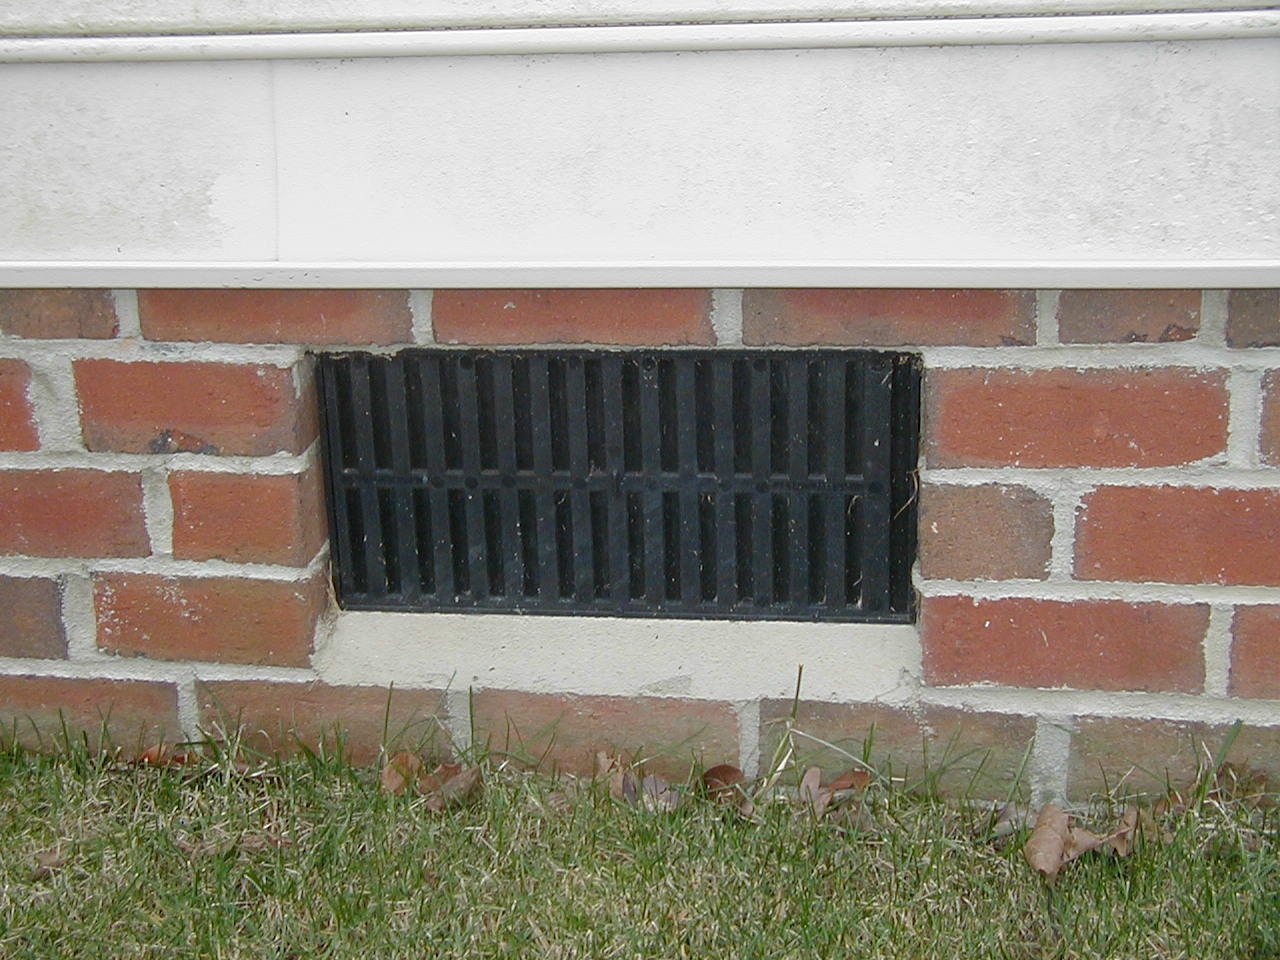
The layout will be using the crawlspace under the house as a storage area and a tunnel as part of the layout. I have determined that the foundation vents can be used as access points to the crawlspace. The roadbed will be suspended from the floor joists in the crawlspace. For storage of cars and locomotives a rail yard will also be constructed and suspended from the house.
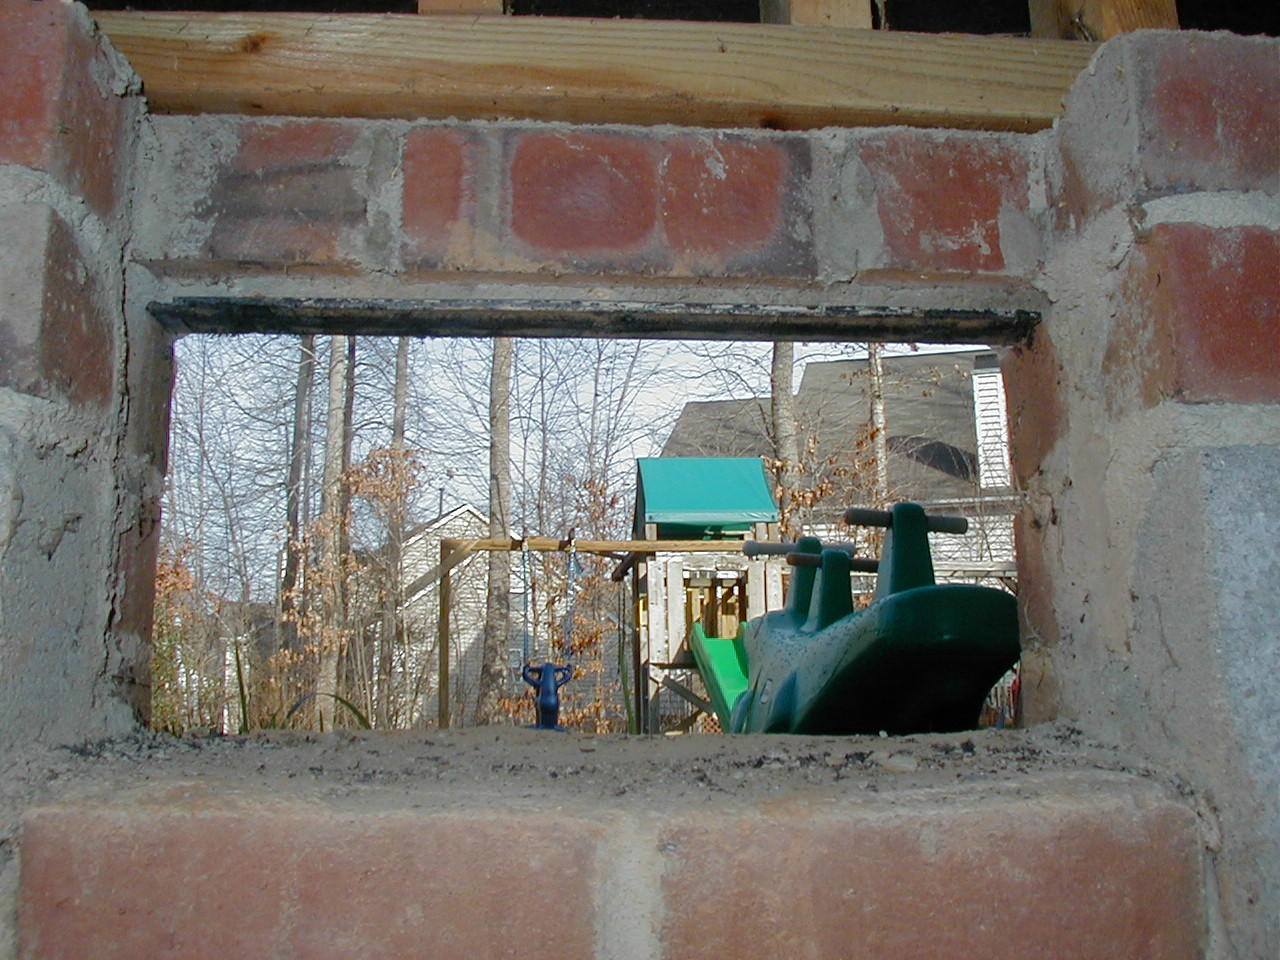
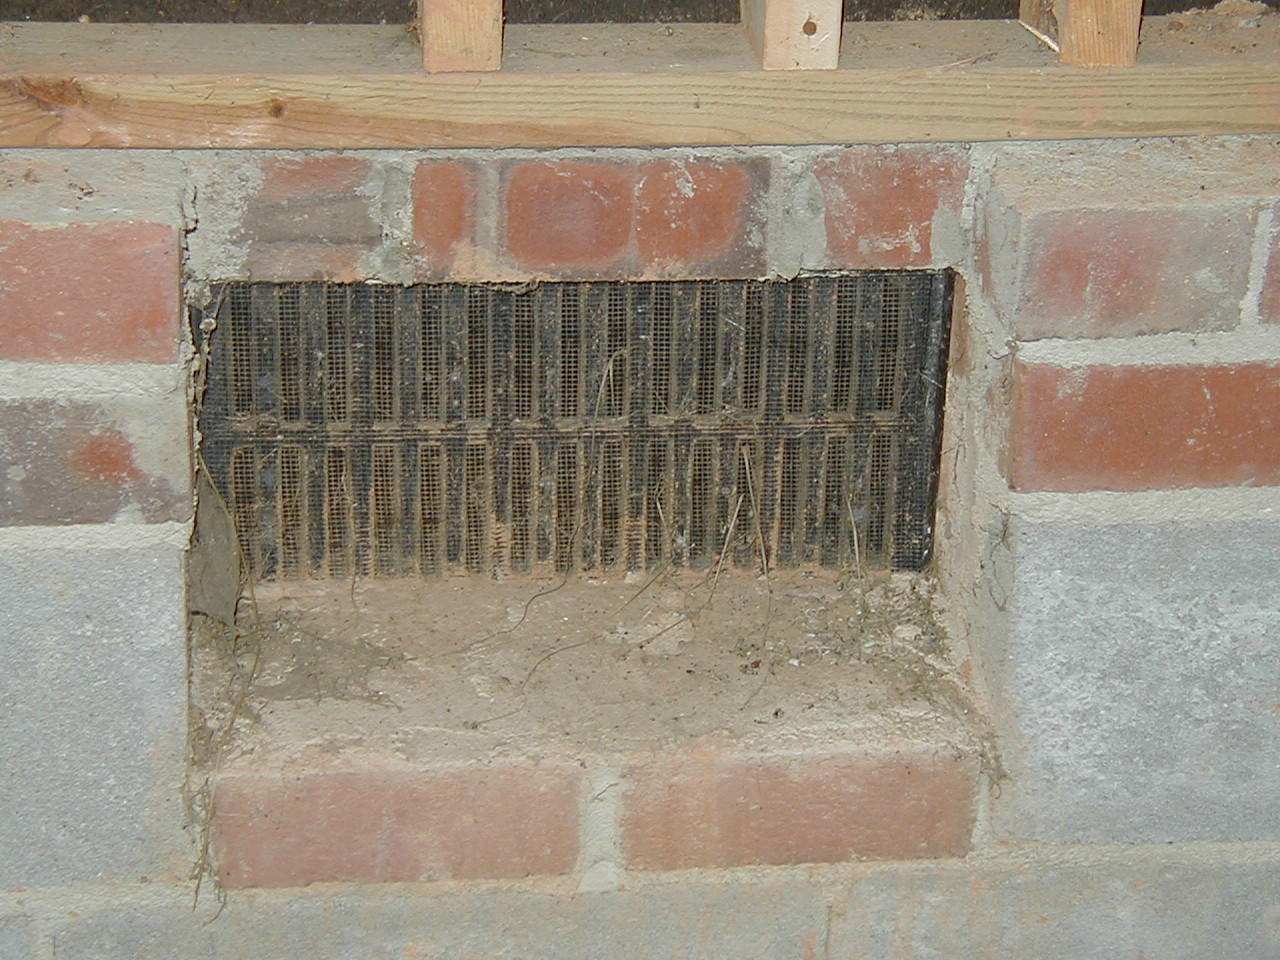
My idea was to create doors using the foundation vents. I started by drilling a few pilot holes to allow access to a keyhole hacksaw. I then cut the foundation vent from the lintel portion from the vent. 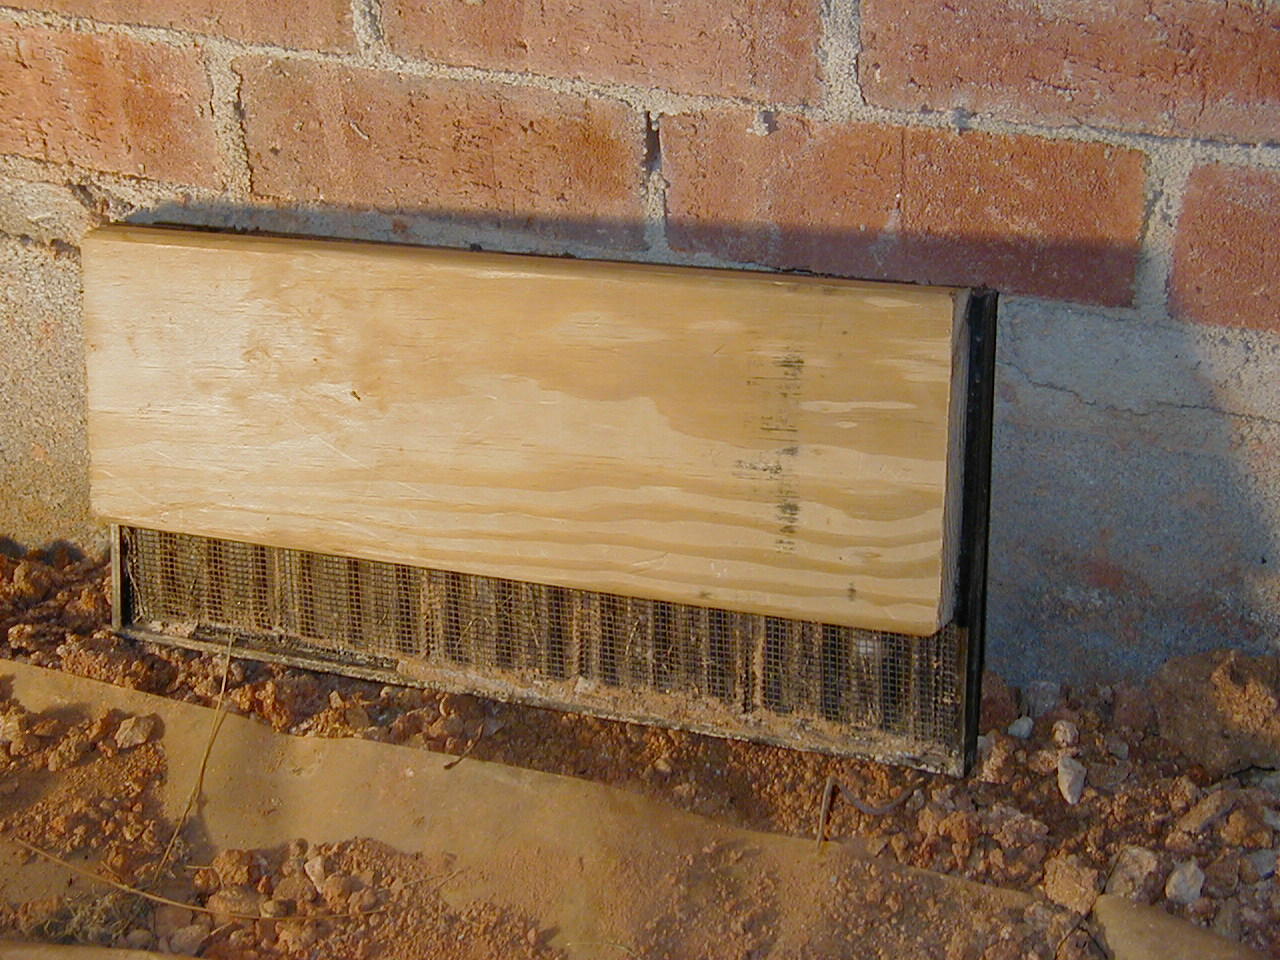
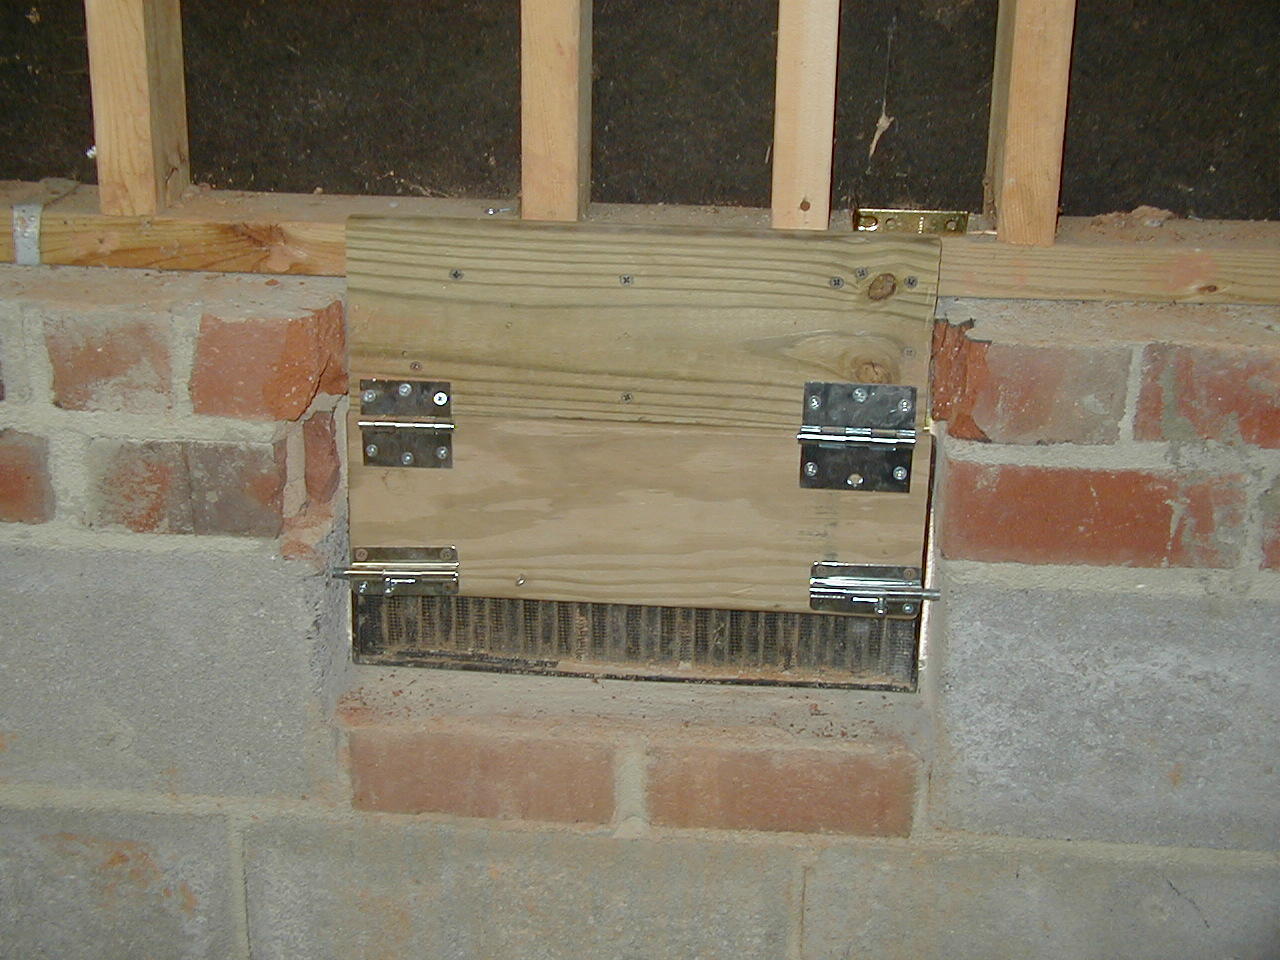
I then attached the closed vent to a 1x6 piece of pressure treated wood.
I then attached a 1x6 piece of pressure treated wood to the sill plate of the foundation above the foundation vent. I then used 3" hinges to attach the two pieces of pressure treated wood together to create a hinged door. I completed the bottom of the door by adding a piece of scrap Trex that I had leftover from another project. To be able to lock the door, I attached two barrel bolts to the bottom portion of the door and drilled holes into the cinder blocks of the house foundation. The bolts slide into the foundation to secure the door in a closed position. When the door is open, I attached a hook and eye to secure the door opened.
To allow clearance for the sides of the door I had to chisel the brick and cinder block of the foundation. This was slow and hard on the hand and arms and didn�t do a very good job of creating a nice looking opening.
For an early birthday present this year I used birthday money to purchase 4 boxes of 4.5' stainless steel Aristocraft track. I also received a free box courtesy of Aristocraft as part of their annual "Buy 4 get 1 free" sale. I also purchased a 30" crossing for future use with the railway.
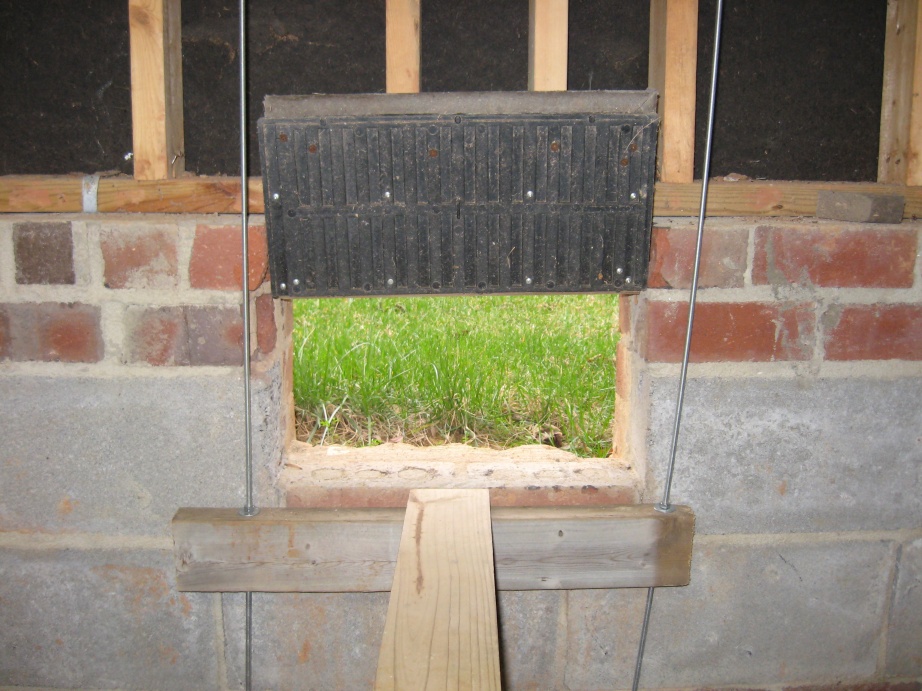
I finished the second foundation vent door today.
For the second door, I got the idea of using a angle grinder with a masonry disc to cut the cinder block, brick and mortar around the second foundation vent. This made the process very easy and made a much neater opening.
From the outside there is very little indication that the foundation vents have been altered. They are recessed about 3/4" further into the foundation and the screw heads show, but otherwise there is very little difference.
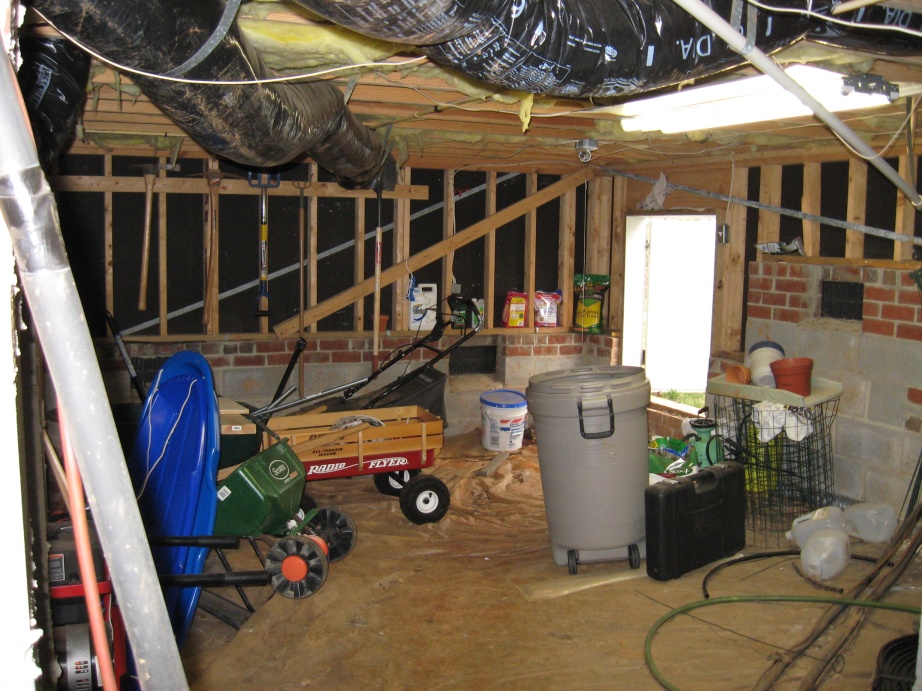
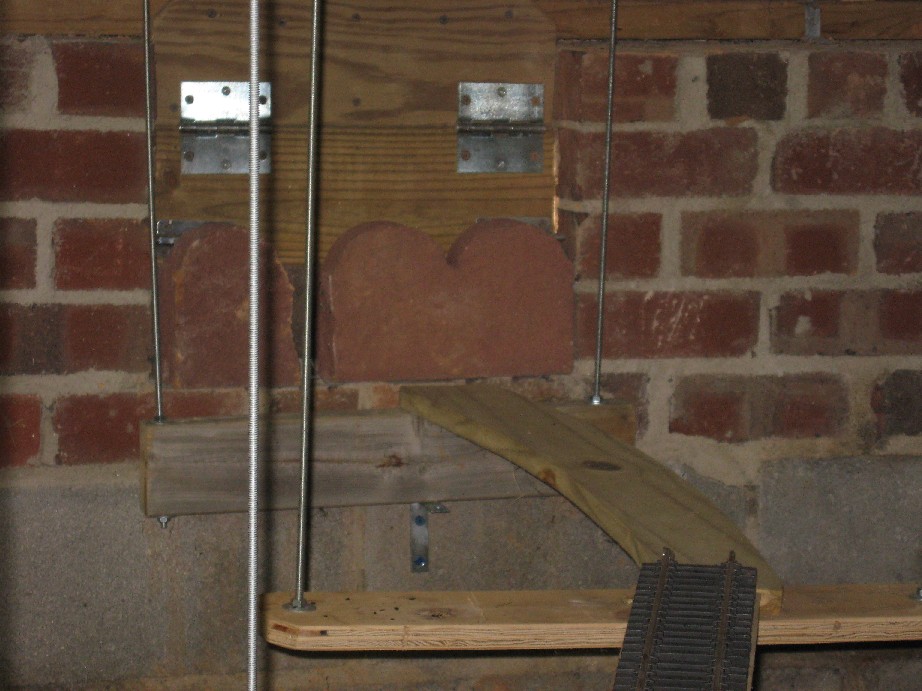
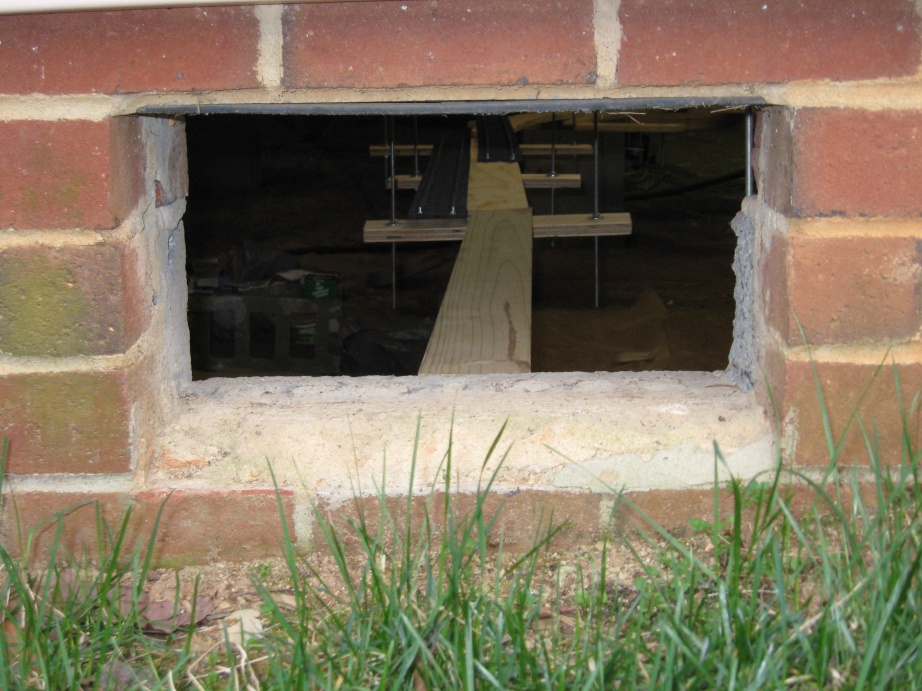
"Crawlspace" is a complete misrepresentation of the space under the house. I have a 3� access door and step down about 2� into the crawlspace. For all but one area, I can comfortably walk around with about 6-7� from dirt to floor joists. I just have to duck under support beams and ductwork. I have installed seven 4� fluorescent light fixtures in to illuminate the whole area with a flip of a switch. To construct the roadbed, I wanted to try to suspend it from the floor joists above. I finally got a perfect idea from Ted Doskaris� under house layout as documented here. I used �" plywood for the roadbed. I cut the straight portions using a skil saw with a guide attachment to make straight cuts. For the curves, I traced those sections using 10� diameter sections of track and cut them out using a jigsaw. For the first section inside the vent doors, I used pressure treated 1x6. 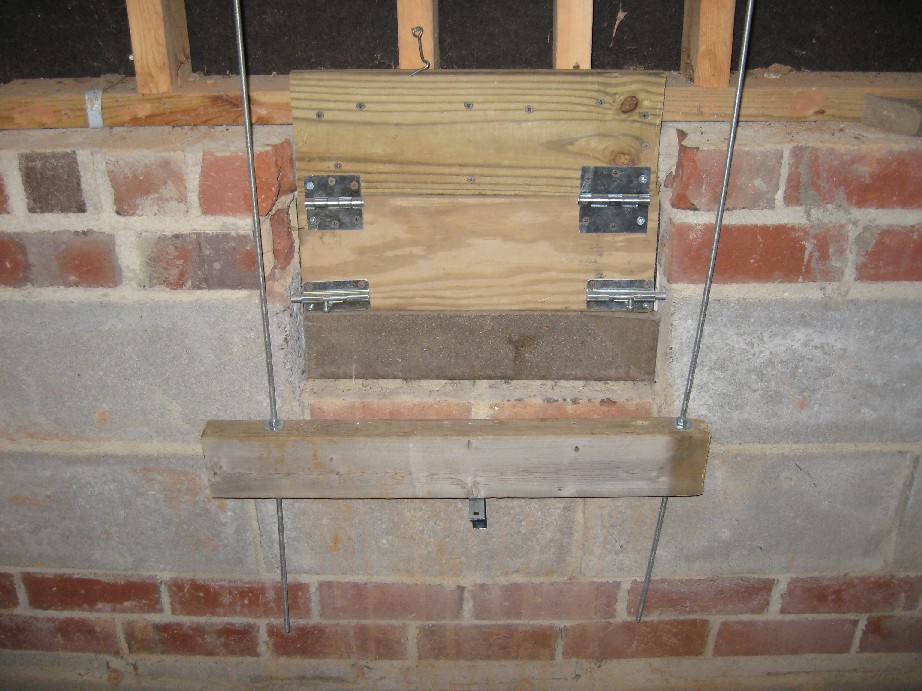
For the first support inside the side door, I used pressure treated 2x4. I did this so that I could eventually attached the 2x4 to the foundation using angle brackets. The angle bracket would be attached to the cinder blocks of the foundation with tapcon screws. By attaching the roadbed to the foundation here it would help prevent swaying of the road bed.
For Christmas I received two Aristocraft wide radius switches. These will be used for the rail yard once I get to it.

I then used Ted�s method for suspending the roadbed from the floor joists using �" EMT tubing, �" threaded rod and nuts and washers. Initially I suspended the 8� lengths of plywood with just one support on either end of the plywood. I will go back and add further supports once I have the general grade in place. This section of the crawlspace is where I have to sit or kneel to work instead of being able to stand.
| Item | Cost |
|---|---|
| 3" Hinges (4) | 4 @ 3.26 |
| 3" barrel bolts | 3 @ 2.68 |
| 1 1/2" hook & eyes | 1.13 |
| 1x6x6 treated | 3.97 |
| 3/4" plywood 4'x8' | 29.98 |
| threaded rod | 16 @ 3.43 |
| washers | 12.00 |
| #10 x 2" (50 ct.)pan head screws | 4.81 |
| #20 nuts (20 ct.) | 5 @.95 |
| coupling nut (pair) | 3 @ 1.15 |
| 1/2" EMT tubing (10') | 6 @ 2.39 |
| Sub Total | 153.07 |
| Sales Tax | 10.71 |
| Total | 163.78 |
This page last updated December 30, 2006