| Home | History | Layout | Roster | Overhead Railway | Halloween Railway | Tech Tips | Links |
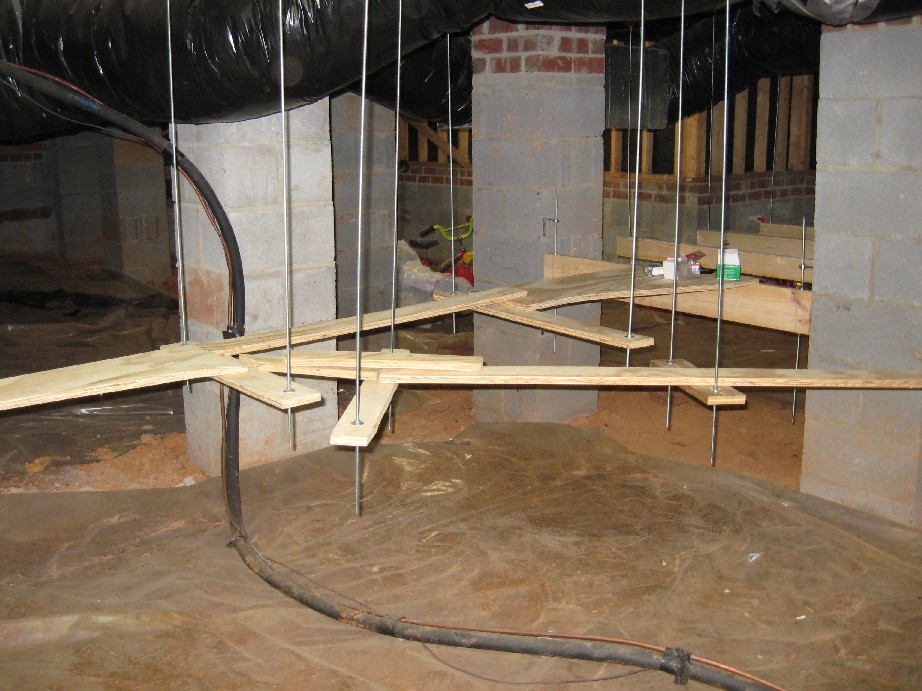
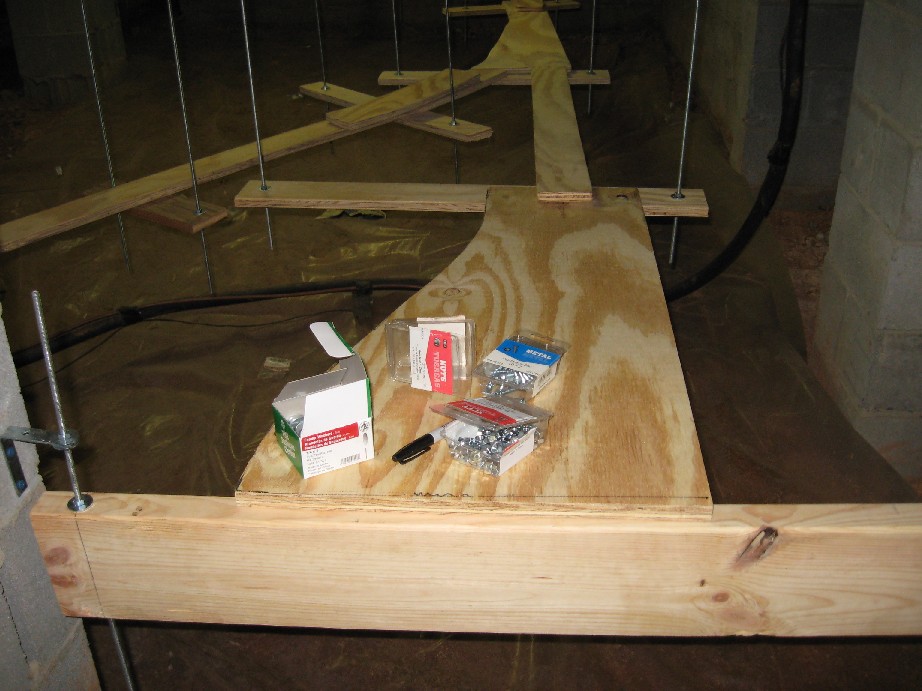
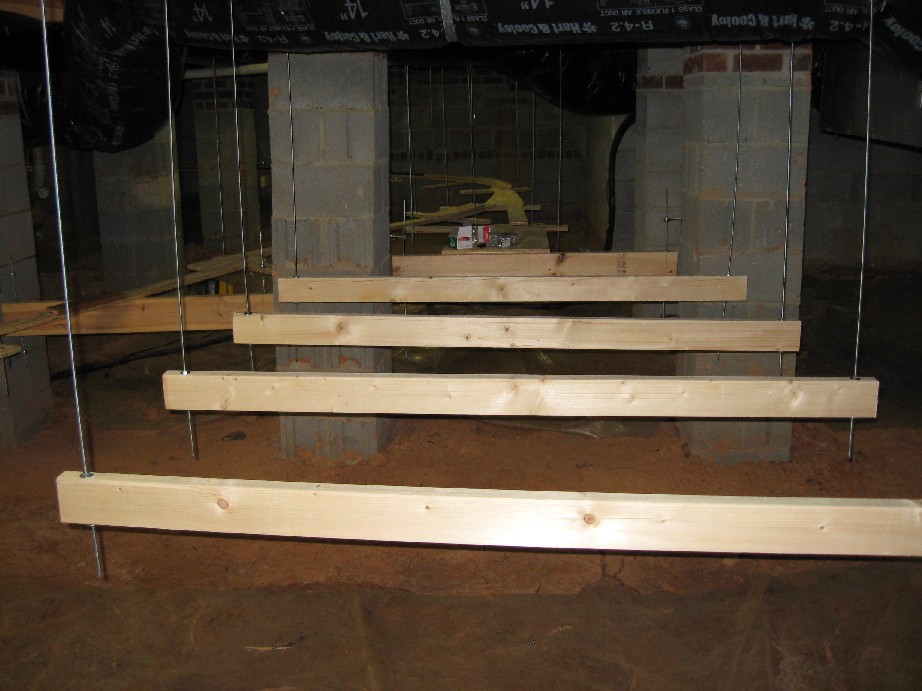
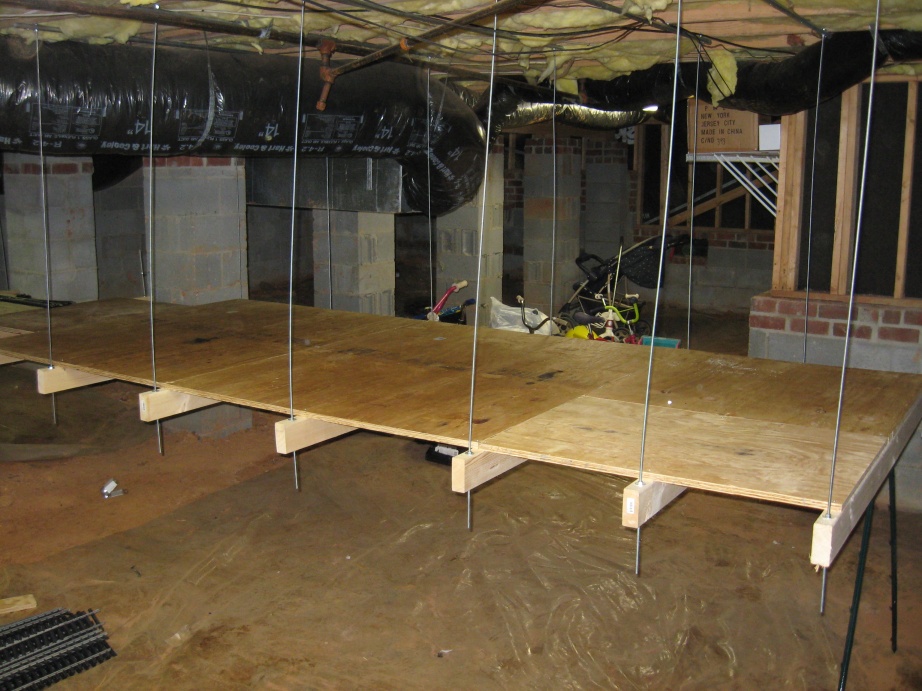
I finally have finished the initial layout of the road bed. I have the 8� lengths of plywood suspended and the curve portions as well. I now have gone back to complete the additional supports between those on the ends of the long pieces of plywood.
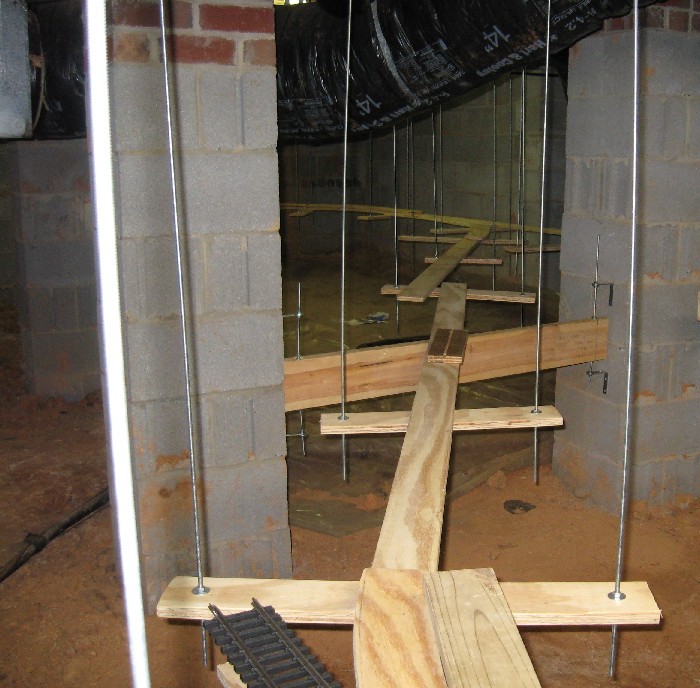
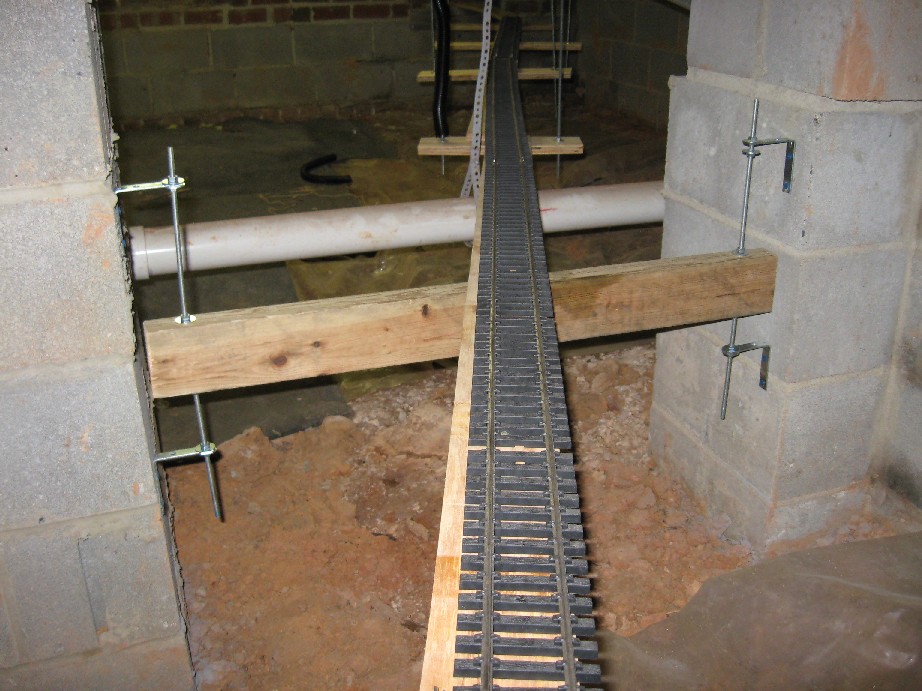
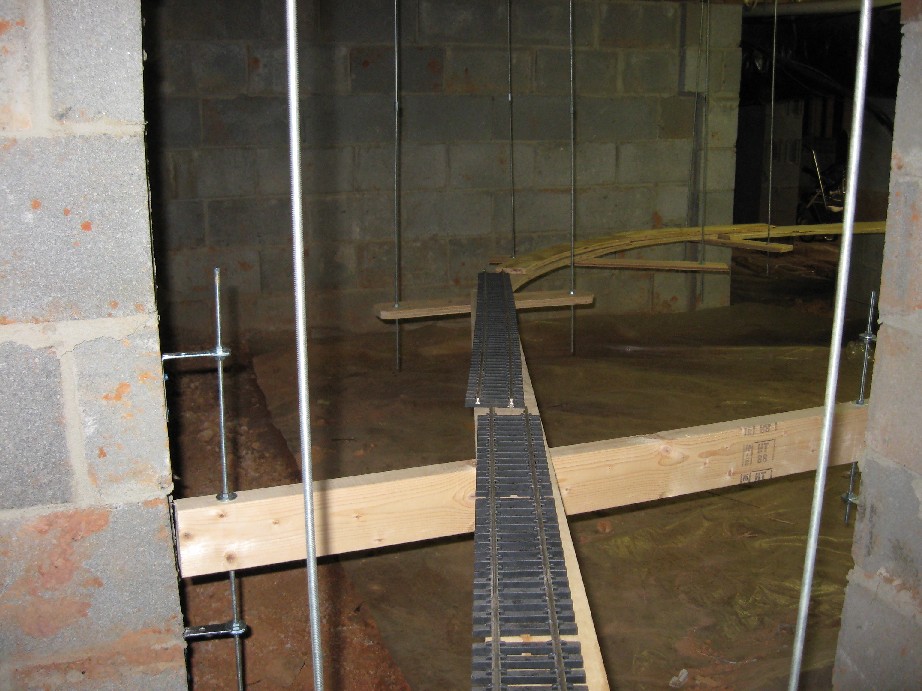
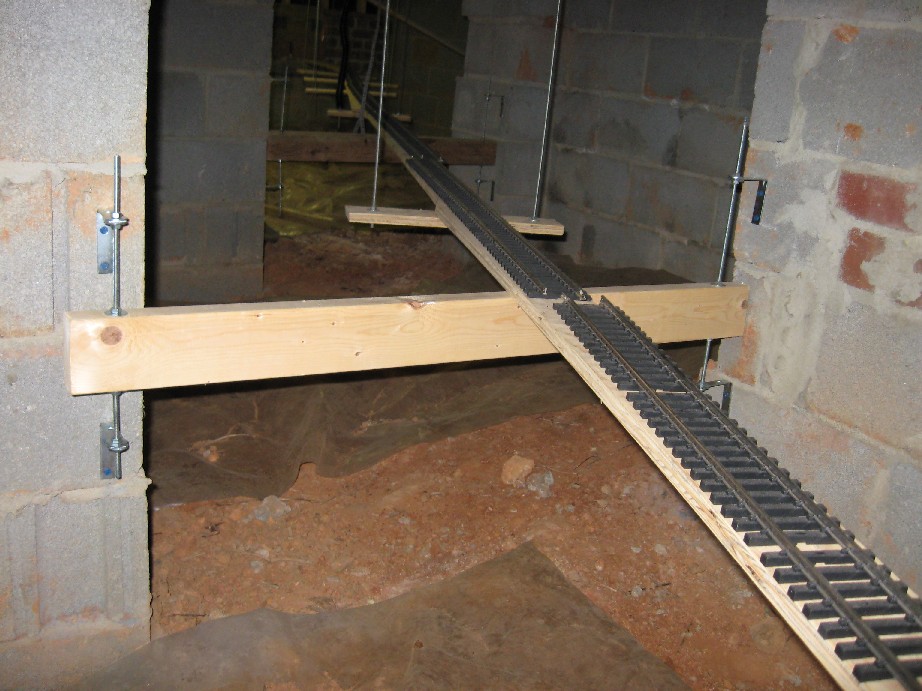
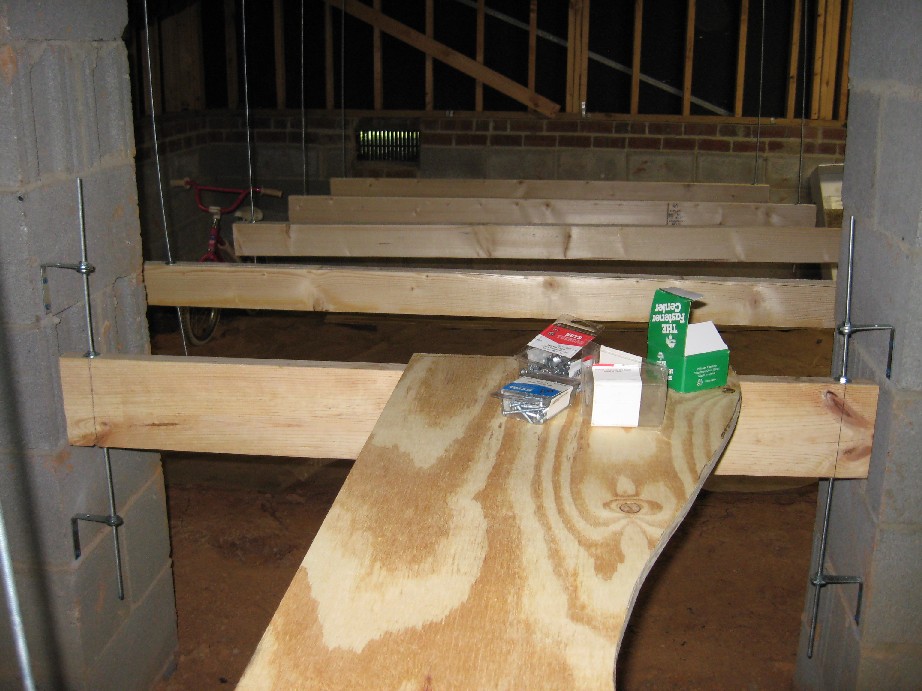
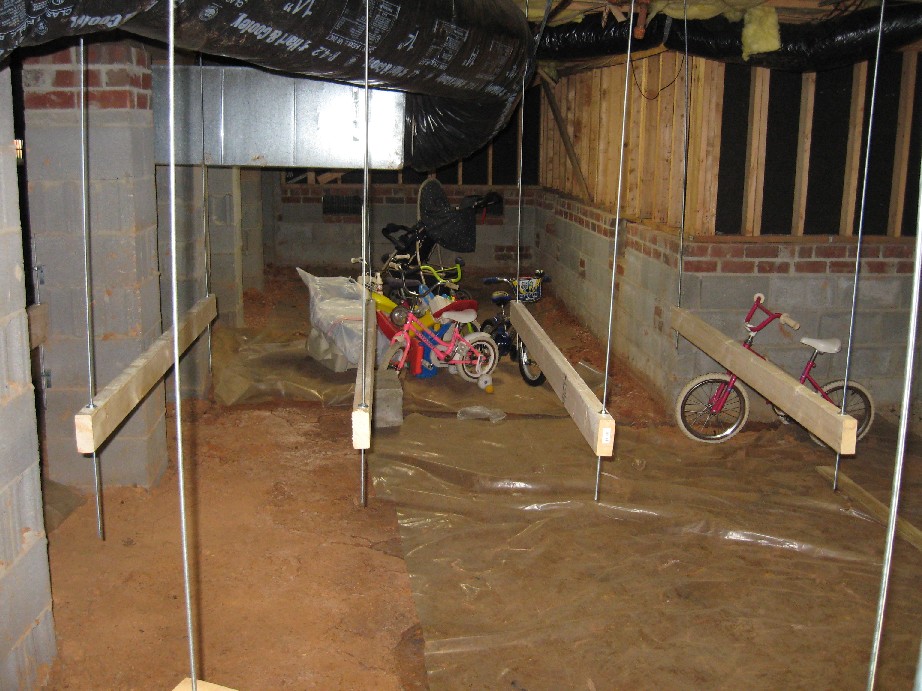
I've continued constructing the supports between the ends of the long pieces of plywood. Some of them are of the same construction as the supports on the ends of the pieces of plywood. However, there were three places where the layout passes between cinder block columns and or between a column and the foundation. For these locations I got the idea of anchoring angle brackets to the cinderblock to suspend very short lengths of threaded rod. The threaded rod would support pieces of 2x4 or 2x6 (I had scrap of both to use). I believe that this will greatly reduce the lateral motion of the roadbed once all of the roadbed is attached to supports. To attach the brackets to the cinder blocks, I used a masonry bit to drill the block and tapcon screws to attached the bracket to the block. This completed all of the necessary supports for the track from the back vent door to the side vent door.

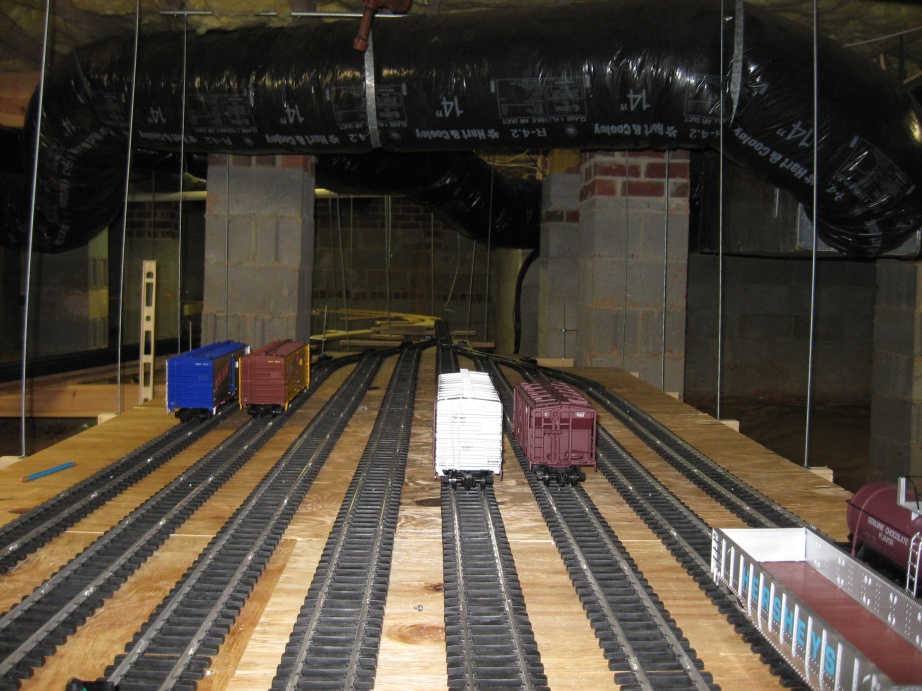
The train yard has Aristocraft wide radius stainless steel switches (30370 & 30380). The rail in the yard is Aristocraft aluminum track in 1' pieces. I also used Aristocraft stainless parallel track adapter pieces (30375) for the two outside tracks of the rail yard.
I am also planning on using a Hillmans� rail clamps bridge kit to allow the section of roadbed next to the back vent door to lift up to allow access to the other side of the track instead of having to step over.
Next I will work on adjusting the supports to provide an even grade to the road bed from the foundation vents to the #6 switch. I will make the final cuts to the plywood road bend. Then I will finally start laying track. I have purchased a Train-li rail bender and have 4.5� length of Aristocraft stainless steel track.
| Item | Cost |
|---|---|
| angle brackets (4 ct.) | 6 @ 3.22 |
| tapcon screws (8 ct.) | 2.80 |
| tapcon screws (25 ct.) | 2 @ 5.80 |
| #10 x 2" (50 ct.) pan head screws | 4.81 |
| #20 nuts (100 ct.) | 2 @ 4.97 |
| 1/2" EMT tubing (10') | 7 @ 1.97 |
| washers (100 ct.) | 12.00 |
| washers (100 ct.) | 14.00 |
| threaded rod | 8 @ 3.73 |
| threaded rod | 14 @ 2.67 |
| threaded rod | 5 @ 2.97 |
| 2x4 8' | 7@2.36 |
| 2x6 8' | 2.69 |
| 8 x1-1/4" wood screws (100ct.) | 4.81 |
| 3/4" plywood 4'x8' | 2 @ 20.00 |
| Sub Total | 235.35 |
| Sales Tax | 16.47 |
| Total | 251.82 |
This page last updated March 31, 2008