|
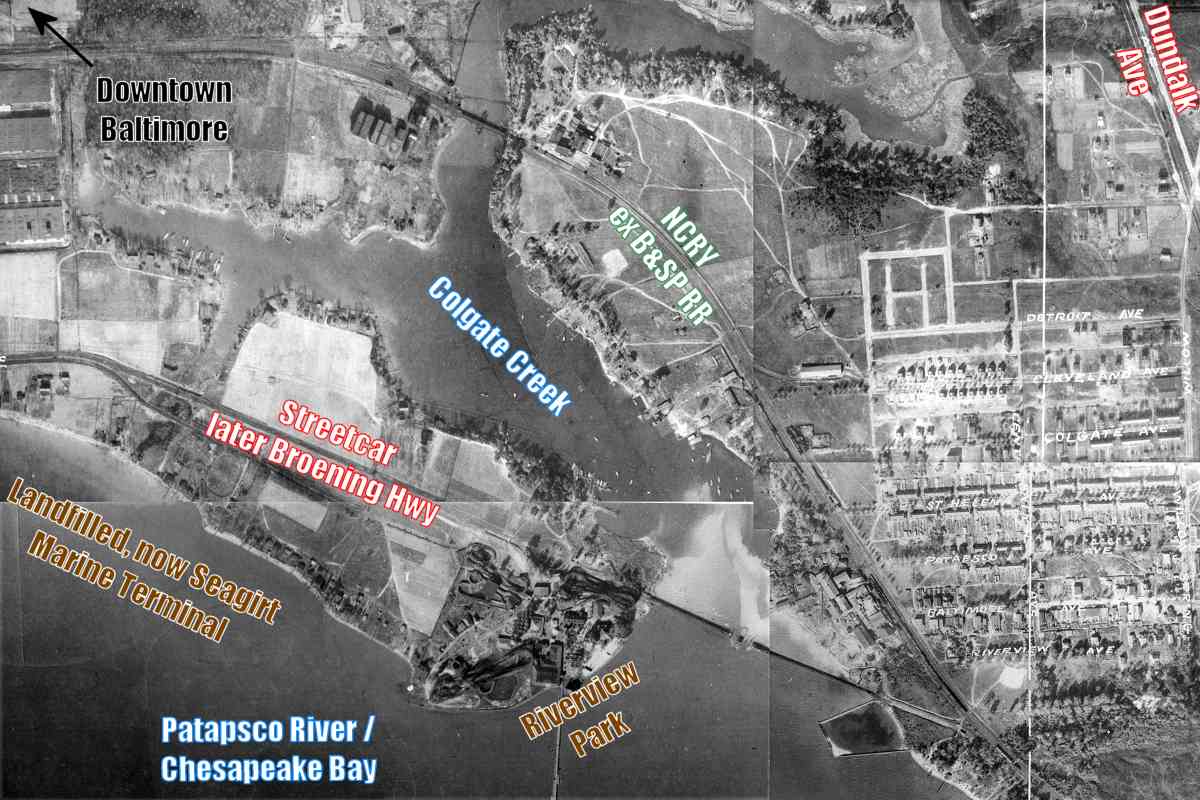
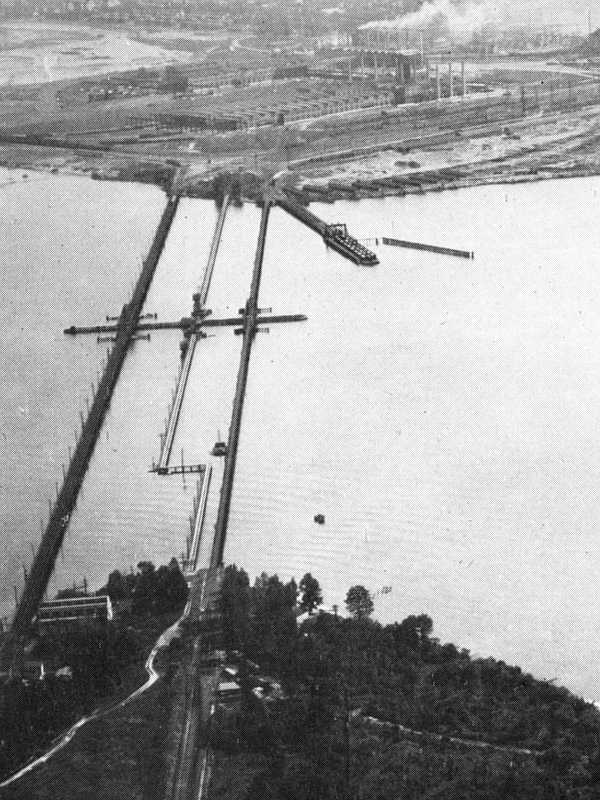
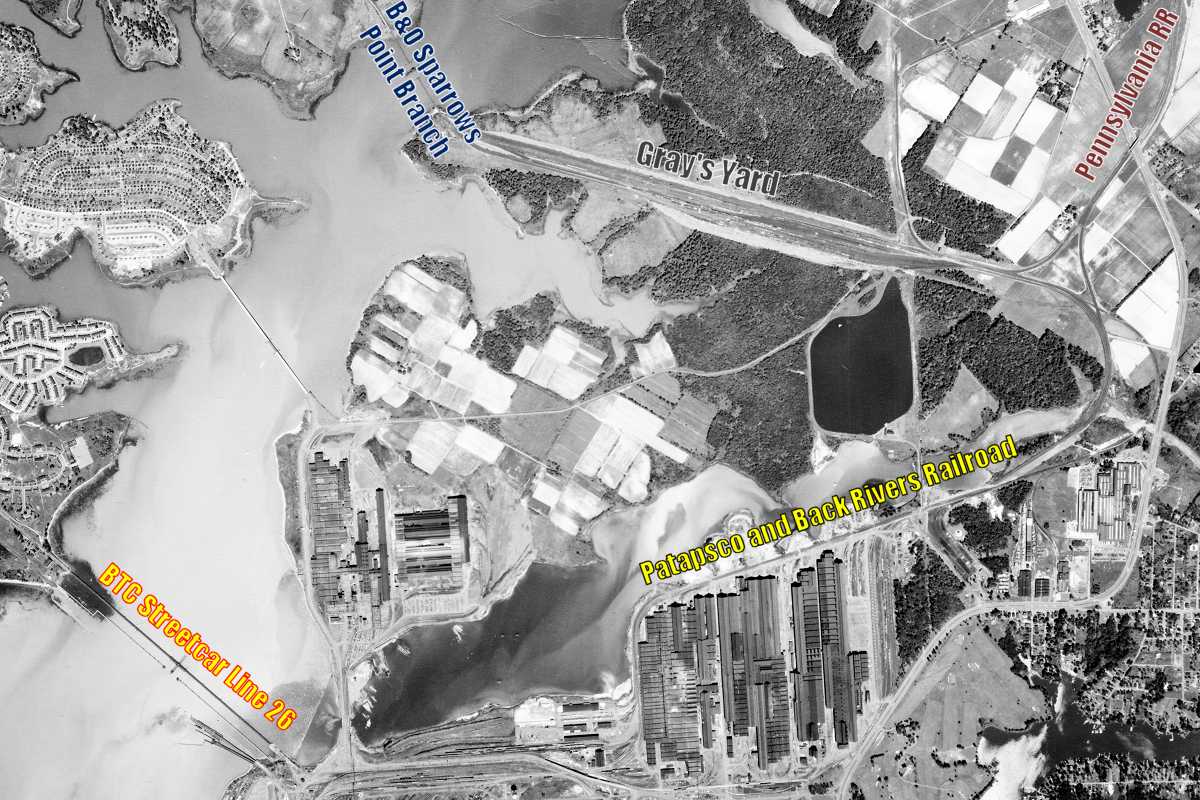
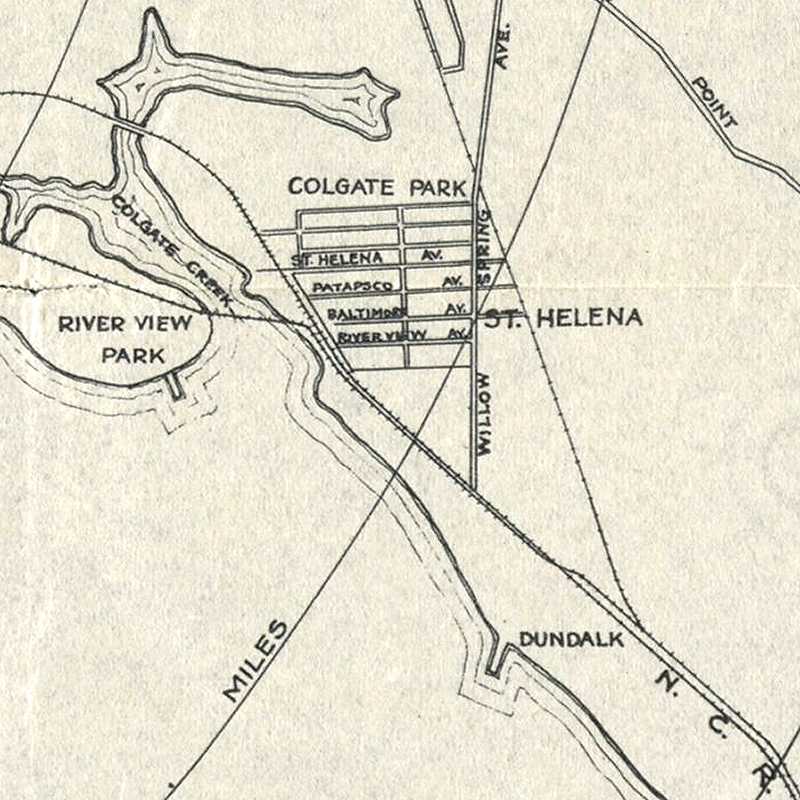
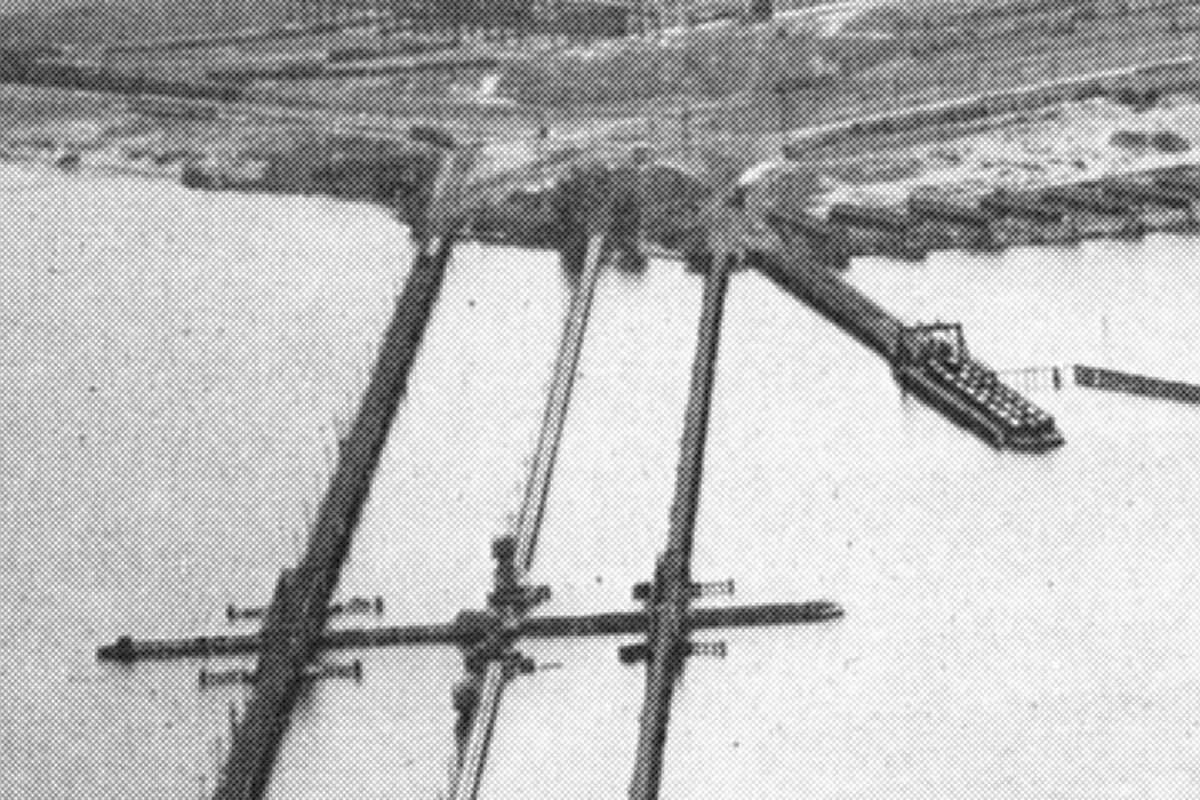
Aerial photos from 1927 (above) show two bridges across Colgate Creek,
NC's at top, and another downstream, that of a streetcar line to Point
Breeze Hotel at Riverview Park. That bridge endured into the 1930s
until supplanted by Broening Highway when the streetcar line was
rerouted onto Dundalk Avenue.
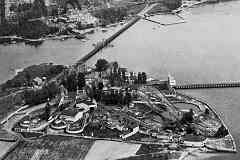 The streetcar ran adjacent the Riverview amusement park (also
called River Park) that had
opened during the 1890s under the name Lowrey's Place. The park's
roller coaster, perhaps the first in Baltimore, can be seen in
the east-looking 1924 photo at right. It climbed to 75 feet above
ground.
The streetcar ran adjacent the Riverview amusement park (also
called River Park) that had
opened during the 1890s under the name Lowrey's Place. The park's
roller coaster, perhaps the first in Baltimore, can be seen in
the east-looking 1924 photo at right. It climbed to 75 feet above
ground.
Roller coasters were inspired by the Mauch Chunk Switchback Railway
in Summit Hill, Pennsylvania that opened in 1829 to carry coal.
By the 1850s, thrill seekers were purchasing rides down the steep,
gravity-powered railway.
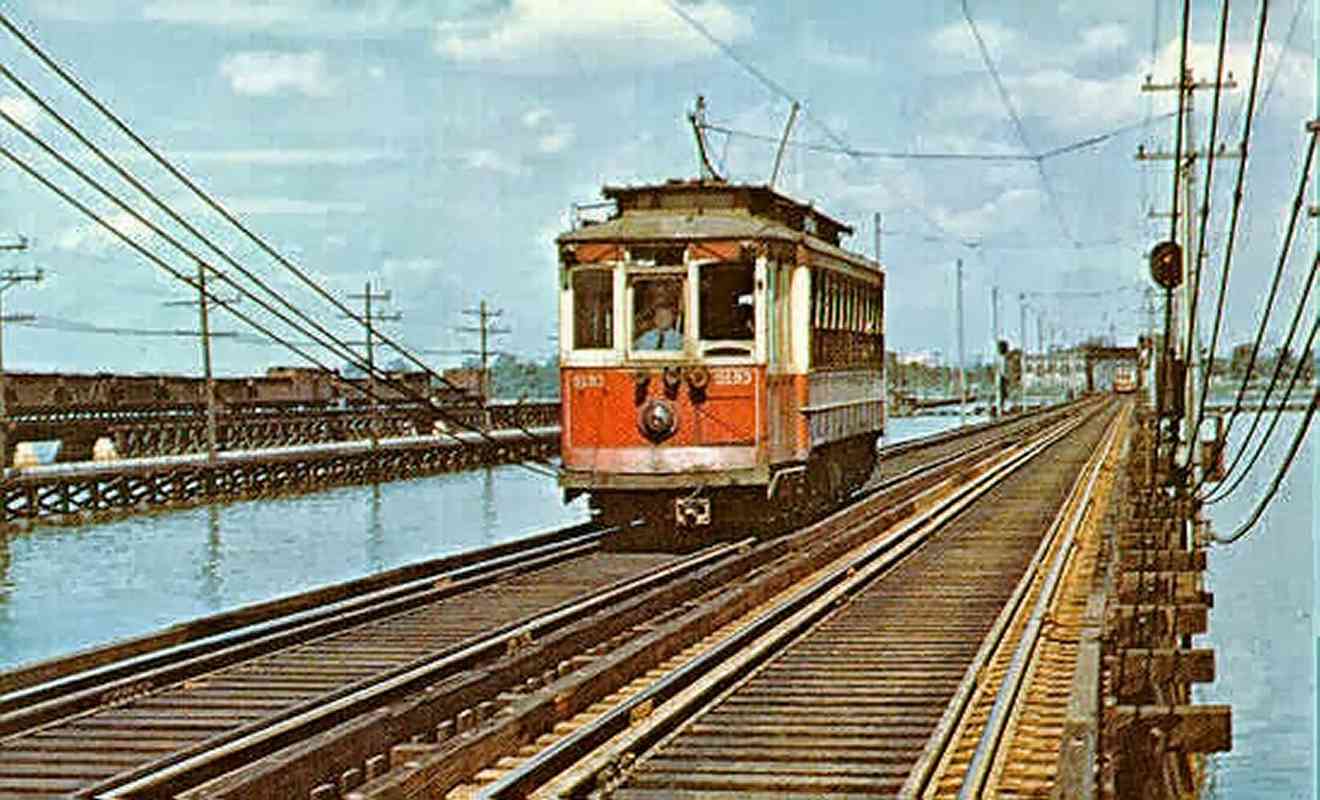
Note the streetcar's turnaround loop on the north side of the
park; the loop implies at least some streetcars did not continue
beyond to Sparrows Point. The park closed during 1929, and the site
was repurposed for a Western Electric factory. Now Seagirt Marine
Terminal operates here.
Links:
1909 postcard,
1919,
Western Electric video that shows Riverview Park
|