TrainWeb.org Facebook Page
B&O Metropolitan Branch Photo Tour


B&O Metropolitan Branch
Modern day photo tour

Accompanying each photo below are:

Click a photo to see a larger view. Please send your comments and corrections to Steve.


<< Previous (east) | THIS PAGE: Barnesville to Dickerson | Next (resume) >>

Map Barnesville West
Photo courtesy Google

Map Barnesville West
Mile: 33 to 35 Date: 2006
Ease: View: N (up)
Area: A IC2:
Map: Mo 7 Topographic Maps

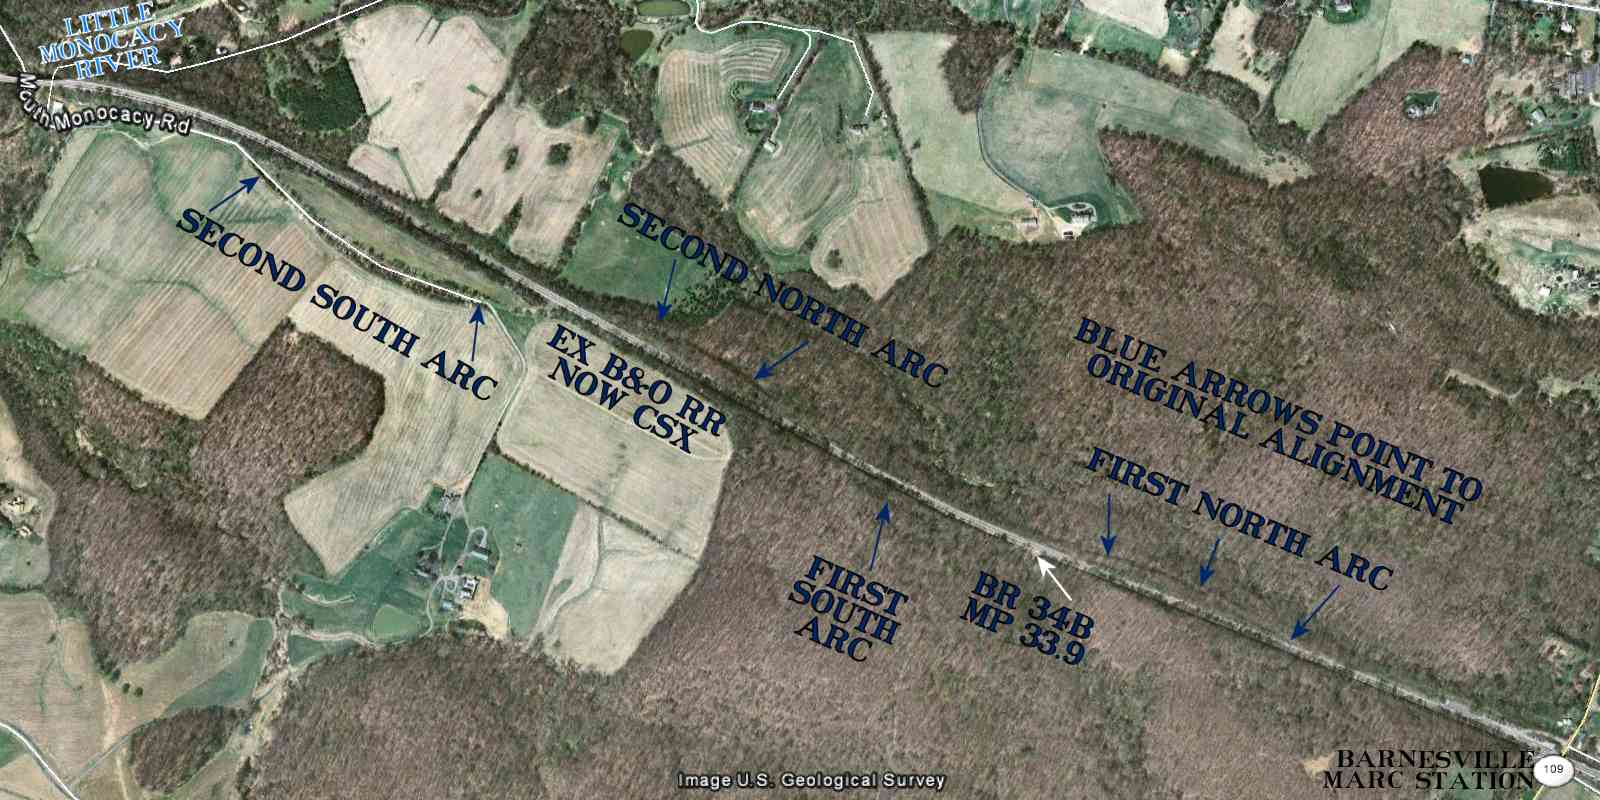
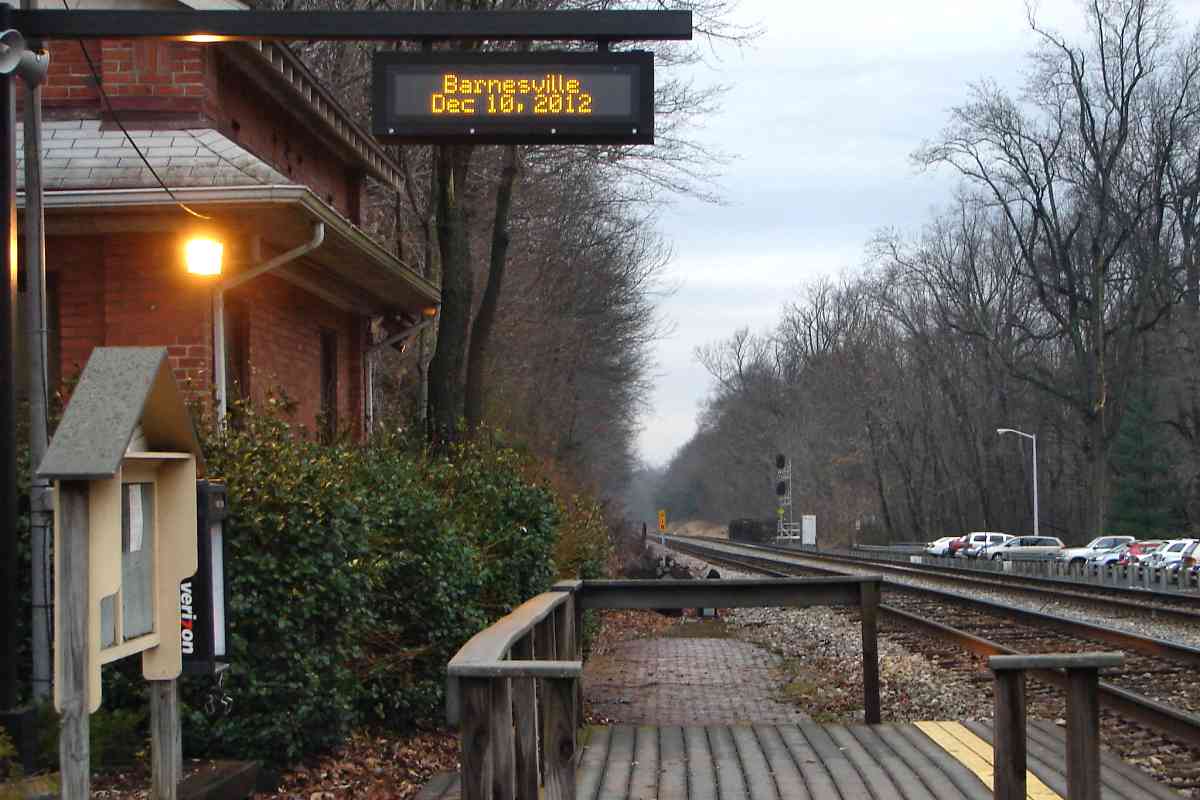
This disused alignment tour page covers the roughly two miles west from Barnesville, Maryland to Dickerson, Maryland. The disused portions have 
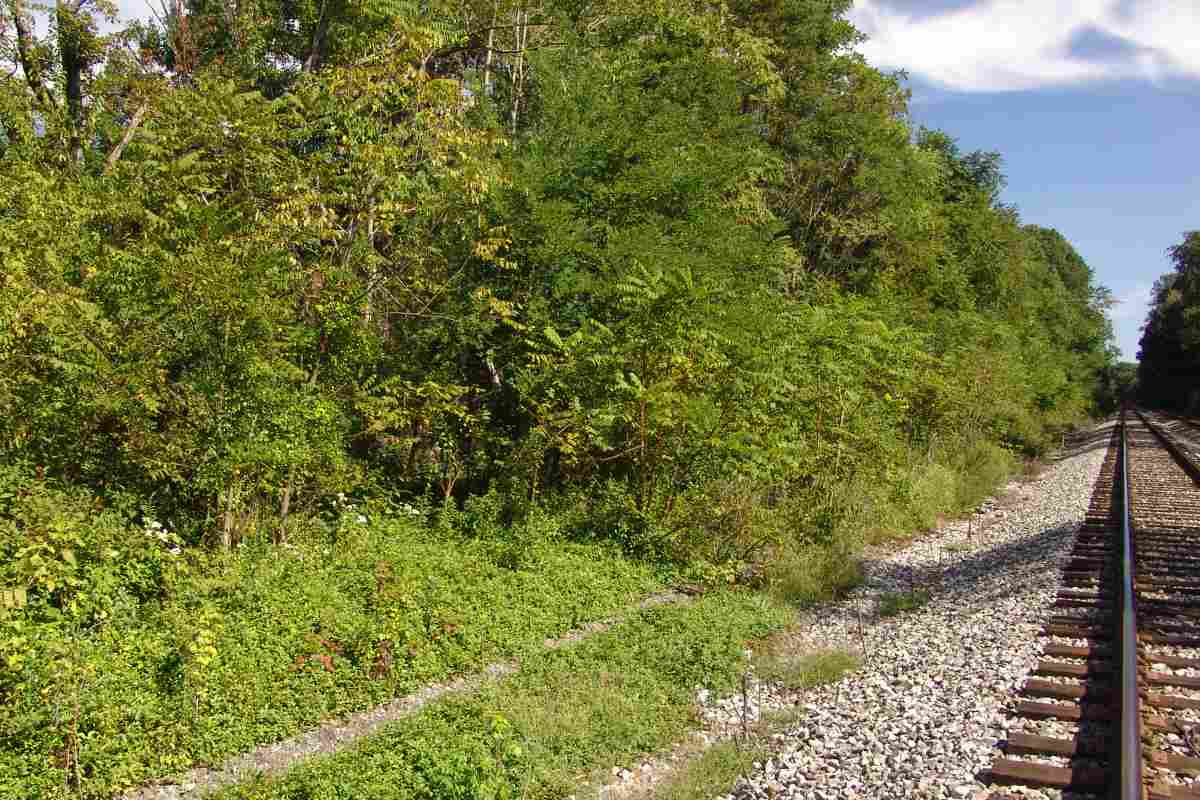
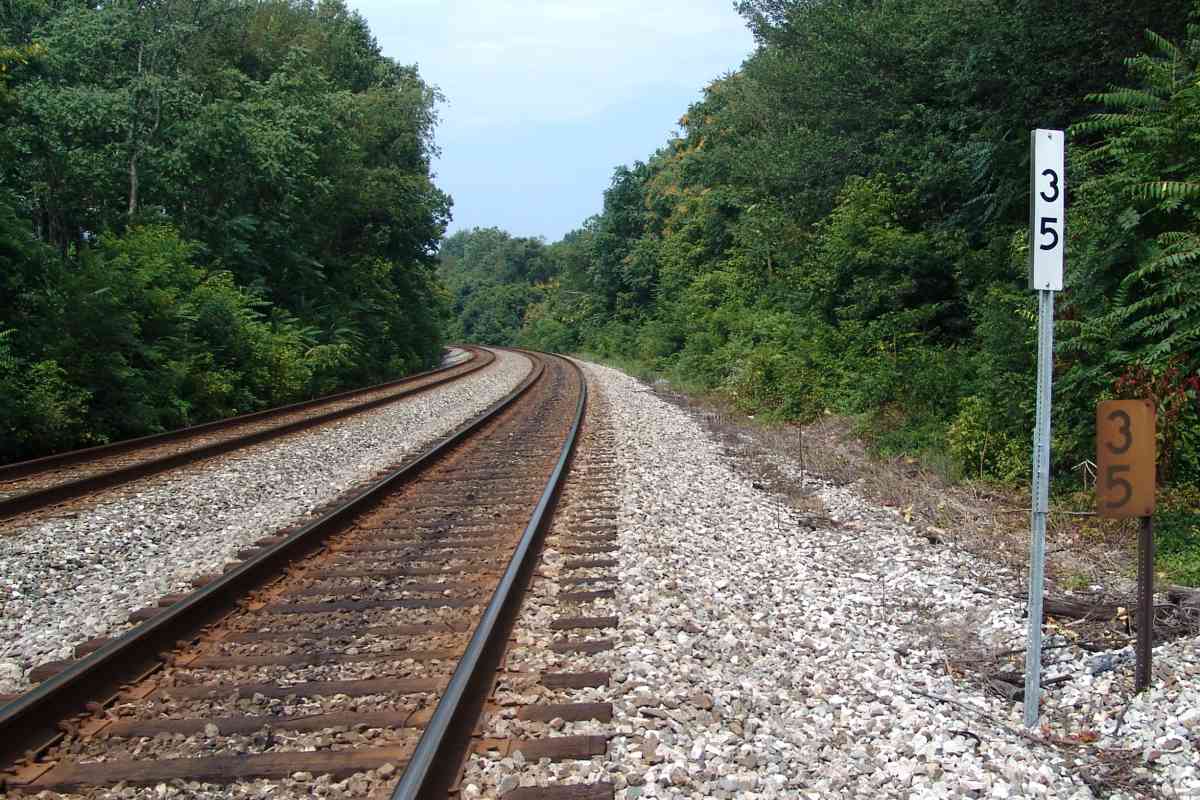
been separated into four arcs by the current alignment that is now part of CSX's Metropolitan Subdivision.

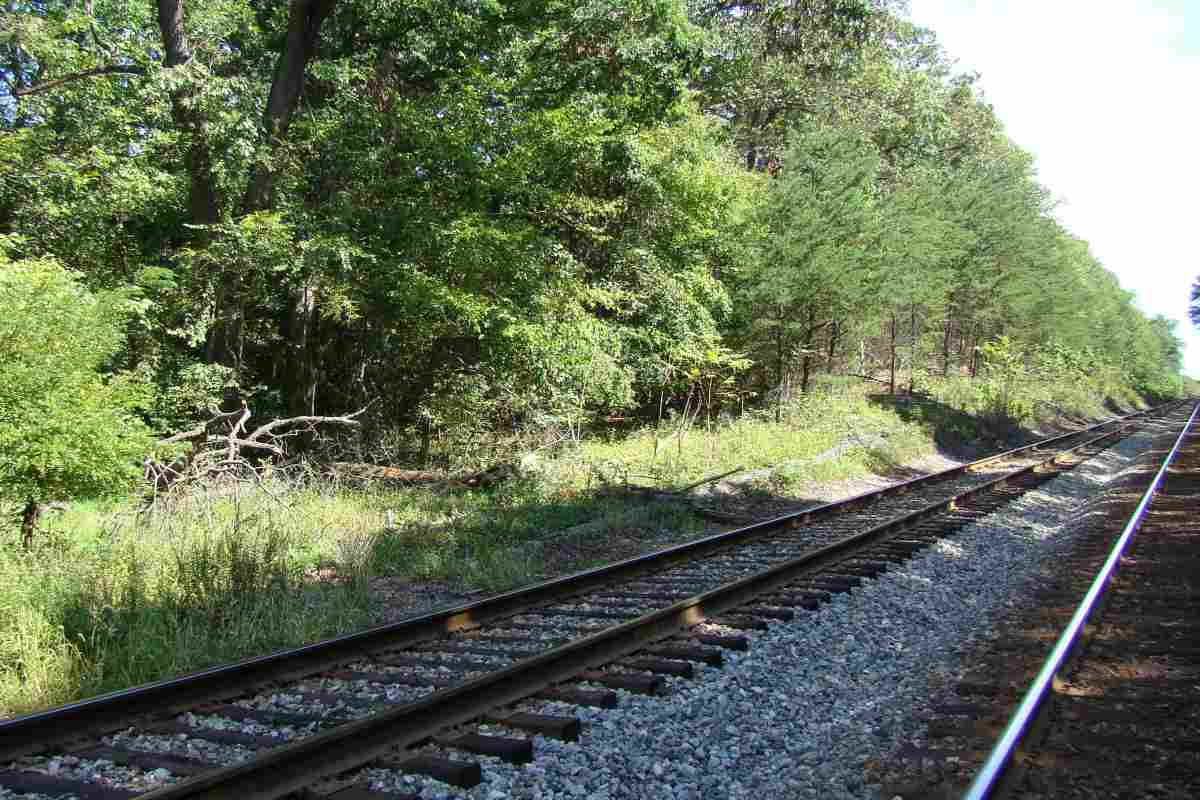
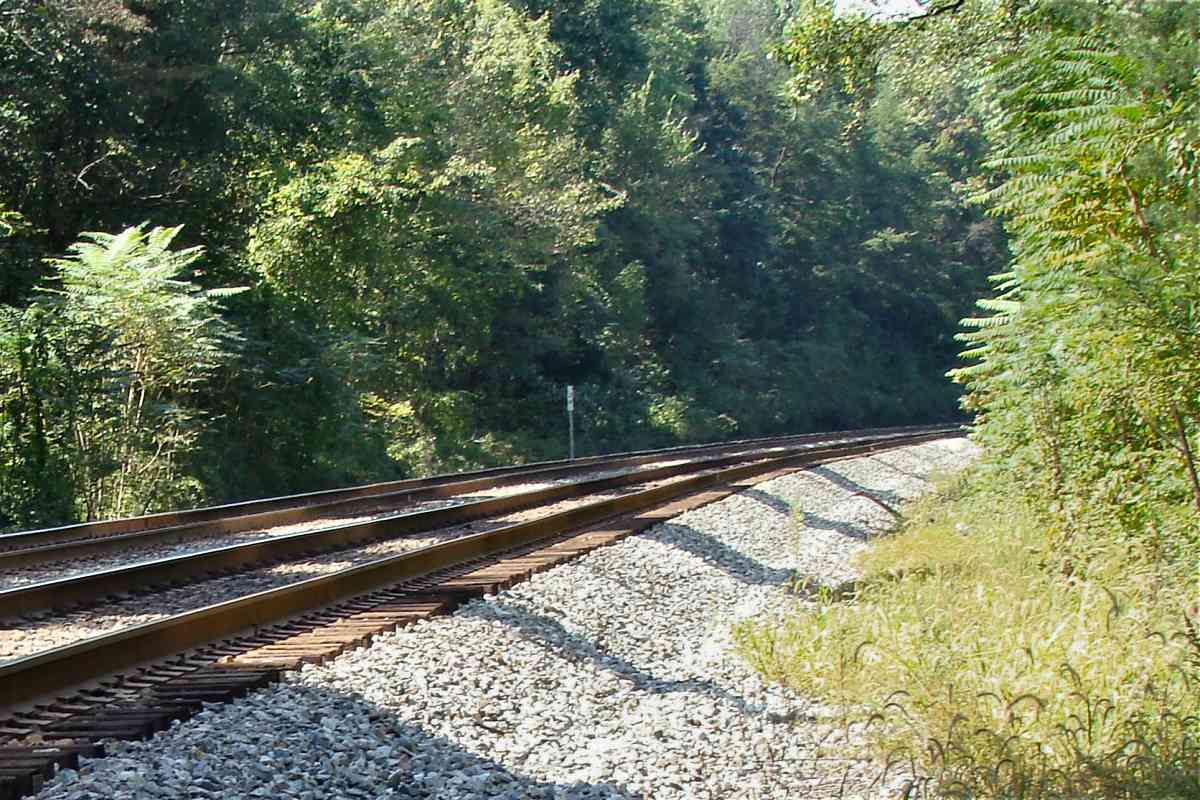
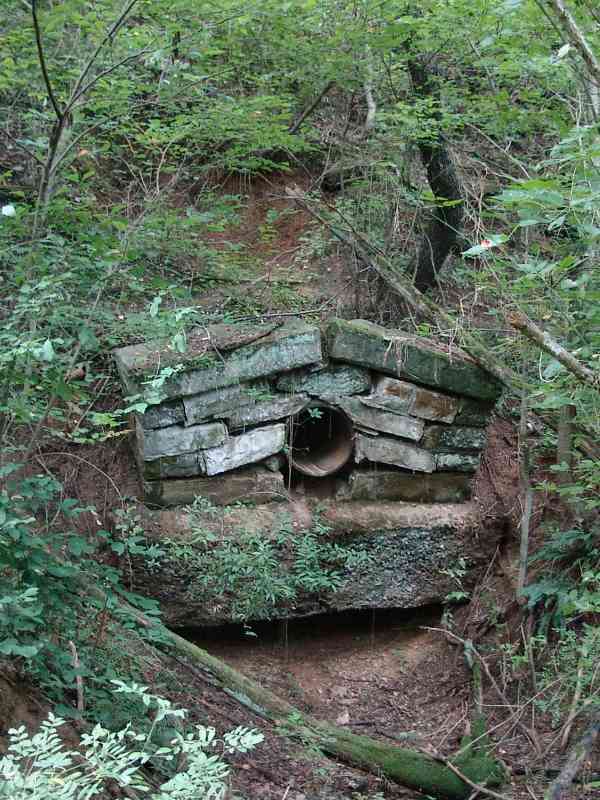
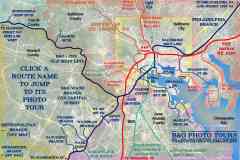
The B&O began construction of its single-track Metropolitan Branch at Barnesville (lower-right corner) during 1866. Double tracking of this stretch would come some 40 years later concurrent with the buulding of new bridges and a straightening that saw part of the original alignment subsequently left fallow.

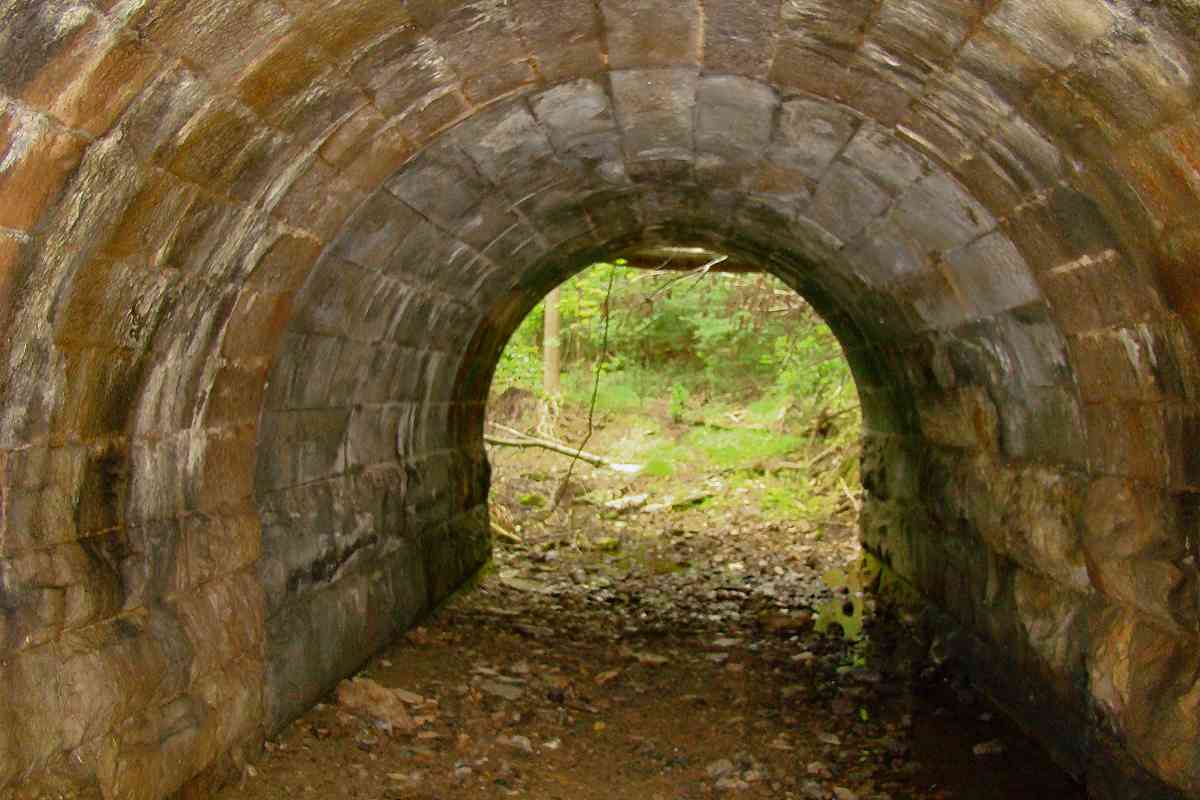
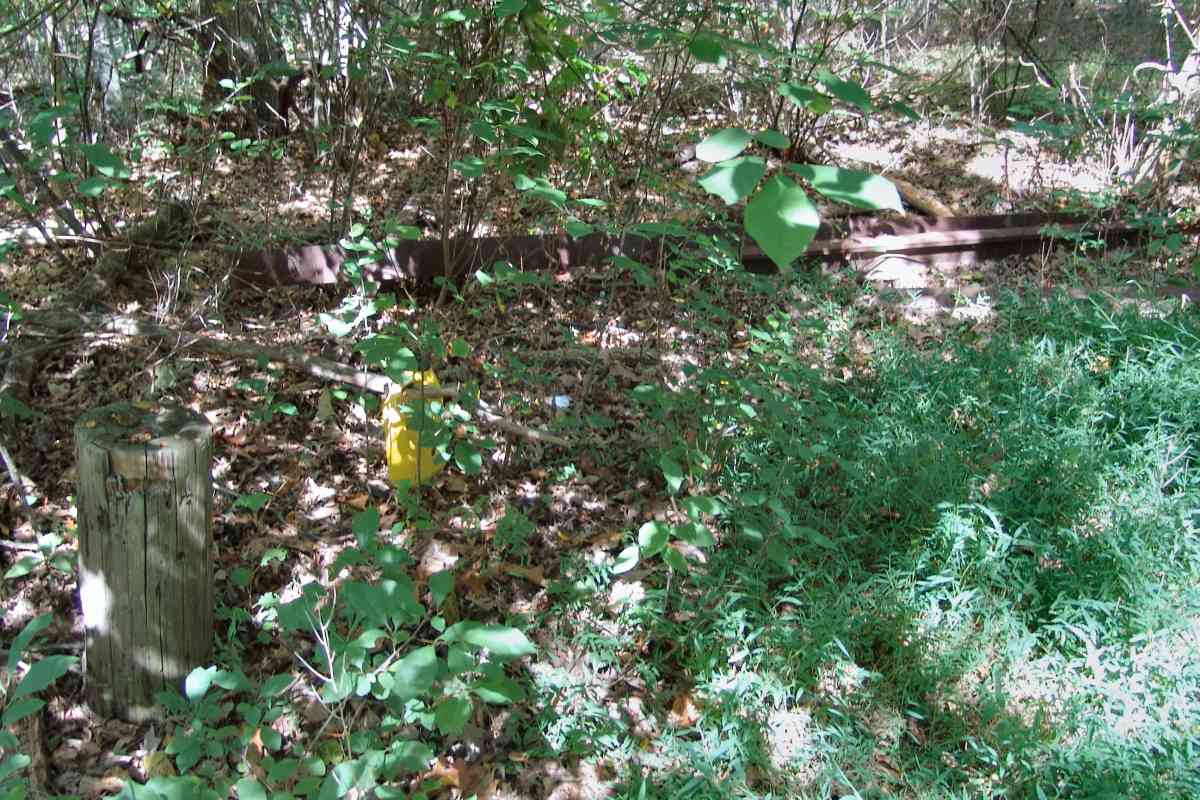
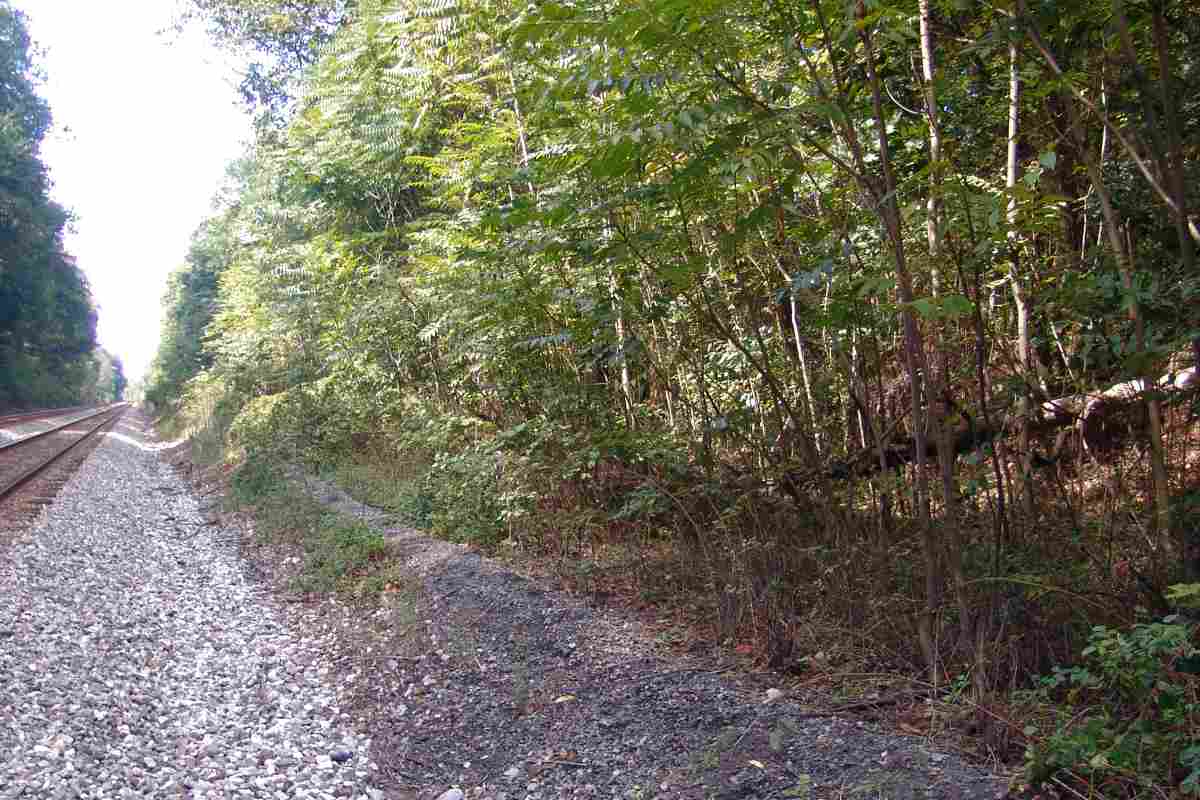
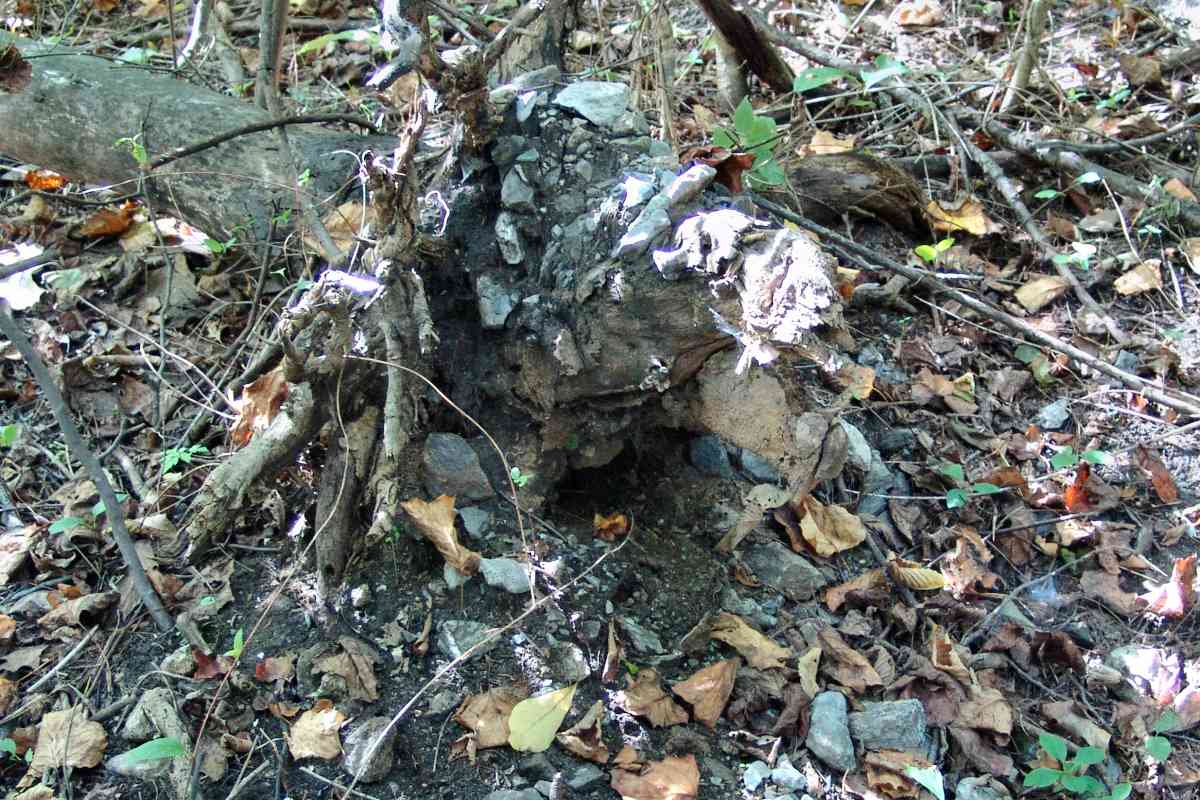
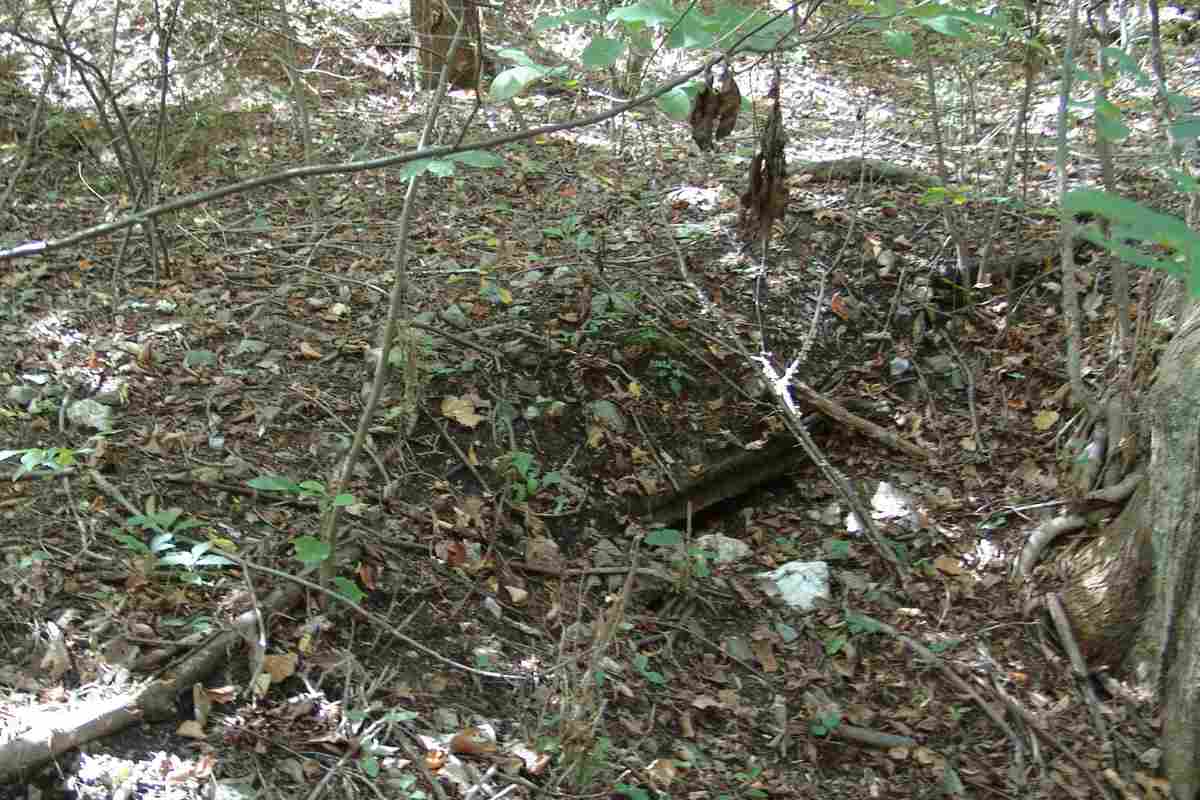
Despite the passage of more than a century, a few artifacts remain extant, starting with the visibility from space of the four arcs of original alignment. The blue arrows point to those arcs, two on the north side of the current line, two on the south.


Barnesville Station

Barnesville Station
Mile: 33.3 Date: Dec 2012
Ease: A- View: W
Area: A- IC2:
Map: Mo 7 H 9 Topographic Maps

The B&O's BA tower had called Barnesville home; now this MARC commuter station does.

Looking west, the first of the four original alignment arcs veers to the north (right), not far from the signals.


First North
Photo courtesy Dave Hiteshew

First North
Mile: 33.4 Date: Sep 2008
Ease: B+ View: W
Area: A IC2:
Map: Mo 7 H 9 Topographic Maps

The first north arc begins at the vague opening in the grenery on the right. By more closely following the banks of a stream, the original alignment required less stone excavation.


Greenery
Photo courtesy Dave Hiteshew

Greenery
Mile: 33.5 Date: Sep 2008
Ease: B+ View: W
Area: A IC2:
Map: Mo 7 H 9 Topographic Maps

The original alignment sat at a lower elevation than the current, but invasive stilt grass does not mind, it even seems to prefer shady areas that trees have not filled in. The current alignment is up on the left.


Single Width
Photo courtesy Dave Hiteshew

Single Width
Mile: 33.7 Date: Sep 2008
Ease: B View: W
Area: A IC2:
Map: Mo 7 G 9 Topographic Maps

As found along other parts of the original alignment, the width here has room for only a single track.


Bridge 34B
Photo courtesy Dave Hiteshew

Bridge 34B
Mile: 33.9 Date: Jul 2008
Ease: B View: S
Area: A IC2:
Map: Mo 7 F 9 Topographic Maps

Bridge 34B is a curious structure. At roughly 120 feet, it is significantly longer than similar stone arch bridges along the Old Main Line. My assessment is portions date to circa 1870 for the original construction of the Metropolitan Branch. Thanks to its location where both the original and current alignments cross a stream, bridge 34B is still in active use.


Bridge 34B Interior
Photo courtesy Dave Hiteshew

Bridge 34B Interior
Mile: 33.9 Date: Jul 2008
Ease: B View: S
Area: A IC2:
Map: Mo 7 F 9 Topographic Maps

Differing masonry within the interior reveals the bridge was lengthened. Notice the average size of the stone blocks closer the portal is larger, indicating more powerful equipment was used, which suggests the lengthening came years after original construction.


Bridge 34B South End
Photo courtesy Dave Hiteshew

Bridge 34B South End
Mile: 33.9 Date: Jul 2008
Ease: B- View: S
Area: A IC2:
Map: Mo 7 F 9 Topographic Maps

At first I had thought the lengthening was related to slightly different track placement during double-tracking of the line, but notice this end also has differing masonry. So, both ends of this bridge have each been lengthened about 15 feet.

Consequenly, I suspect the bridge was extended to facilitate a higher track elevation: to support more fill on top, the bridge had to be longer on both ends. Since its additional masonry resembles that employed at the 1906 stone arch bridge over the Little Monocacy River, the extensions here likely date to that time.


First North Exit
Photo courtesy Dave Hiteshew

First North Exit
Mile: 33.9 Date: Sep 2008
Ease: B View: NE
Area: A IC2:
Map: Mo 7 F 9 Topographic Maps

The first north arc exits the trees then approaches the camera. Note on the right how the current alignment cut through the hill rather than dodge it. Its higher elevation meant less rock cutting was needed.


Detritus
Photo courtesy Dave Hiteshew

Detritus
Mile: 34.0 Date: Sep 2008
Ease: B View: N
Area: A IC2:
Map: Mo 7 F 9 Topographic Maps

Modern rails have rolled down from the adjacent current alignment. The pole stump at left may well be a leftover from a telegraph line.


First South Arc
Photo courtesy Dave Hiteshew

First South Arc
Mile: 33.9 Date: Jul 2008
Ease: B View: W
Area: A IC2:
Map: Mo 7 F 9 Topographic Maps

Atop bridge 34B, the first north arc cut across to the south arc, and disppeared into the trees not far from milepost 34.

Note that it's easier to identify the four arc segments by saying they cut across and such, whereas instead it was the newer alignment, the current one, that actually did the severing of the original alignment into the four arcs.


Second North Arc
Photo courtesy Dave Hiteshew

Second North Arc
Mile: 34.2 Date: Sep 2008
Ease: B View: W
Area: A IC2:
Map: Mo 7 F 8 Topographic Maps

The first south arc is short, and cut back across to the north side around here.


Ballast
Photo courtesy Dave Hiteshew

Ballast
Mile: 34.3 Date: Sep 2008
Ease: B- View: ?
Area: A IC2:
Map: Mo 7 E 8 Topographic Maps

Evidence for the second north arc comes in the form of stone ballast, here exposed by a fallen tree that had grown on top of it.


Small Culvert
Photo courtesy Dave Hiteshew

Small Culvert
Mile: 34.3 Date: Sep 2008
Ease: B- View: SW?
Area: A IC2:
Map: Mo 7 E 8 Topographic Maps

There's also this small culvert.


Split Culvert
Photo courtesy Dave Hiteshew

Split Culvert
Mile: 34.3 Date: Jul 2008
Ease: B- View: S?
Area: A IC2:
Map: Mo 7 E 8 Topographic Maps

This larger culvert runs under the active line. It has the form of other B&O culverts built in the early 1900s, so likely dates to 1906 when other work was done in this vicinity. While this one's foundation eroded, its cast iron pipe stayed in place, eventually causing the masonry to split.


Concrete
Photo courtesy Dave Hiteshew

Concrete
Mile: 34.4 Date: Sep 2008
Ease: B- View: N
Area: A IC2:
Map: Mo 7 E 8 Topographic Maps

This structure along the second north arc is more difficult to explain. The B&O did not use concrete in this slab fashion until the 20th century. Why build such a structure along the old alignment when the new alignment would soon open?


Dry
Photo courtesy Dave Hiteshew

Dry
Mile: 34.4 Date: Sep 2008
Ease: C+ View: SE
Area: A IC2:
Map: Mo 7 E 8 Topographic Maps

Stone walls support the concrete slab. The lack of running water below means the bridge may have served a different purpose, perhaps to let trains cross over a temporary access road used in construction of both the new alignment and the Little Monocacy stone bridge that lies about a half mile west.

Another possibility is that after the new alignment took over, this part of the original was repurposed into a local or farm road, however I have seen no maps or aerial photos to support such an idea.


Second North Exit
Photo courtesy Dave Hiteshew

Second North Exit
Mile: 34.5 Date: Sep 2008
Ease: B View: E
Area: A IC2:
Map: Mo 7 E 8 Topographic Maps

The second north arc exits at the opening at left-center and proceeds behind the photographer to cross to the start of the second south arc.


Second South Arc
Photo courtesy Dave Hiteshew

Second South Arc
Mile: 35.0 Date: Oct 2008
Ease: B+ View: E
Area: A IC2:
Map: Mo 7 D 8 Topographic Maps

Much of the second south arc has been repurposed into this farm road.


Rejoin
Photo courtesy Dave Hiteshew

Rejoin
Mile: 35.0 Date: Jul 2008
Ease: B View: W
Area: A IC2:
Map: Mo 7 D 8 Topographic Maps

There's no obvious break in the trees on the left, but it is near milepost 35 that the original and current alignments rejoin for the trip west across the Little Monocacy River bridge a short distance ahead.


This tour of disused alignments ends here, but the Met tour continues from Barnesville.

<< Previous (east) | THIS PAGE: Barnesville to Dickerson | Next (resume) >>

Instead, for other tours here now, select from the map: clickable map

Or, return to main page

Copyright Notice