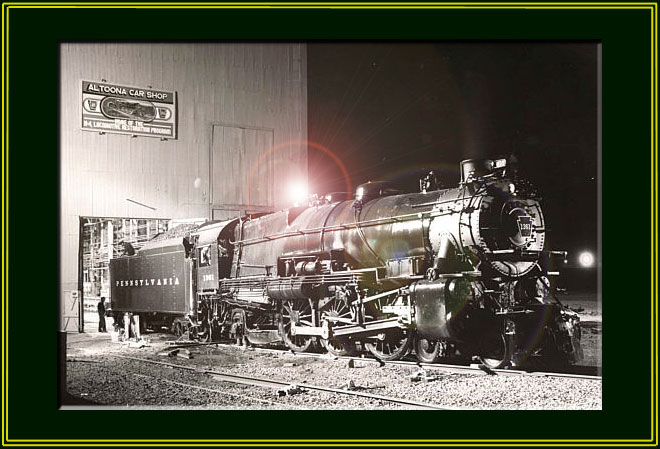
The PRR K-4s #1361
Steam Locomotive Restoration Project
Page 22
(This site is provided as a courtesy of the Altoona Railway Museum Club)
![]() January 2006 K4
Update
January 2006 K4
Update
These photographs were taken between July 2005 and January2006 by Charles Cantrell, 1361 Volunteer.
|
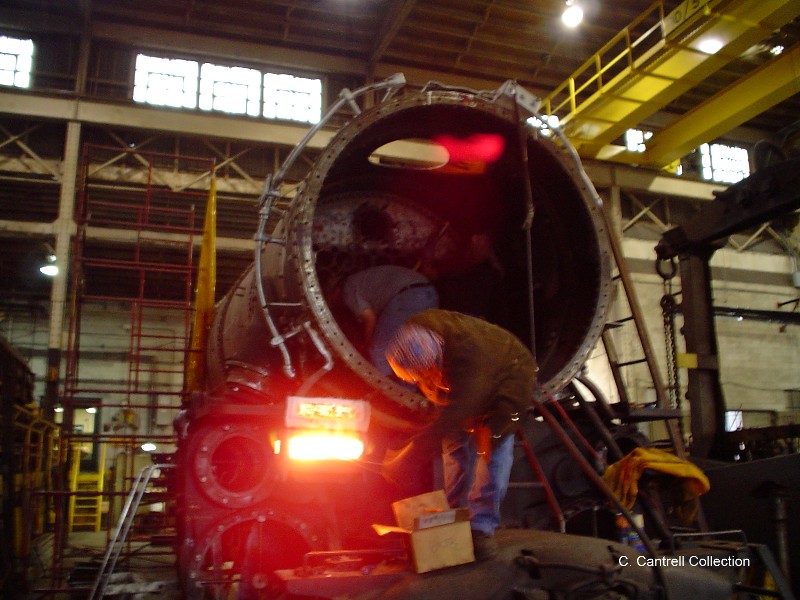
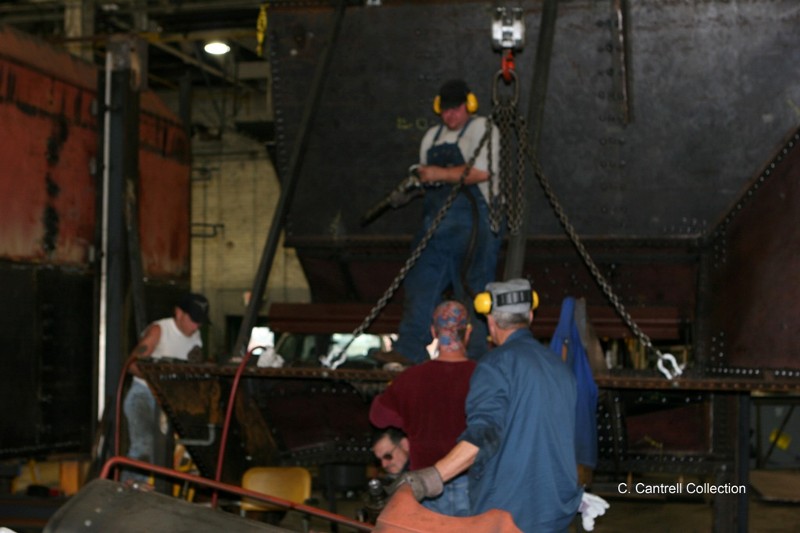
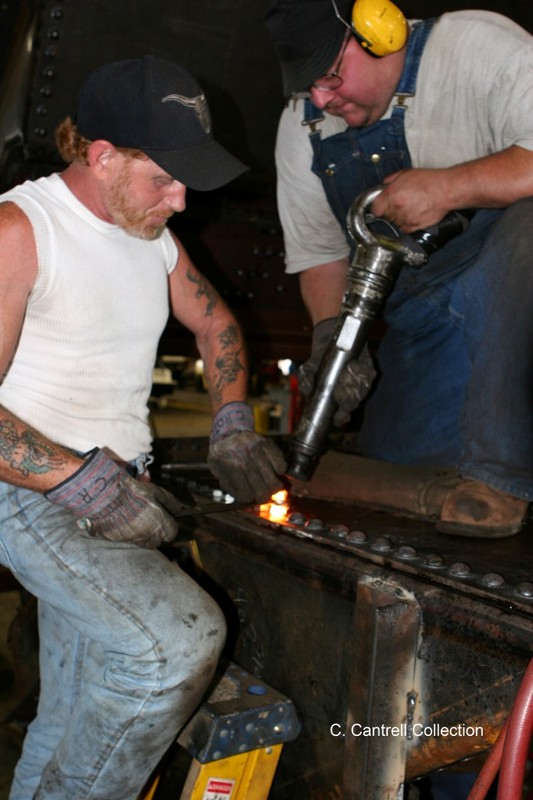
1. As riveting begins on the locomotive, Jeff checks to see if the rivets are ready. |
|
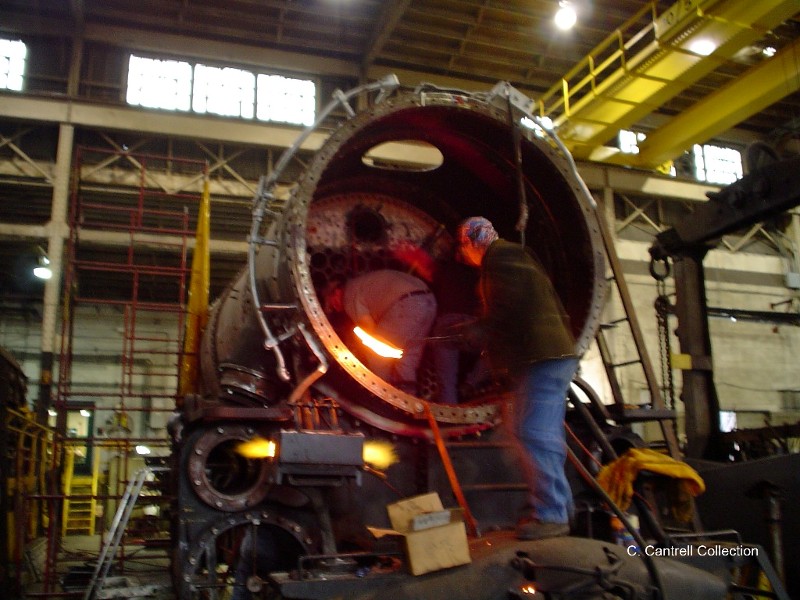
2. Jeff hands off a hot rivet. |
|
|
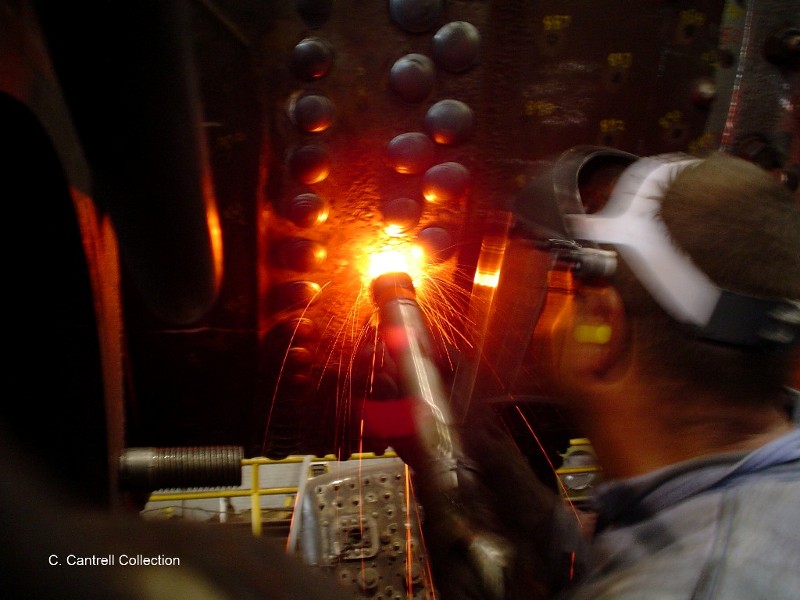
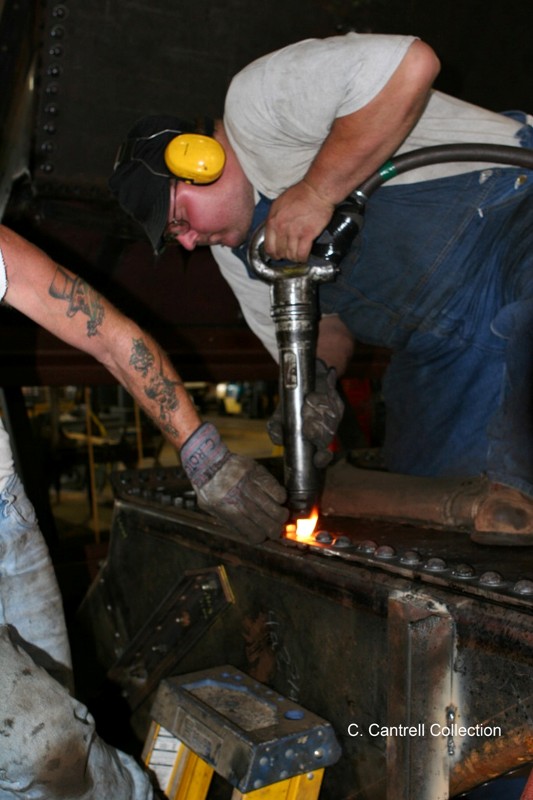
3. Eric bucks a hot rivet on the locomotive. |
|
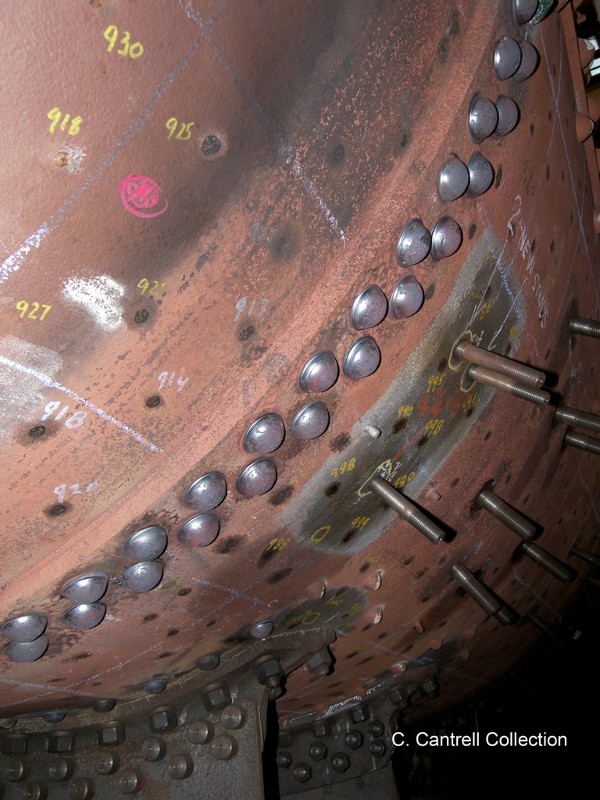
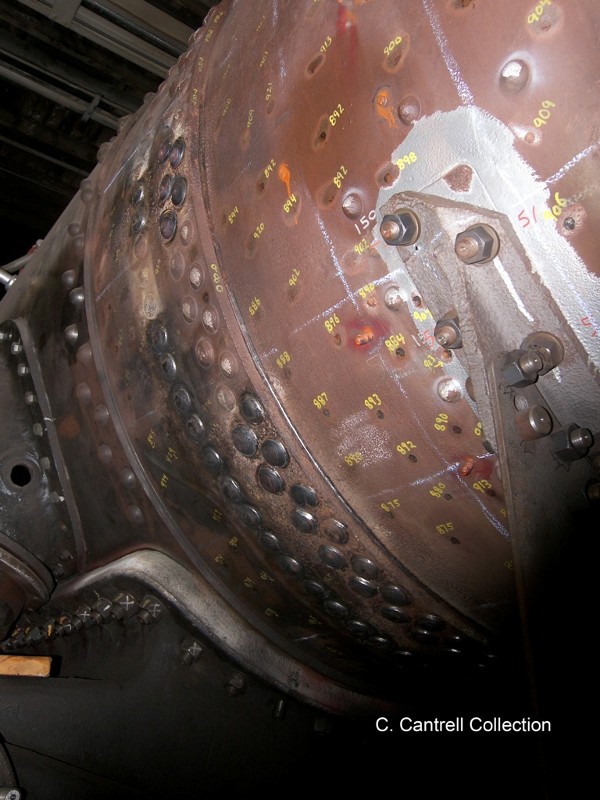
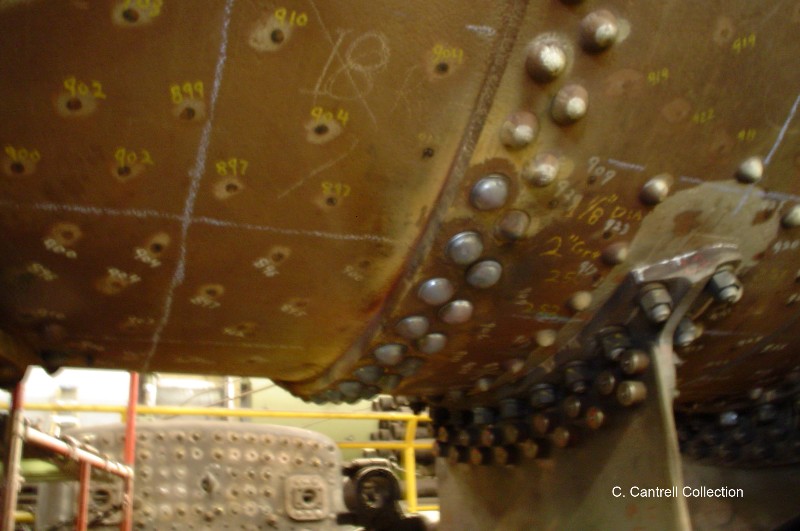
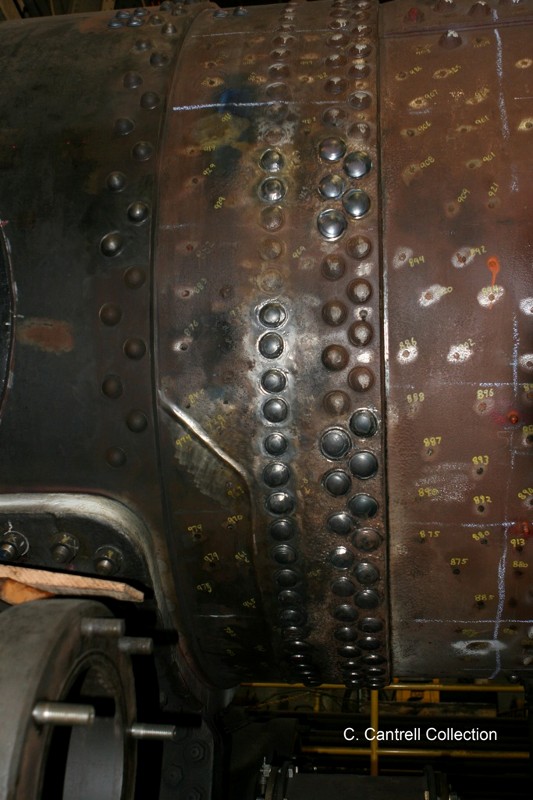
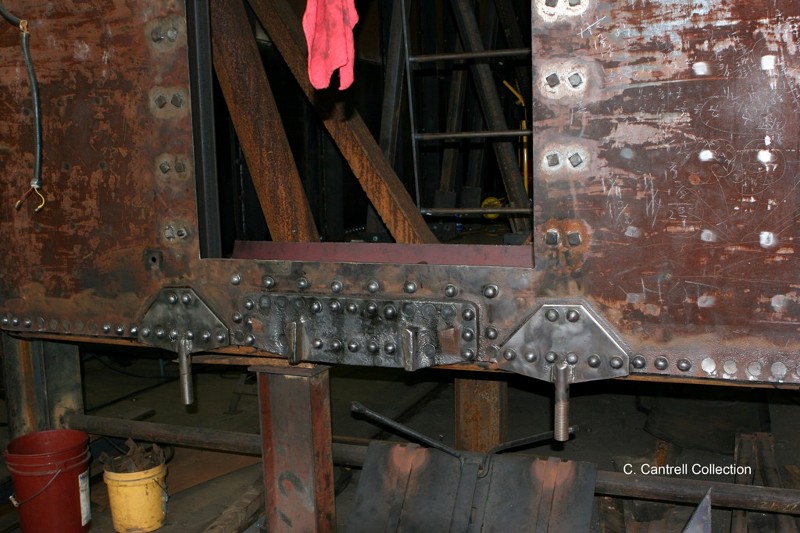
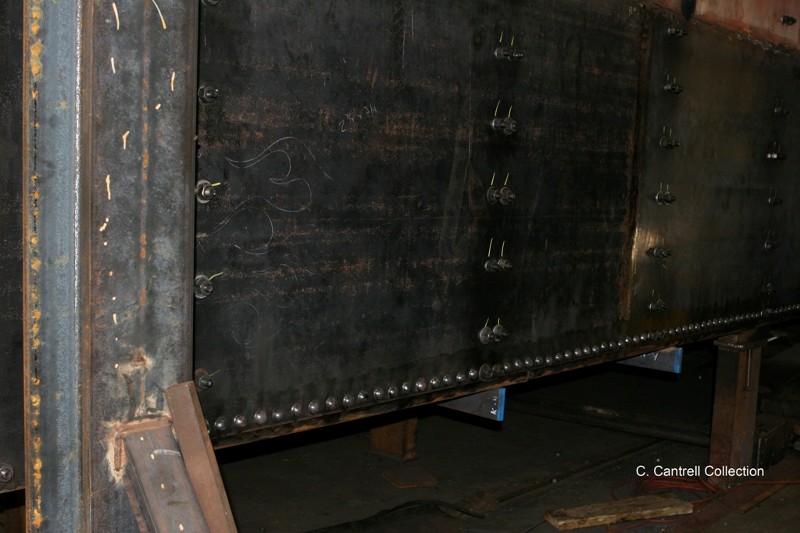
4. View of the new rivet work in the third boiler coarse. |
|
|
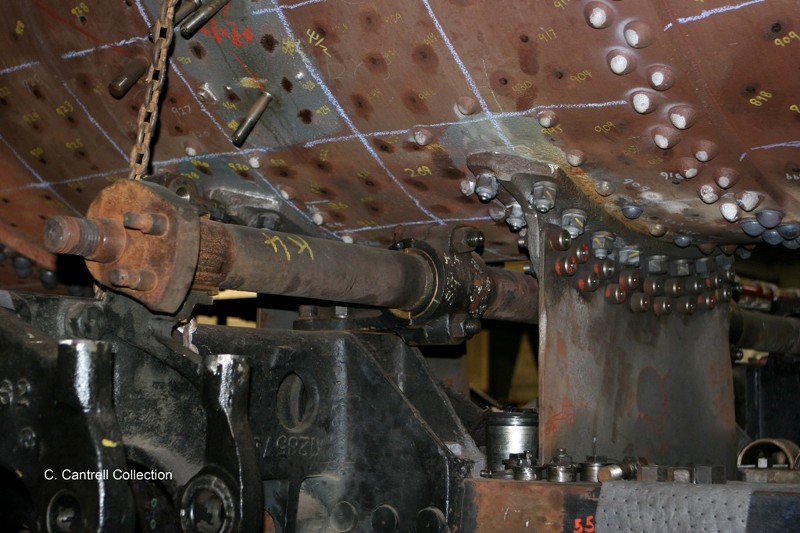
5. View of the new rivet work around the steam chest and smoke box. |
|
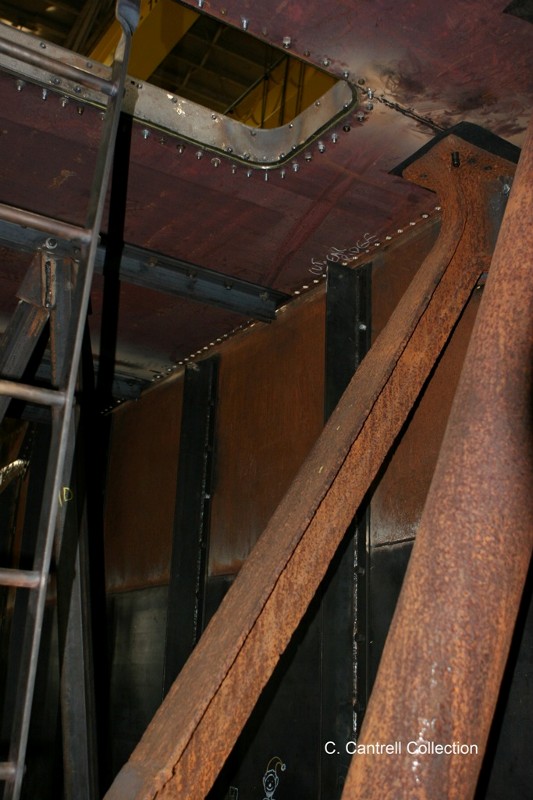
6. View of the new rivet work in the second boiler coarse near the flex plate. |
|
|
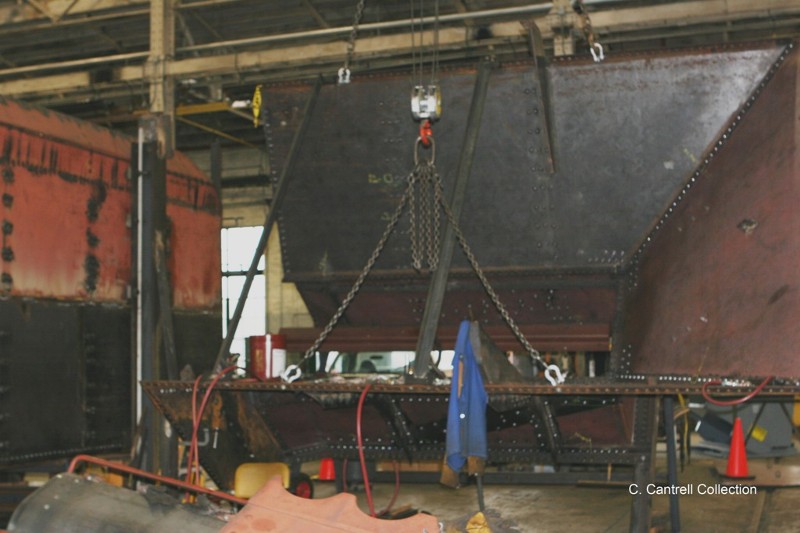
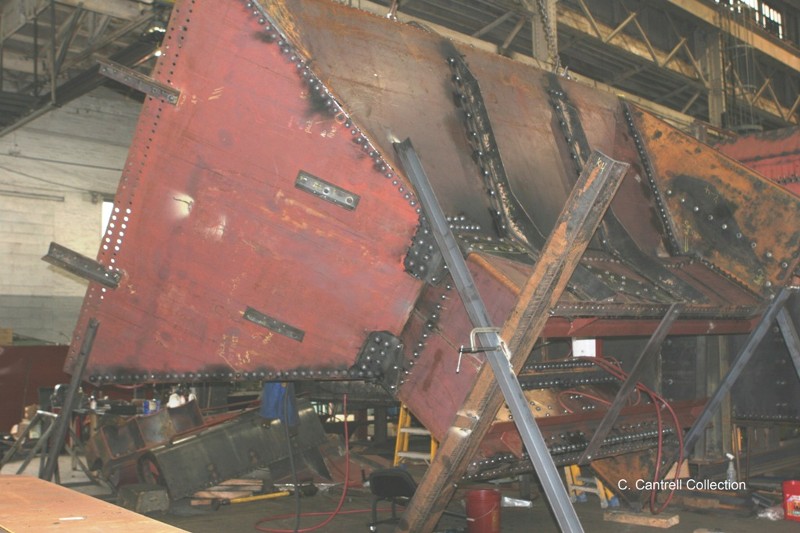
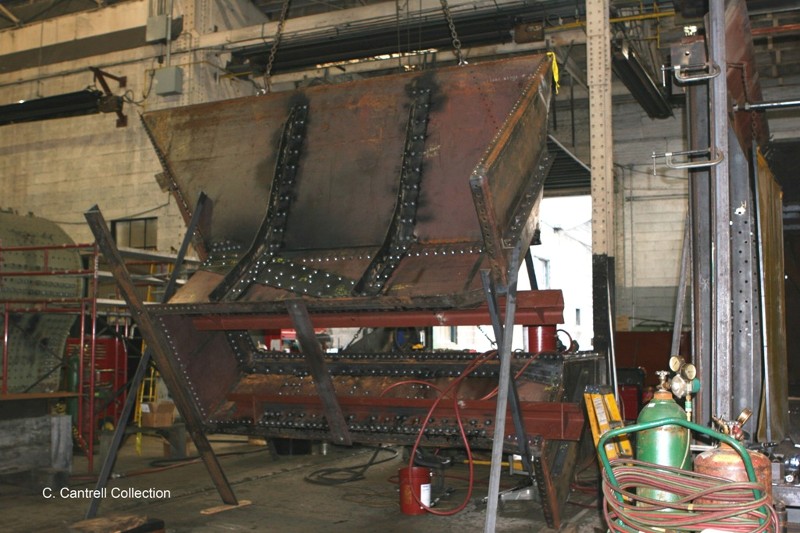
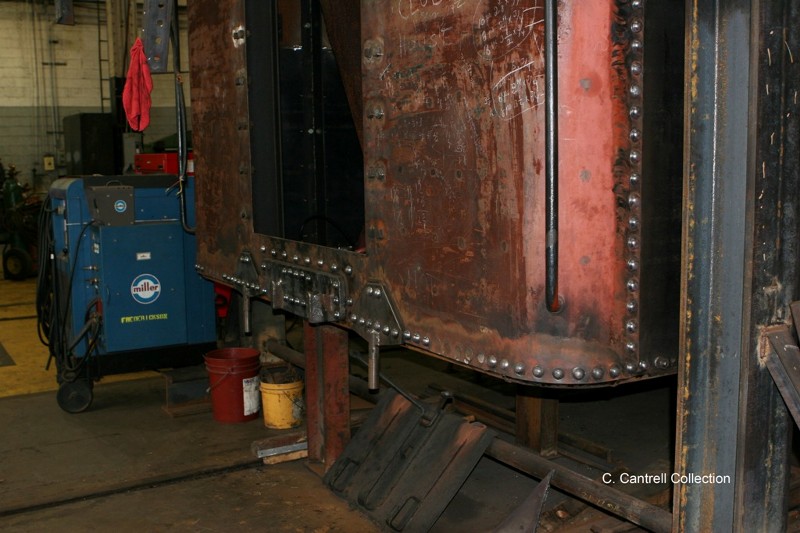
7. The center section of the tender is removed for riveting. |
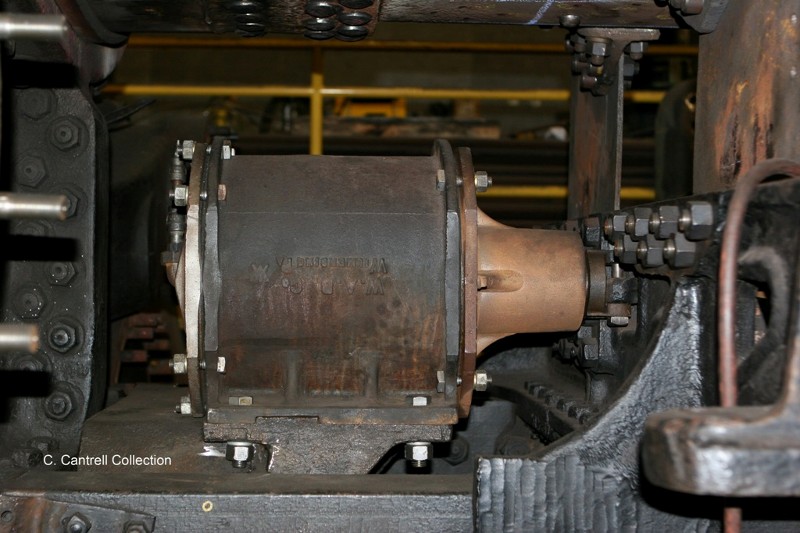
|
8. Pallet of fabricated parts for the tender. |
|
|
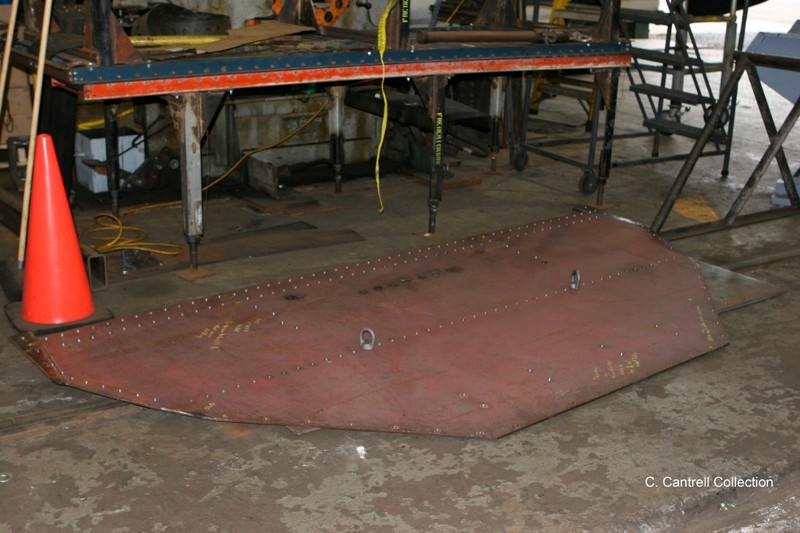
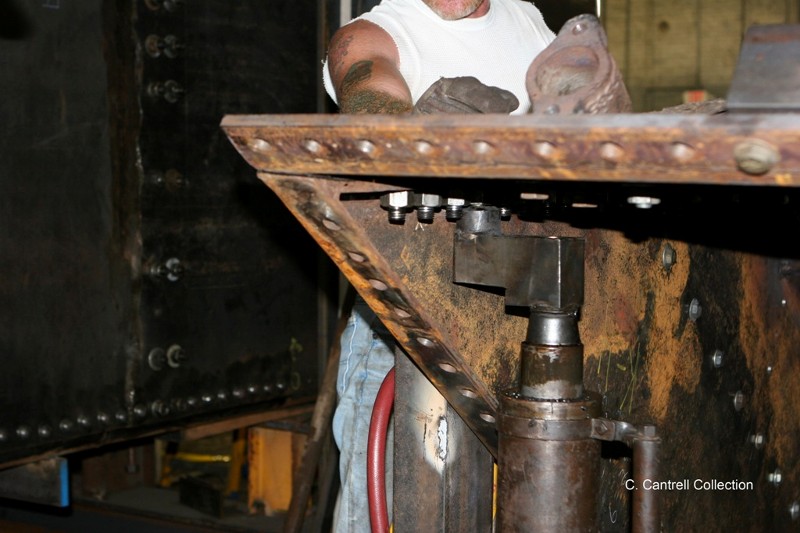
9. The tender upper deck support rail is removed to facilitate riveting inside the tender. |
|
10. Riveting continues on the tender slope sheet section. |
|
|
11. Fitting complete, the tenders upper slope sheet was removed to facilitate removal of the complete center section of the tender for riveting. |
|
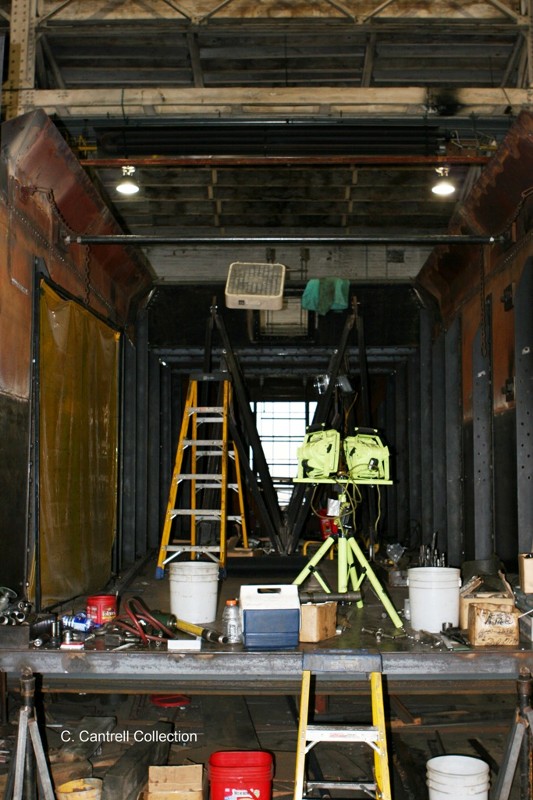
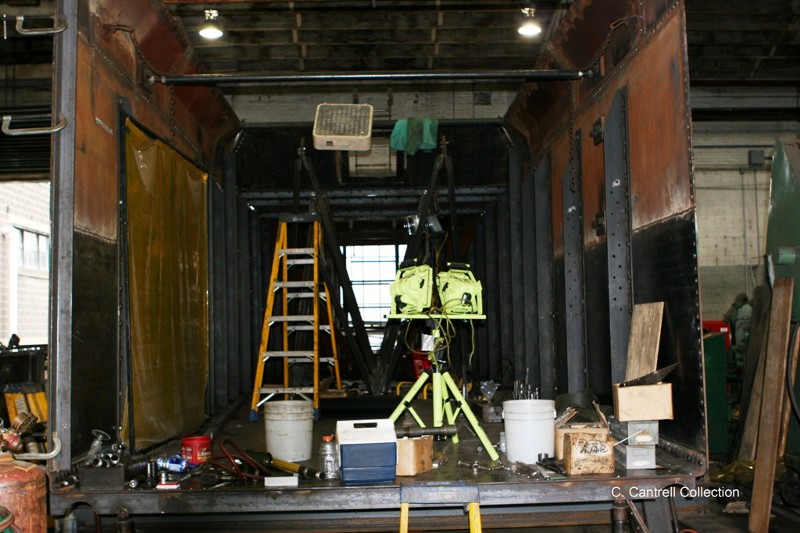
12. All interior parts were removed from the tender to facilitate riveting. |
|
|
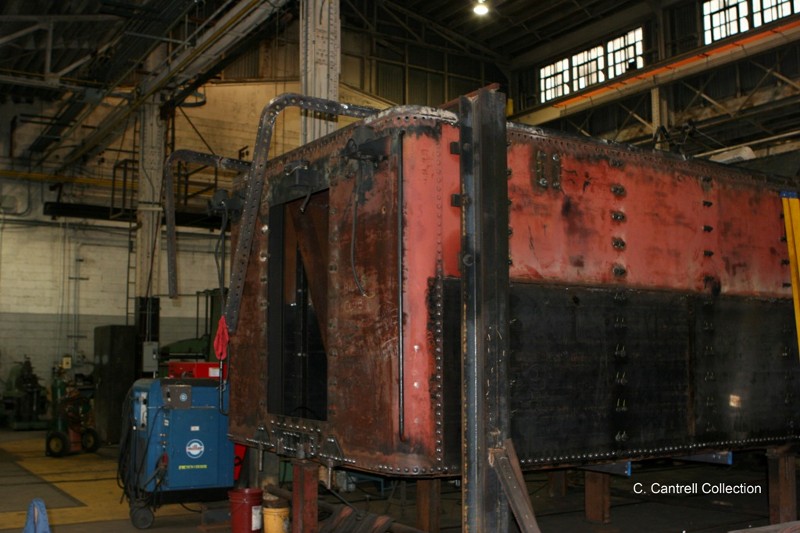
13. Close up view of the stripped tender. |
|
14. More rivet work on the tender slope sheet section. |
|
|
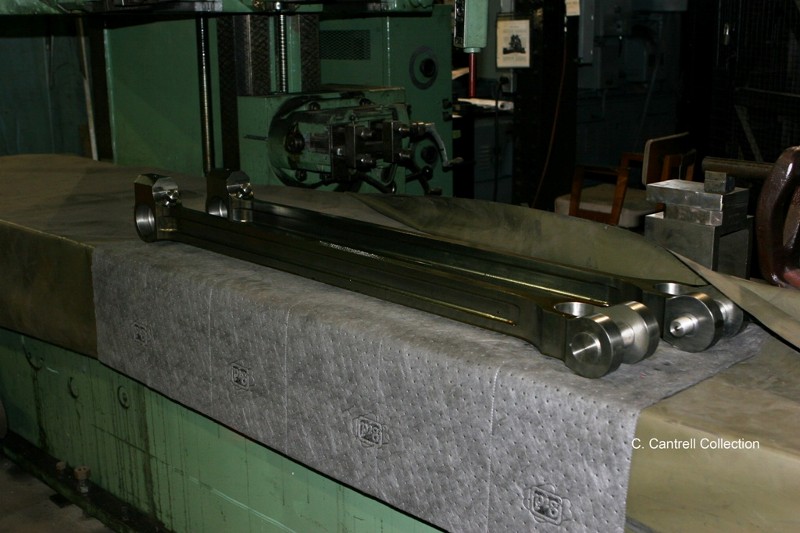
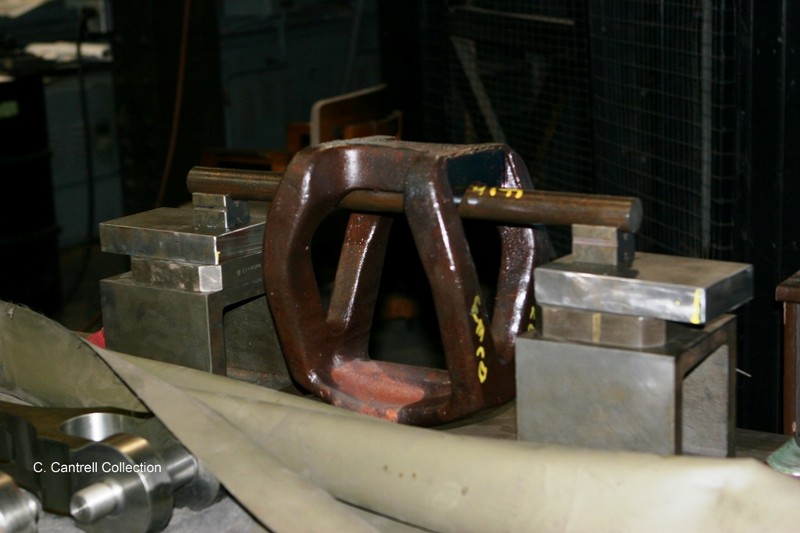
15. The completed eccentric rods. |
|
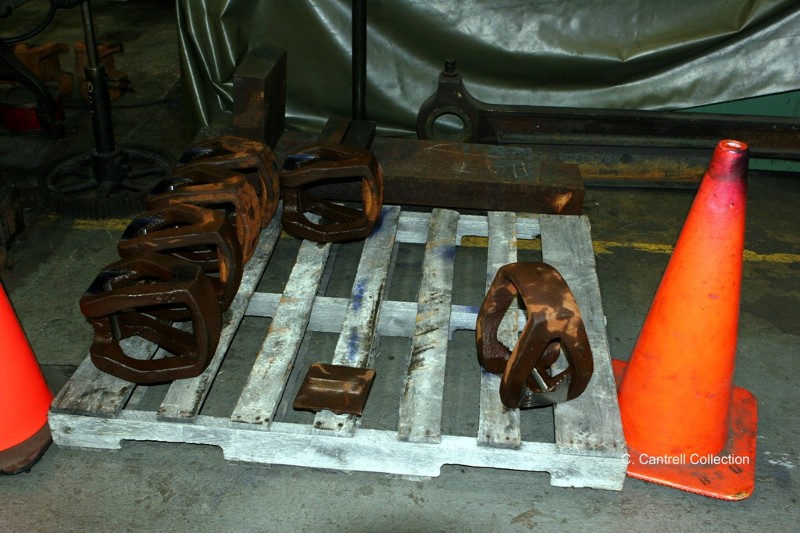
16. Spring hangers after machining. |
|
|
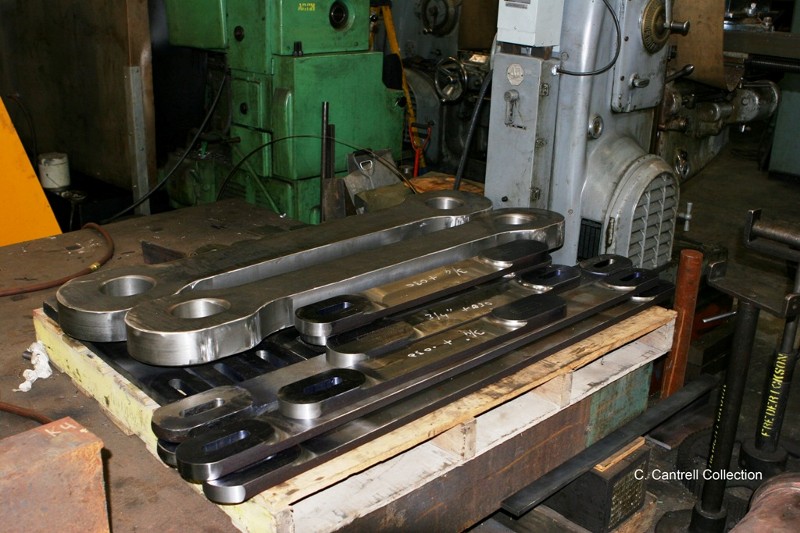
17. The completed pullin bars (railroad slang for pull bar) and spring hanger links. The links had to be manufactured to replace eight that were worn out. |
|
18. Tender Spring hangers are in the process of being machined. Note the special fixtures fabricated to hold them in alignment while they are machined. |
|
|
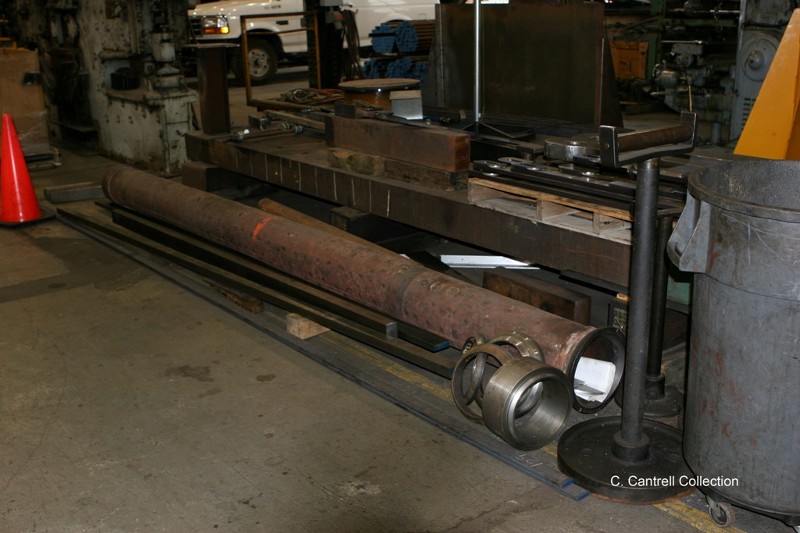
19. Main steam pipe during initial machining of flange surfaces. |
|
20. Test fixture to test the tender spring hangers after machining. |
|
|
21. Rivet work continues around the boiler first course. |
|
22. The locomotive brake cylinders have been rebuilt and are reinstalled on the locomotive. |
|
|
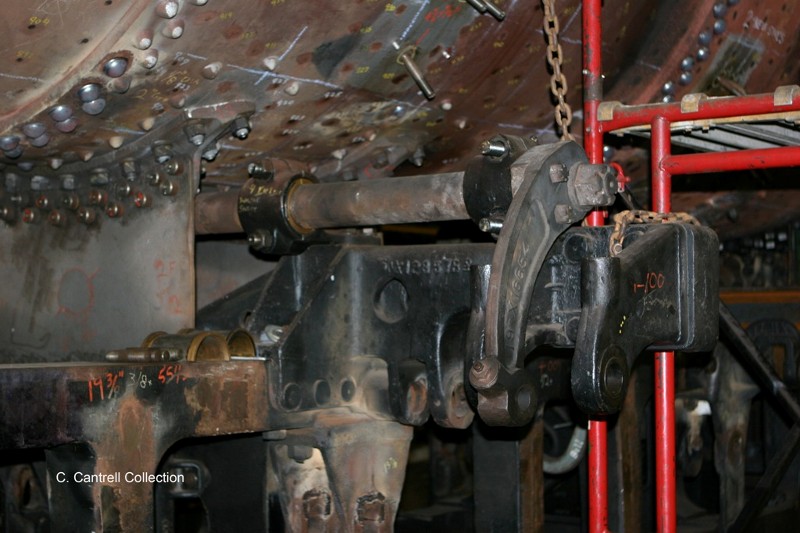
23. The reverse lever shaft is installed after repairs. |
|
24. More parts are installed on the reverse shaft. |
|
|
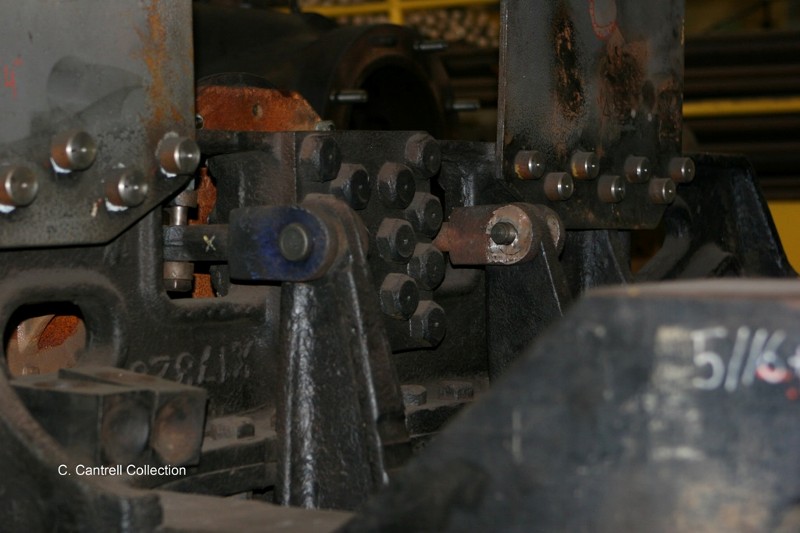
25. View of the brake cylinder links on the locomotive. |
|
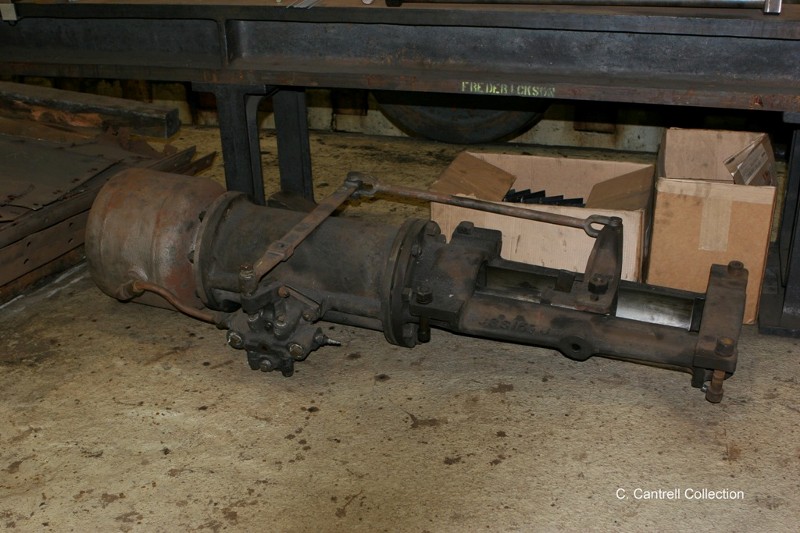
26. View of the complete reverse cylinder. |
|
|
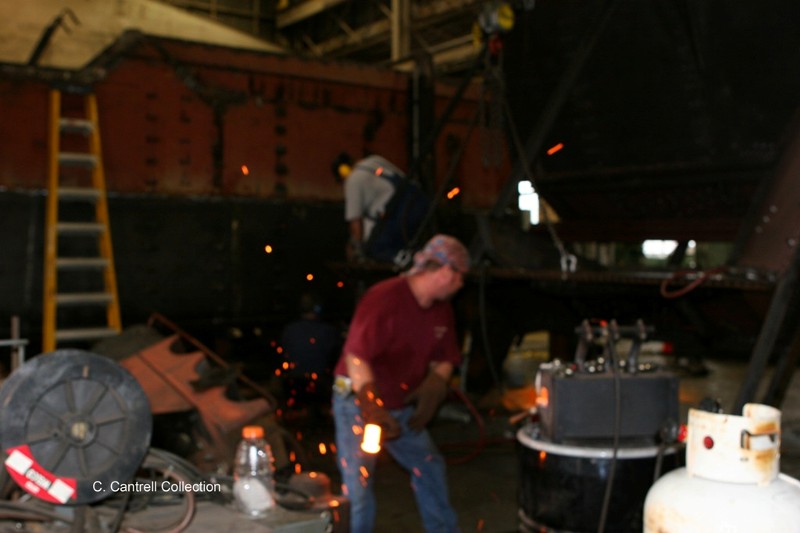
27. Riveting continues on the tender slope sheet section. On this day’s project, the crew consists of Charlie Rice, Chad Frederickson, Walter Elvidge, Jeff, Bill Frederickson, and me. |
|
28. View of some of the rivet detail on the tender. |
|
|
29. Close up view of the rear tender hold down rivet work. |
|
30. The tender hatch is drilled prior to riveting. |
|
|
31. View of the rivets holding the tender floor in place. |
|
32. More riveting. |
|
|
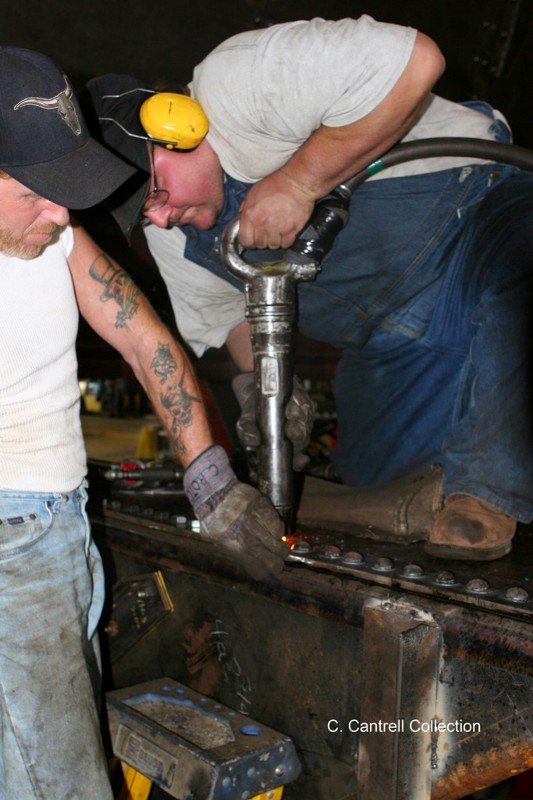
33. View of the rivet buck used to hold one side of the rivet head in place. The air ram and offset buck were used hold the hot rivet in place during riveting. The offset head was fabricated in the machine shop prior to riveting to simplify this project. |
|
34. Jeff passes off a hot rivet to Walter for bucking. |
|
|
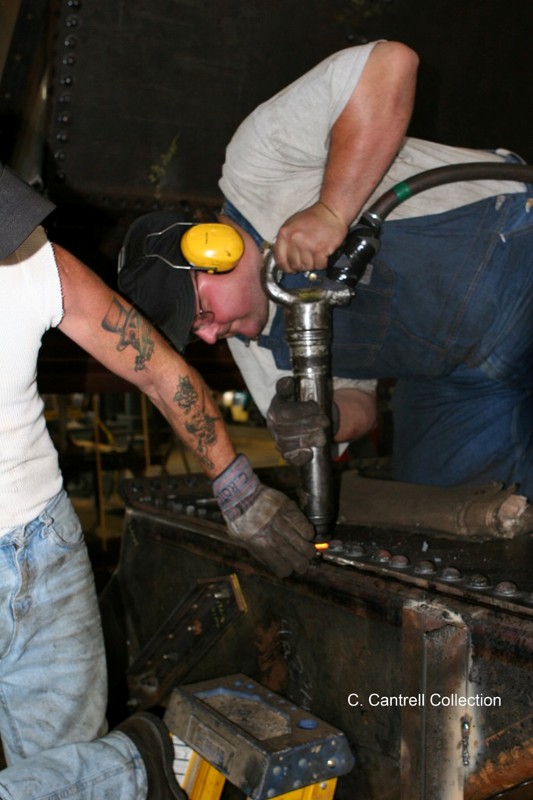
35. Charlie Rice shields hot metal sparks from the rest of the crew while Chad bucks a Rivet. The complete process can be seen in the next three pictures. Sequence 1. |
|
36. Sequence 2. |
|
|
37. Sequence 3. |
|
38. Sequence 4. |
|
|
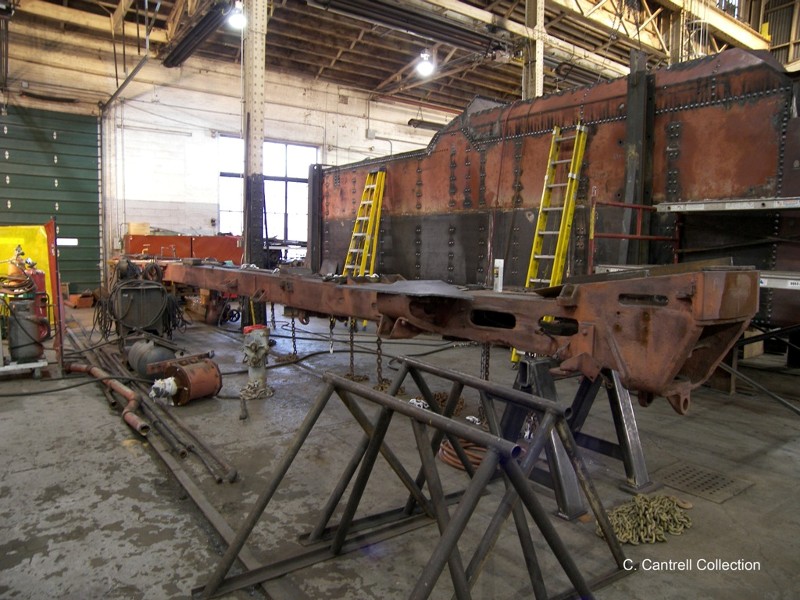
39. The tender frame backbone stripped of all parts prior to repairs. Among several other problems the frame has, during dismantling it was discovered that it had a downward bow which will have to be corrected. |
|
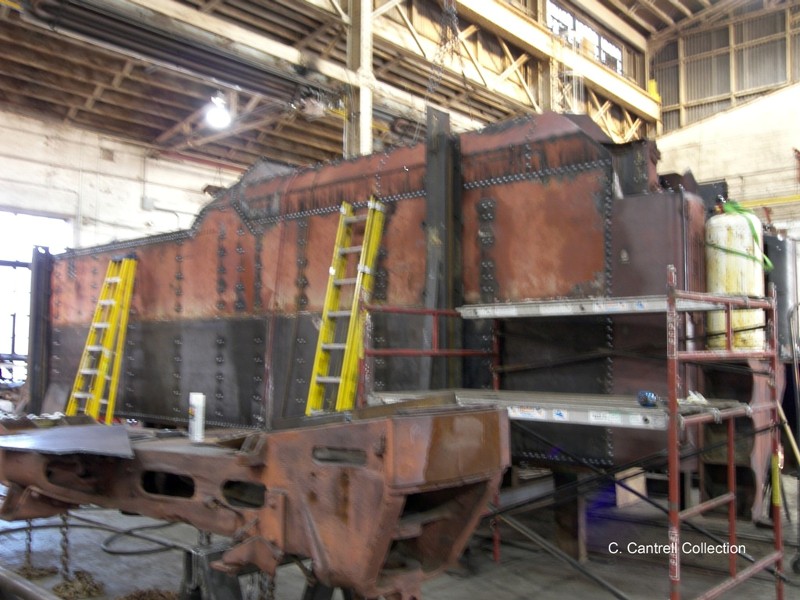
40. The tender comes together. A great majority of the rivets have now been installed at this point. |
|
All, Thanks for enduring the delay on website updates. Future updates will be posted intermittently. Regards. The Webmaster.
Stay tuned for additional photographs of the PRR K-4s #1361 Restoration!!