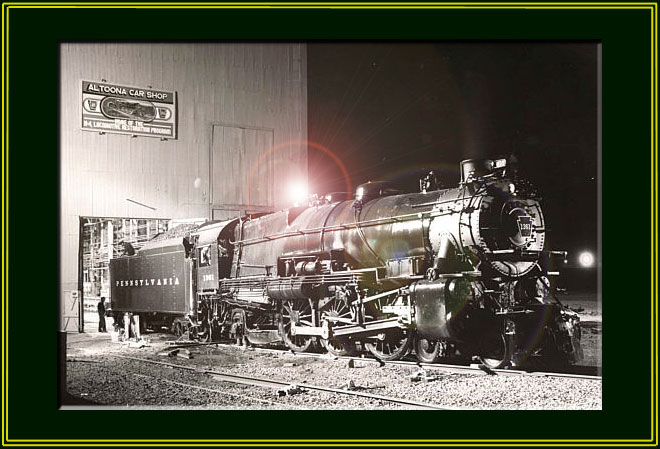
The PRR K-4s #1361
Steam Locomotive Restoration Project
Page 17
(This site is provided as a courtesy of the Altoona Railway Museum Club)
August 2004 K4 Update (continued)
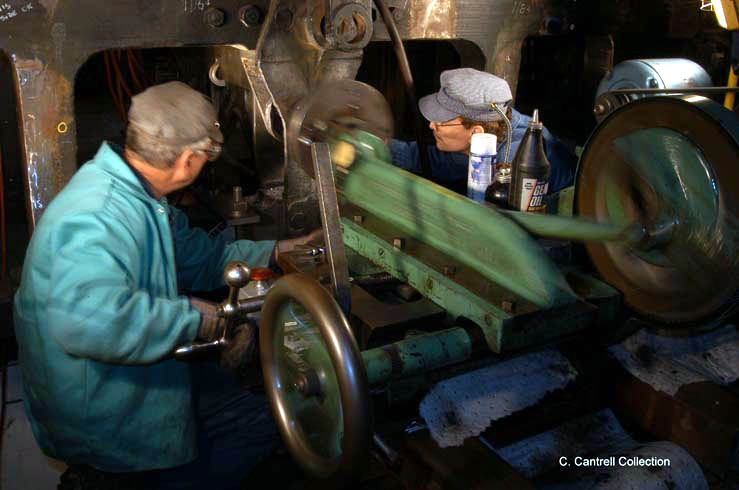
These photographs were taken between December 2003 and May 2004 by Charles Cantrell, 1361 Volunteer..
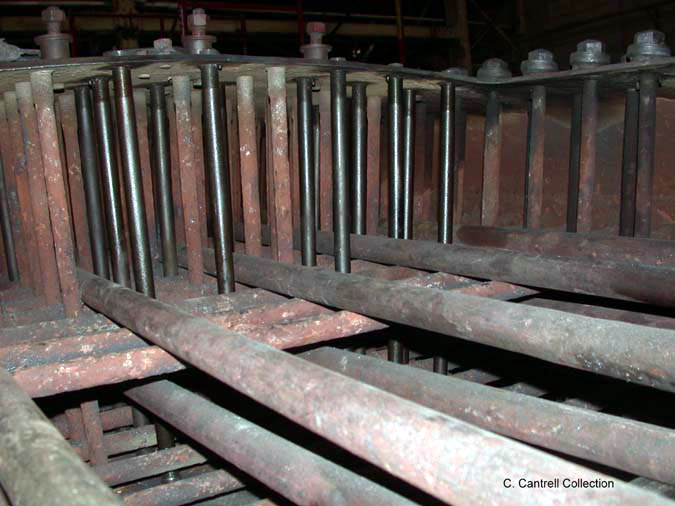
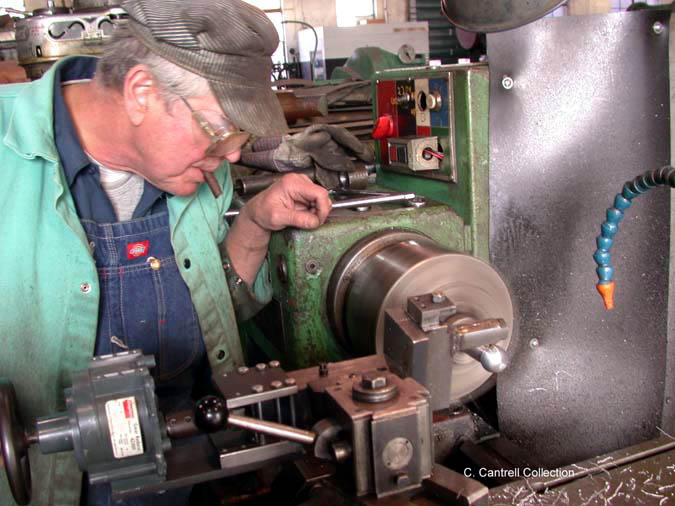
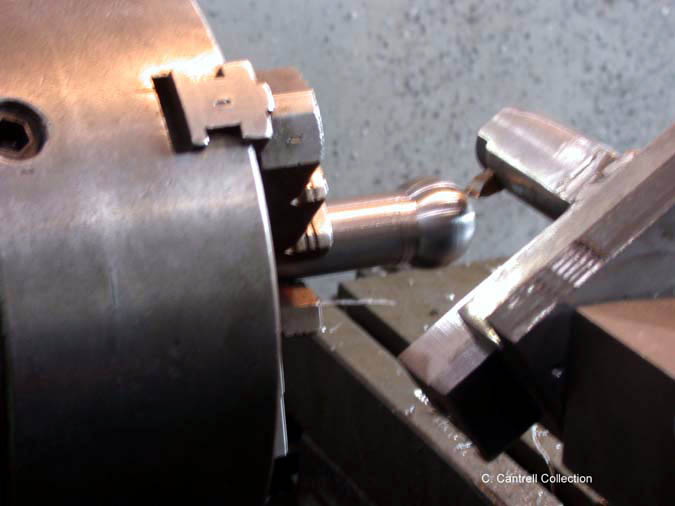
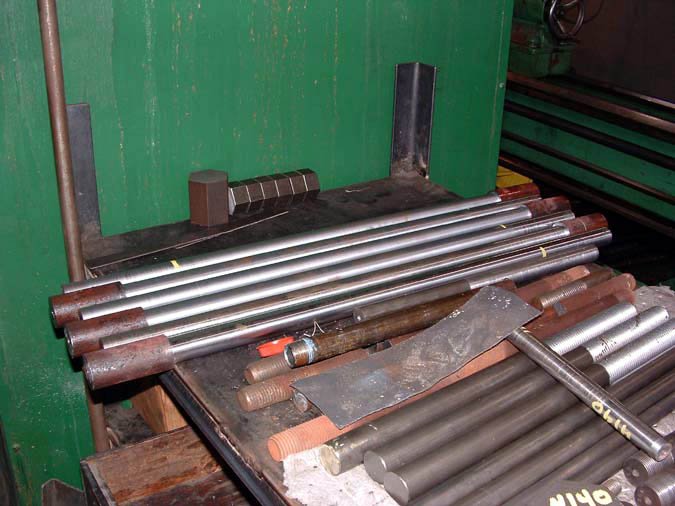
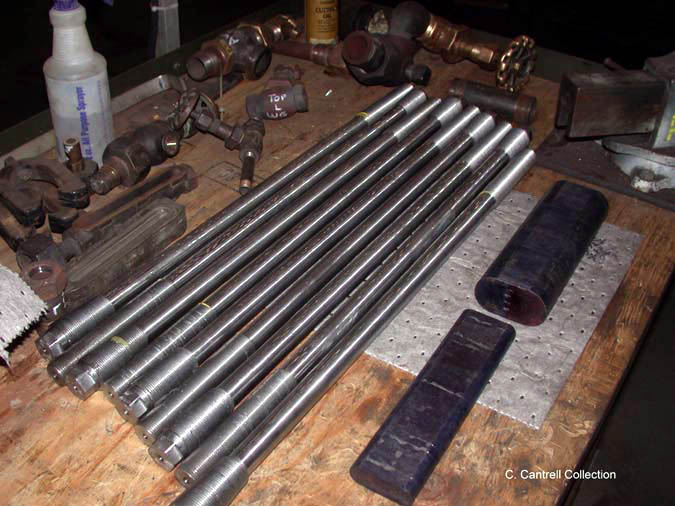
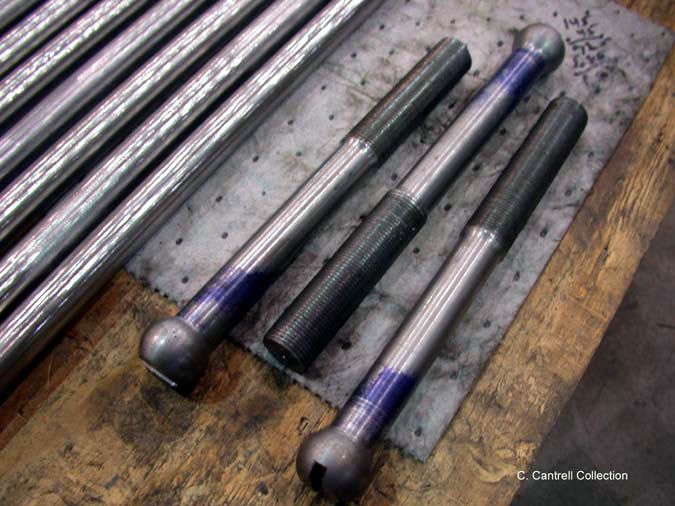
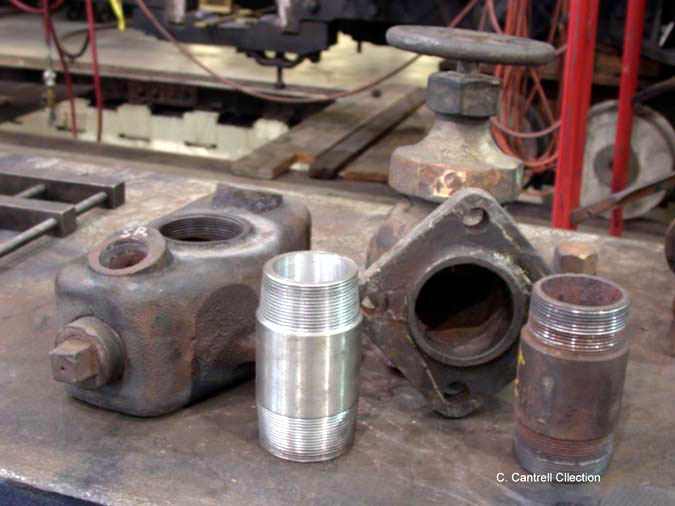
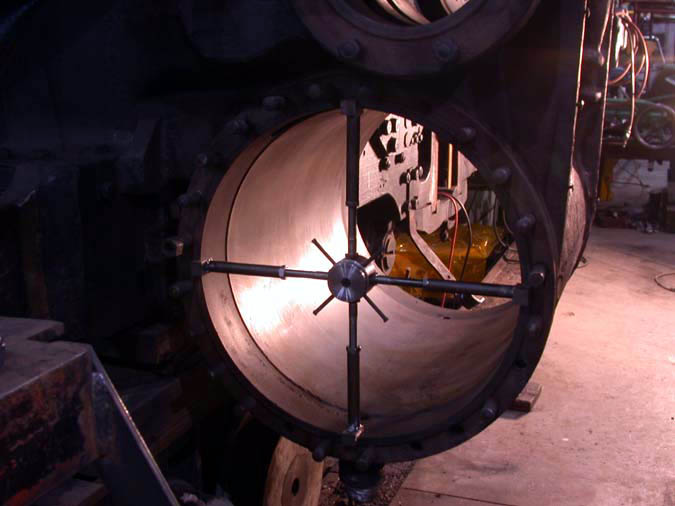
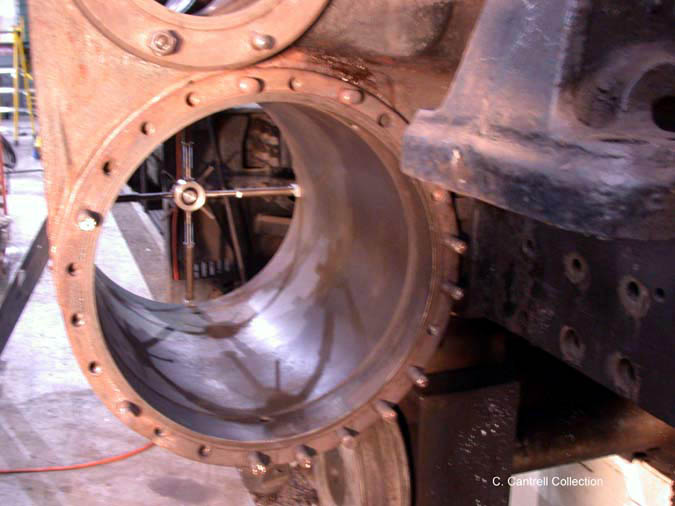
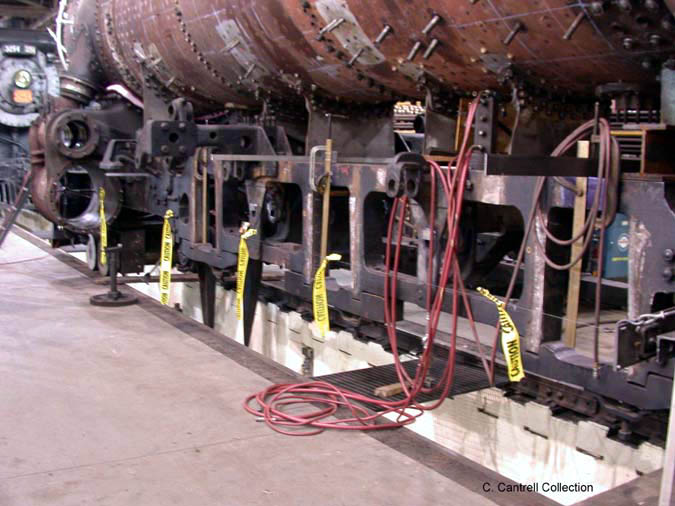
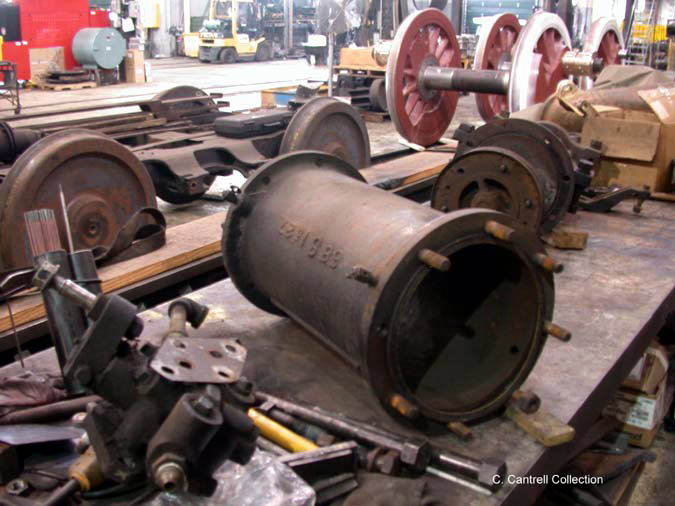
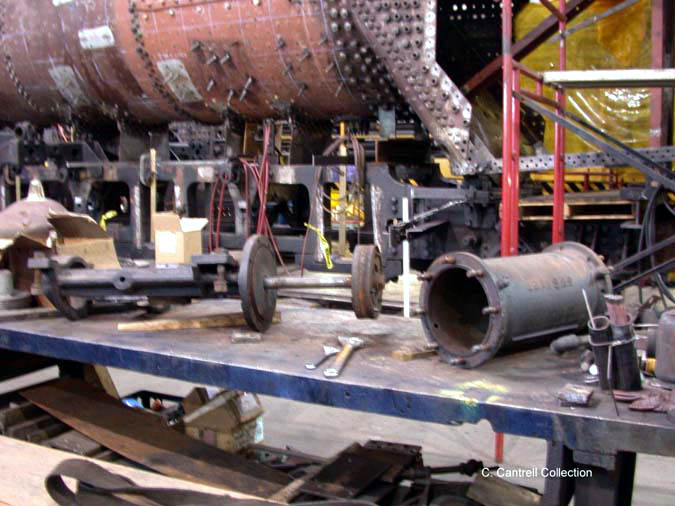
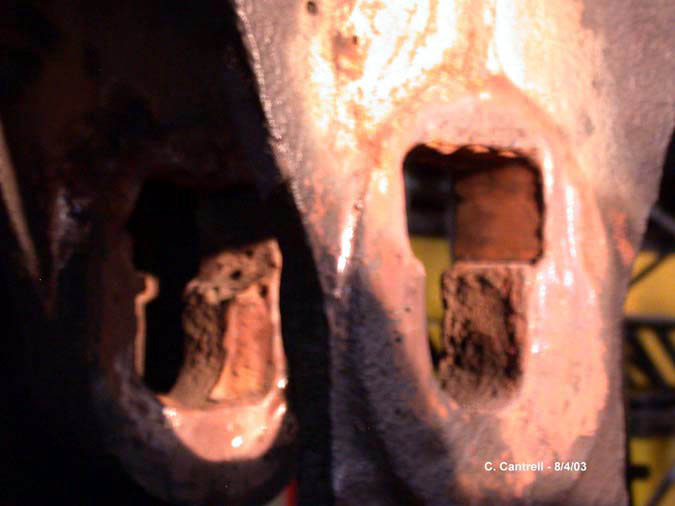
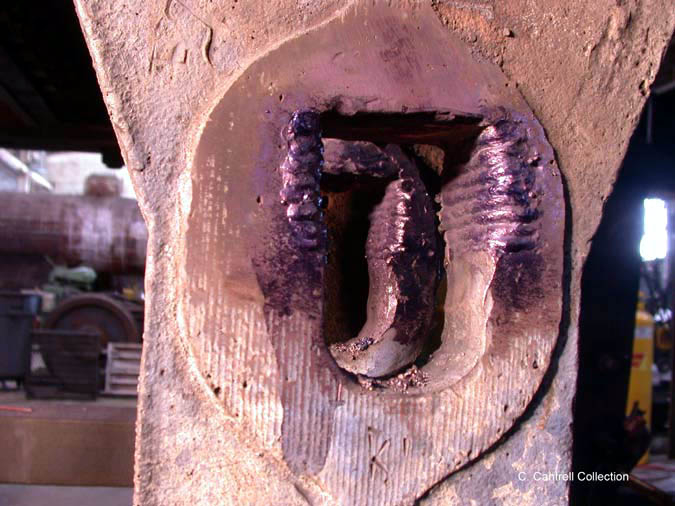
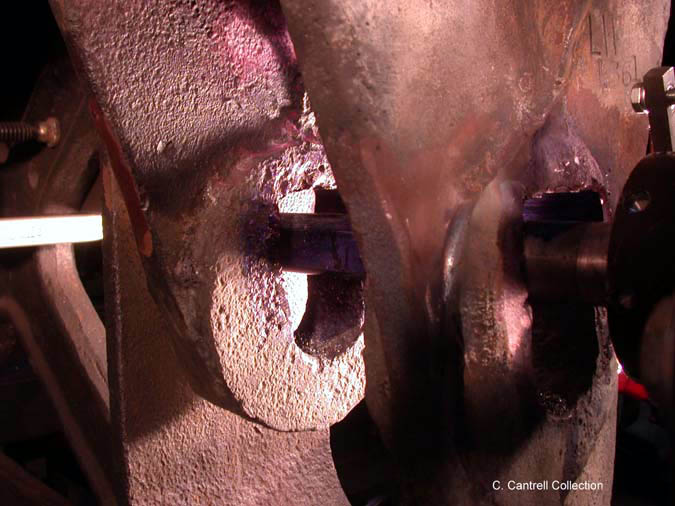
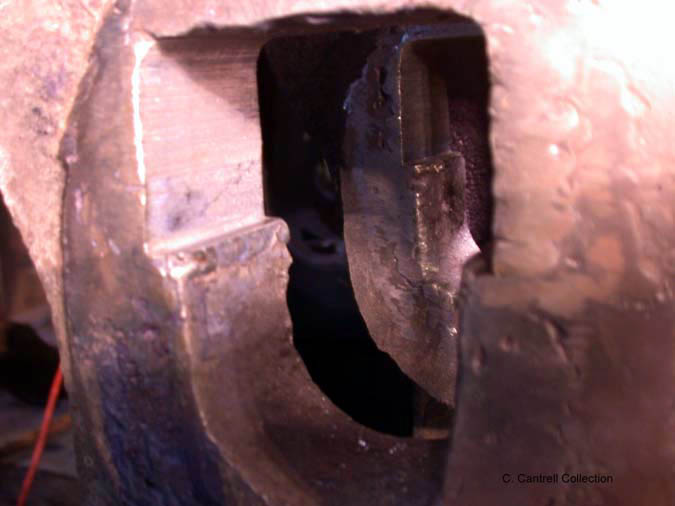
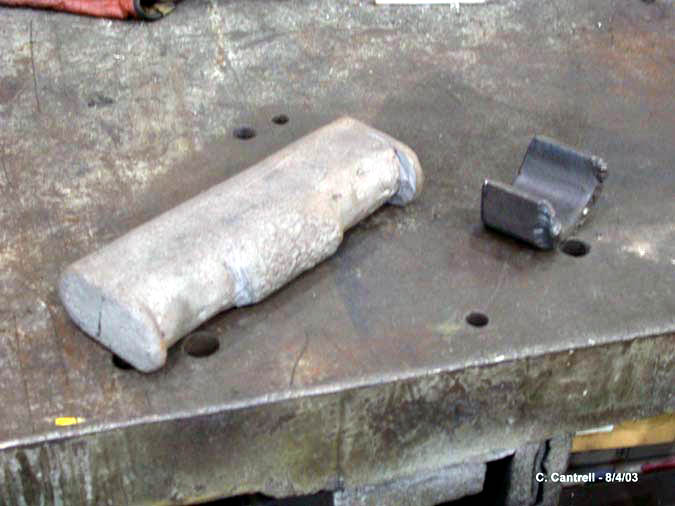
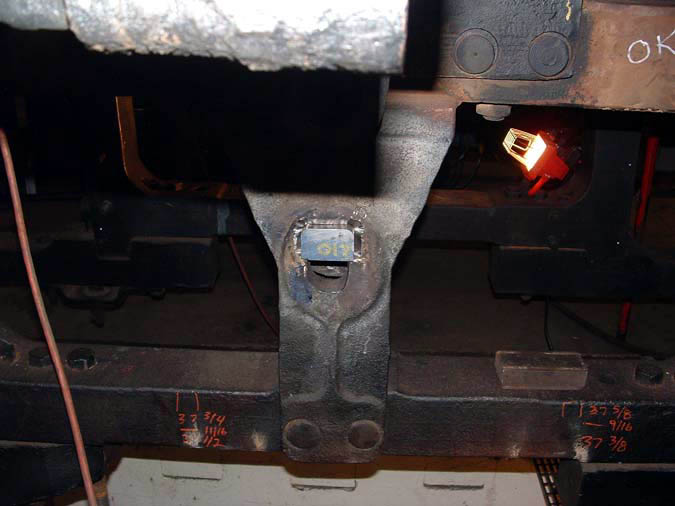
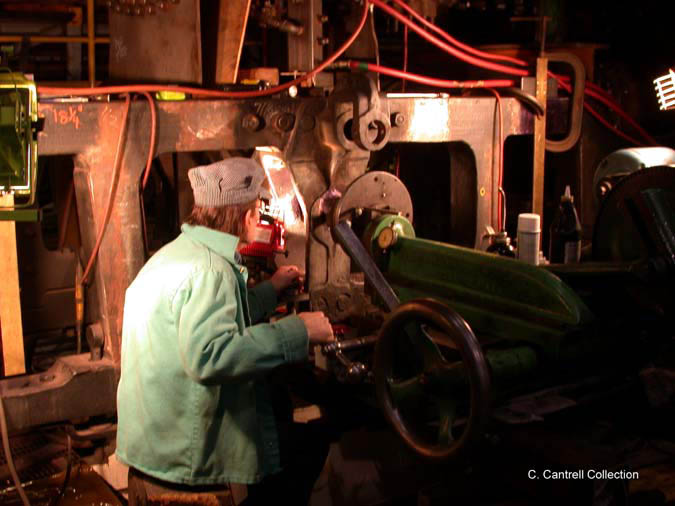
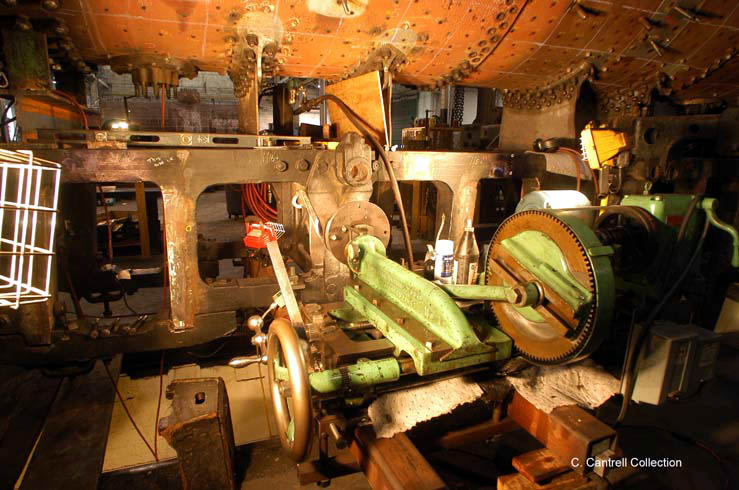
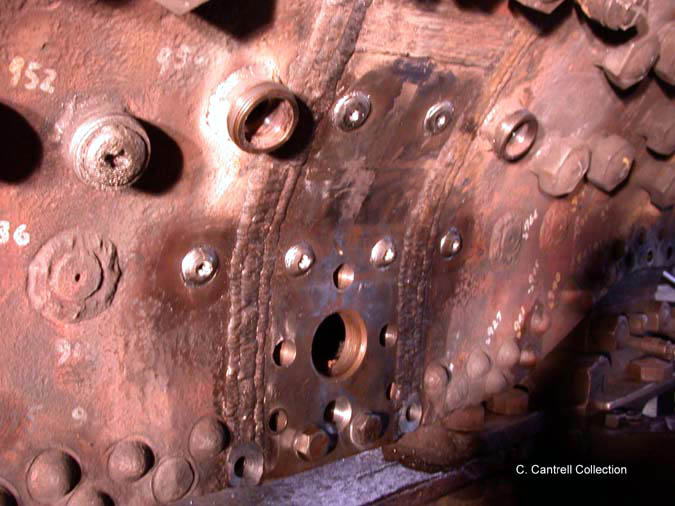
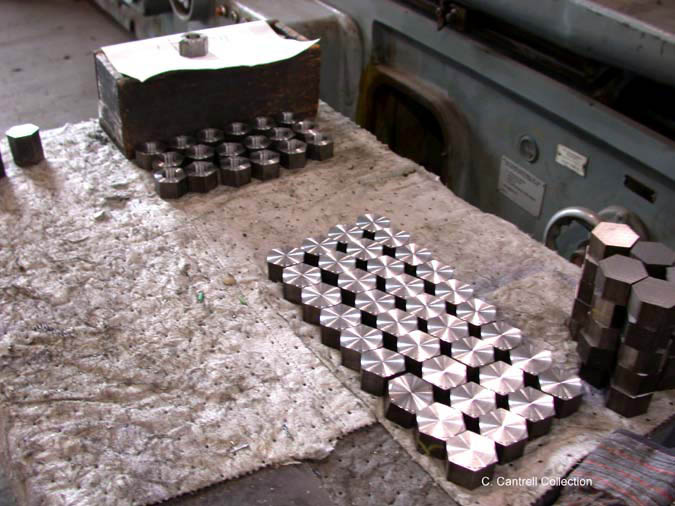
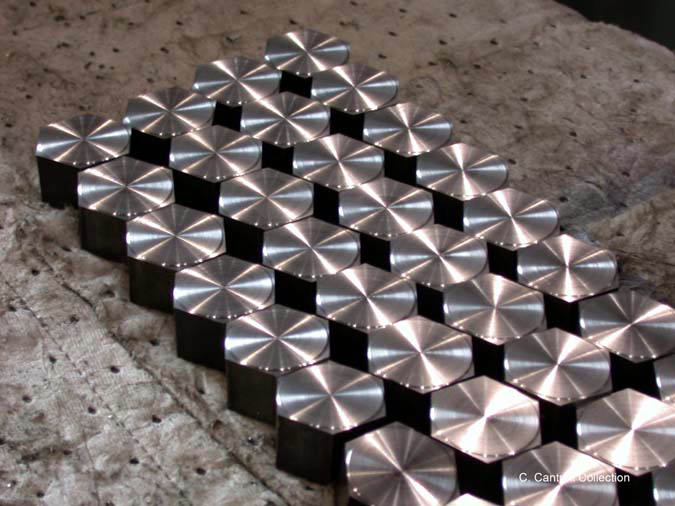
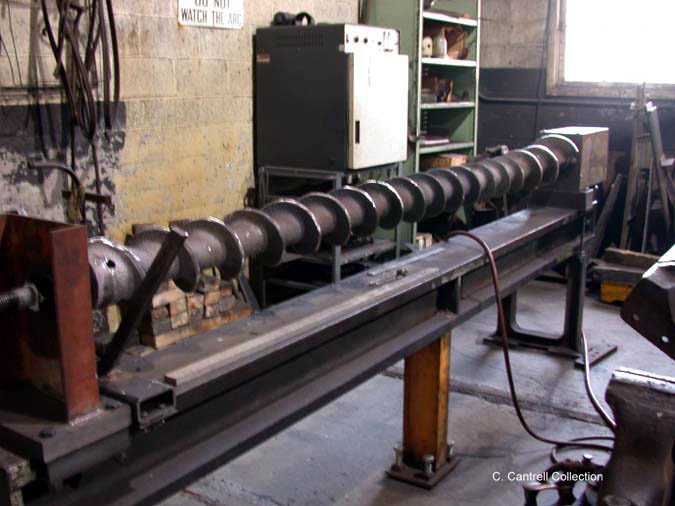
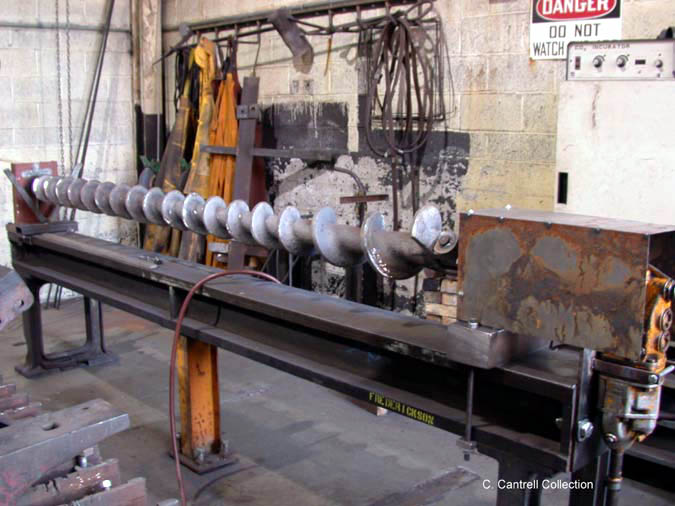
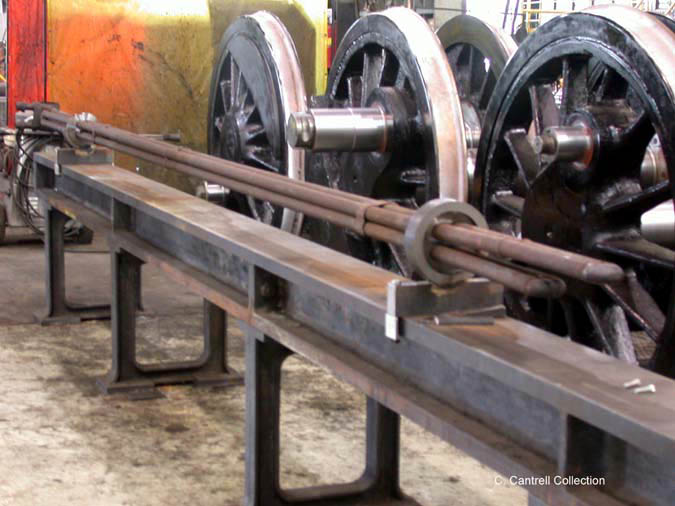
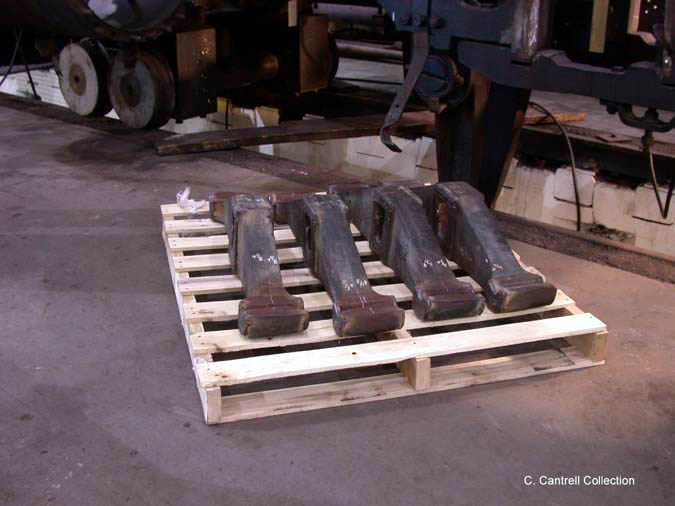
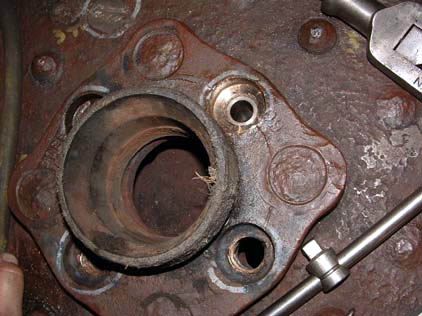
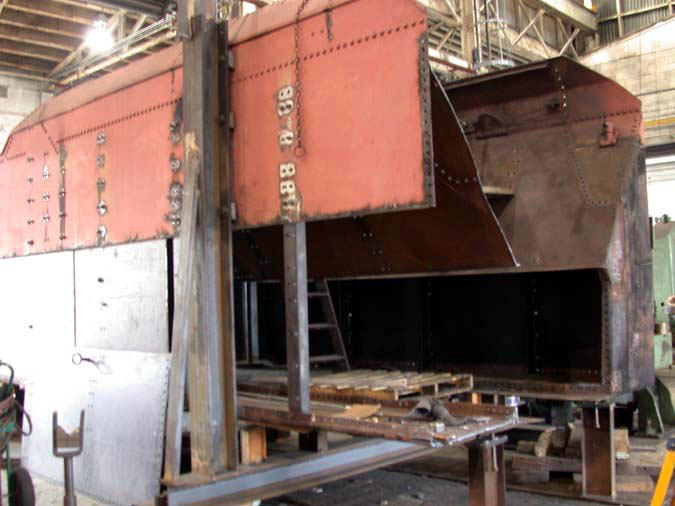
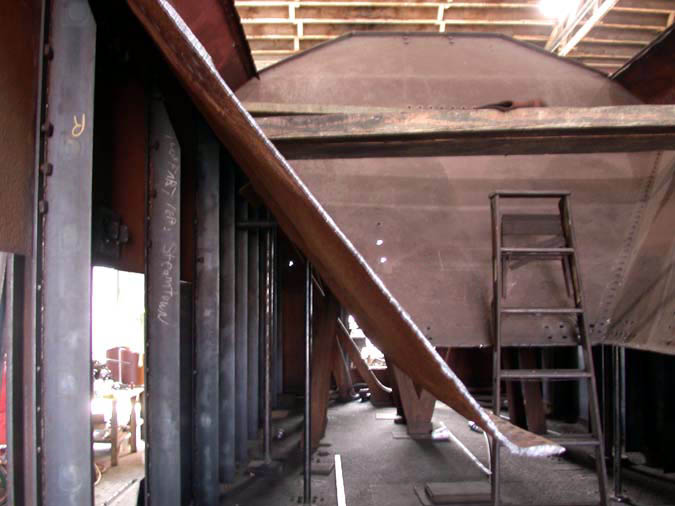
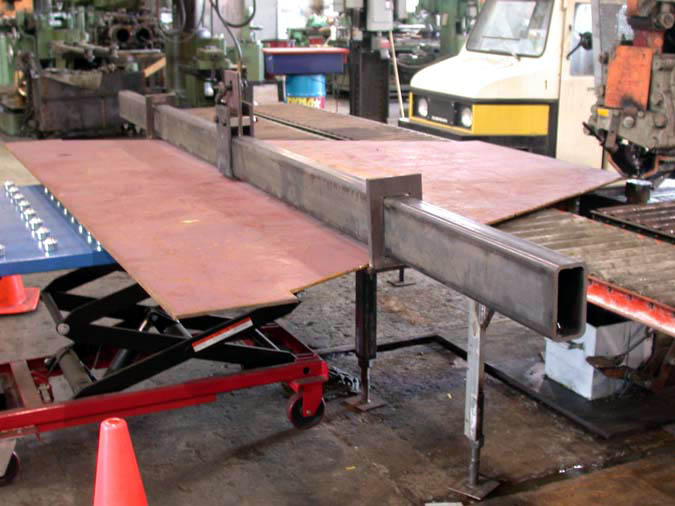
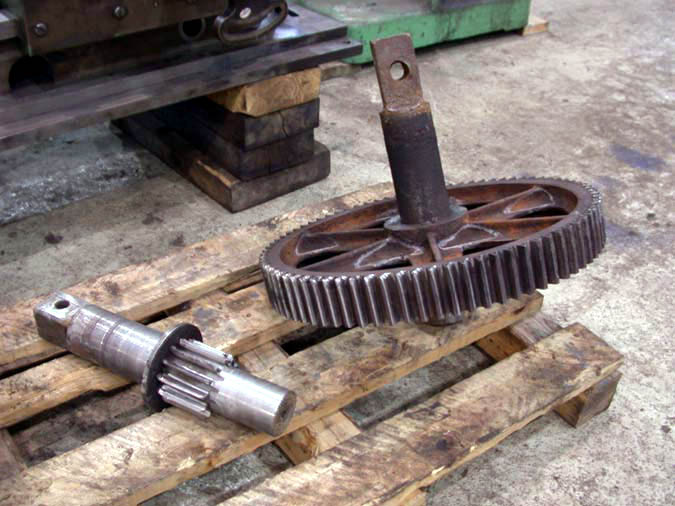
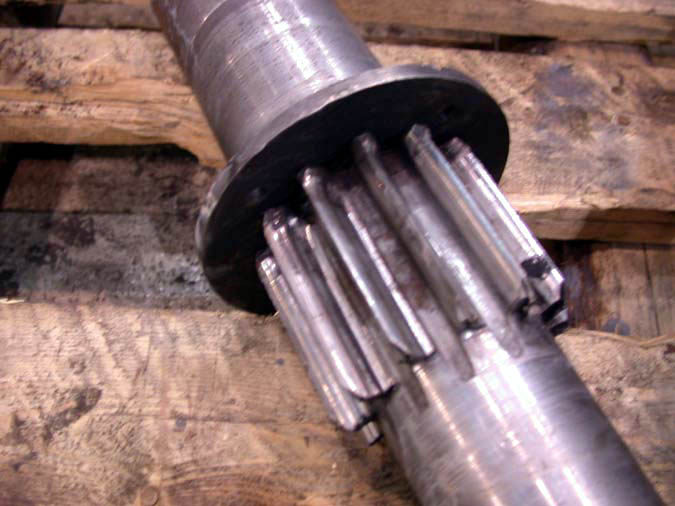
View Looking Forward From The Backhead Braces Showing Several Newly Installed Crown Stays Contractor Bill Frederickson Testing Newly Fabricated Flex Bolt Shaping Tool Testing New Tool Fabricated to Cut the Round Shoulder Of Flexible Stays Raw Bar Stock Starts Fabrication To Become New Crown Stays. Close-up Of Completed Stay Bolt Close-up Of Several Completed Stay Bolts Old Coupling Along Side Of New Coupling Fabricated By Volunteer Walter Elvidge To Replace New Coupling Mated With Turret And Turret Valve Fixture Fabricated By Contractor To Align Cylinders And Wheels Sets. A Steal Wire Will Be Placed Exactly In The Center Of The Cylinder To Begin The Process. Fixture Fabricated By Contractor To Align Cylinders And Wheels Sets. A Steal Wire Will Be Placed Exactly In The Center Of The Cylinder To Begin The Process. Although Barely, Visible The Steel Wire Has Been Installed And Is Centered Along The Side Of The Locomotive Frame. The Alignment Process Can Now Begin For Wheel Sets. Dismantled Reverse Cylinder Prior To Rebuilding View 1 Dismantled Reverse Cylinder Prior To Rebuilding View 2. Close-up Of The Inner And Outer Gib And Bushing Pockets. One Can Clearly See The Wear. The New Shaper Will Be Used To Reshape. Close-up Of Inner And Outer Gib And Key Pocket After Buildup Close-up Of Shaping Process On Bushing Pockets Close-up Showing Completed Frame Gib And Bushing Pocket After Shaping. Pictured Are An Old Bushing And Gib. The Gib’s And Bushings Are Used To Support The Equalizers In The Locomotives Frame New Bushings Are Machined To Fit Rebuilt Pushing Pockets Volunteer Charles Cantrell Setup Up Pocket Shaper To Begin Another Cut Close-up Of Pocket Shaper Set Up On Engineers Side Of 1361's Frame Contractor Bill Frederickson And Volunteer Charles Cantrell Milling Gib And Bushing Pocket On Fireman’s Side Of 1361's Frame. Pocket Shaper In Use Throat Sheet Is Welded In Place Close-up Of Throat Sheet Patch After Installation Beginning Of New Flexible Stay Bolt Nuts During Various Stages Of Machining. Beginning Of New Flexible Stay Bolt Nuts During Various Stages Of Machining. Stoker Auger Mounted In Fixture To Allow Buildup Of Worn Auger Blades Left View Stoker Auger Mounted In Fixture To Allow Buildup Of Worn Auger Blades Right View. Fixture Fabricated To Hold Super Heater Tubes During Repairs Engine Spring Equalizers Ready To Be Sent Out For Heat Treating And Stress Relieving. Safety Valve Flange With Newly Machined Counter Bore For Stay Bolt Nut. Work Begins Again On The Tender. New Material Has Arrived. Edge View Of The Old Slope Sheet. Note Thickness. The Material Is Only 5/32’ And Should Be ½ “. You Can See A Recent Patch Near The Top Of The Sheet That Is The Correct Thickness. View Of The Slope Sheet As Seen Looking Up From The Stocker Trough Area. New Slope Sheet Section Being Fabricated. The Rivet Holes Are About To Be Punched. Worn-out Stoker Drive Gears And Shaft Are Now Up For Repairs or Replacement. Close-up Of Worn-out Stoker Drive Gear Shaft. Chipped, Worn, and Broken Teeth Can Clearly Be Seen In This Photo. Engine House Kitty Just Lounging Around
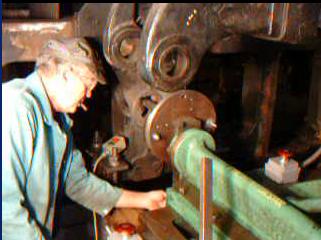
windows movie file - Pocket Shaper In Use
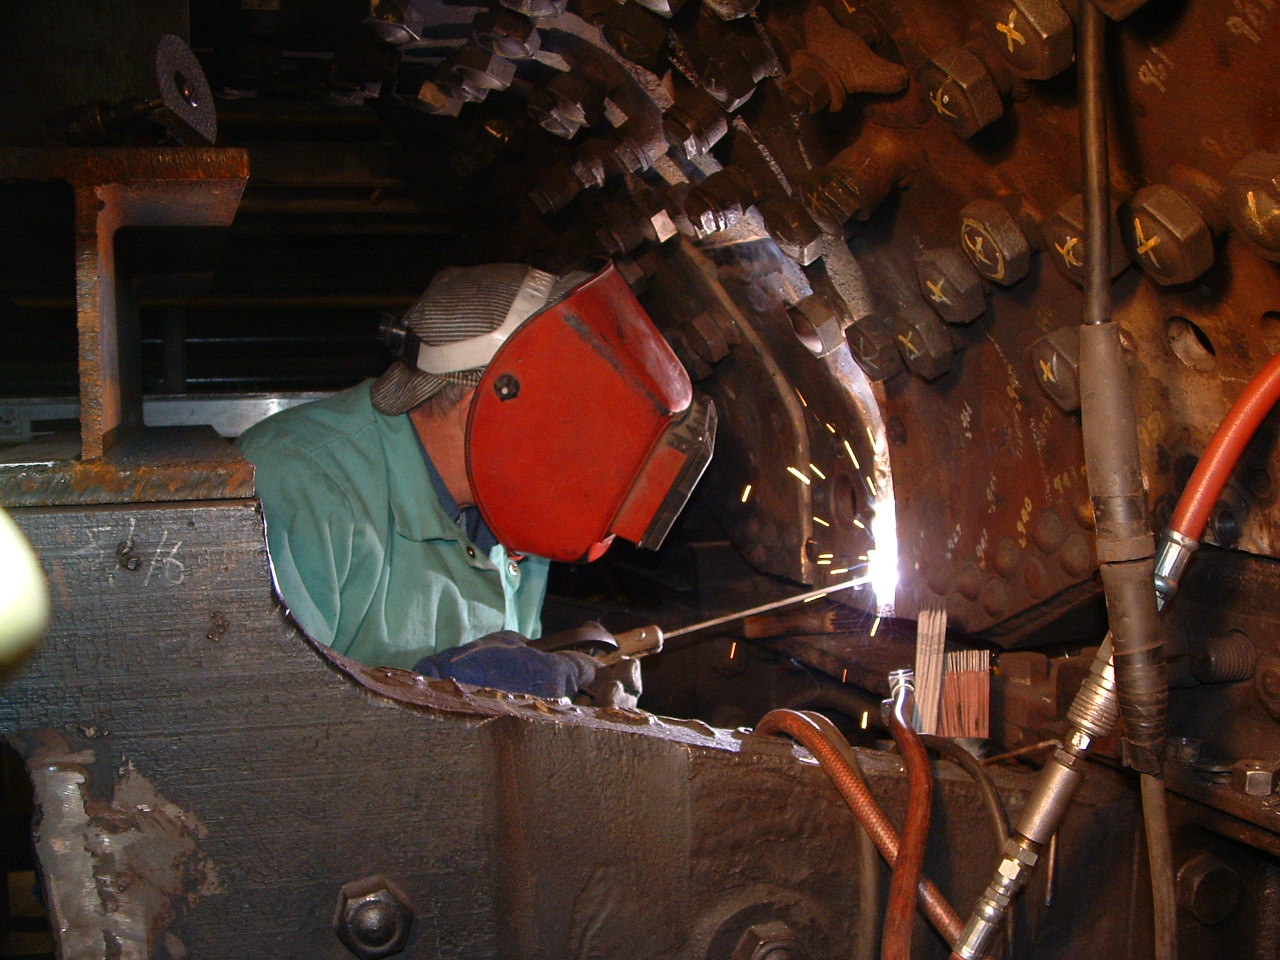
windows movie file -Throat Sheet Is Welded In Place
Stay tuned for additional photographs of the PRR K-4s #1361 Restoration!!