


Construction du réseau: Phase II
Construction of the layout: Phase II
Cliquez sur la photo pour voir un agrandissement
Click on the photo to see an enlargement
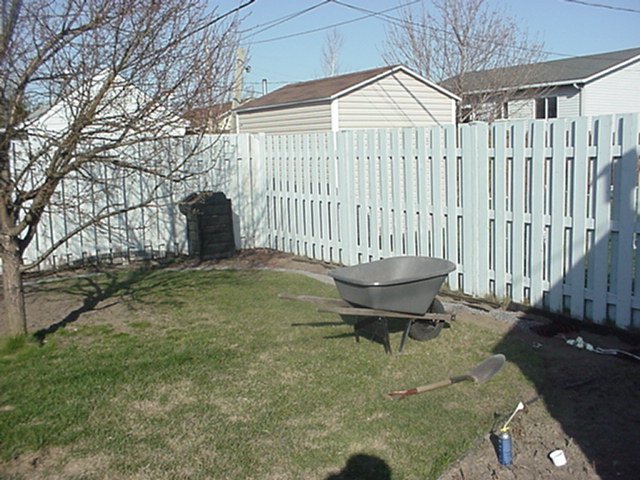
Date: 28 avril 2001
Date: April 28, 2001
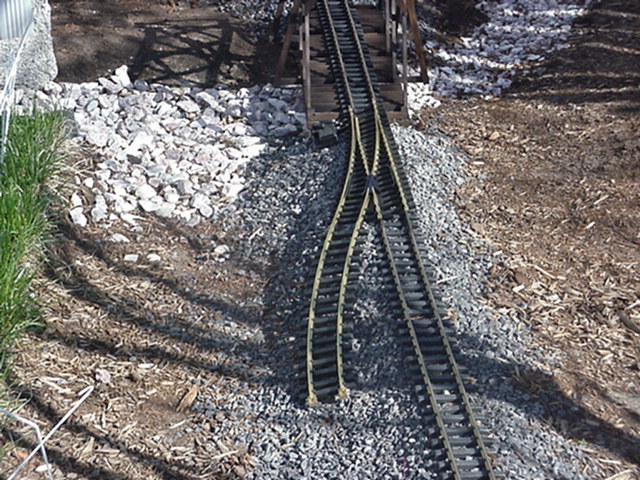 |
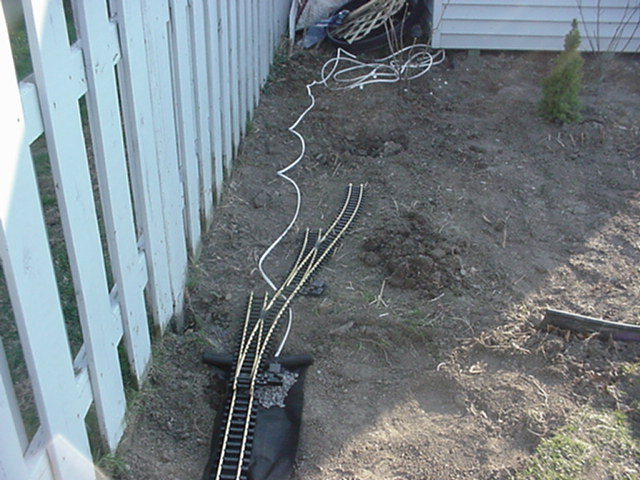
Un premier aiguillage est installé. | A first turnout is put in place. |
 |
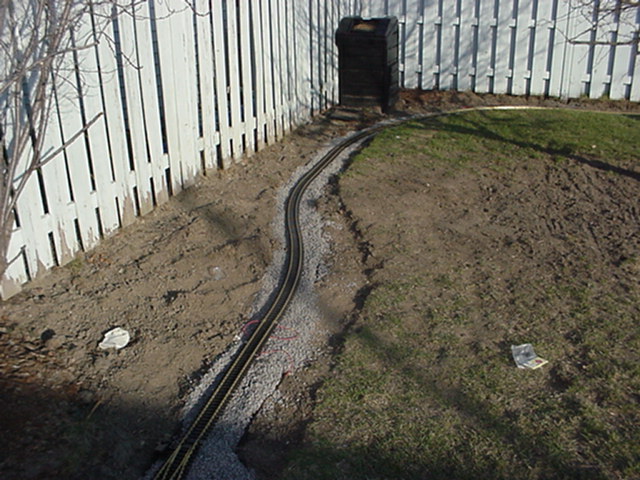
Puis la pose des voies se fait comme durant la Phase I. | The installation of the tracks is similar to Phase I. |
 |
||
 |
||
 |
Pour la pose des aiguillages sur la voie déjà existante; | To install a switch on already existing tracks; |
 |
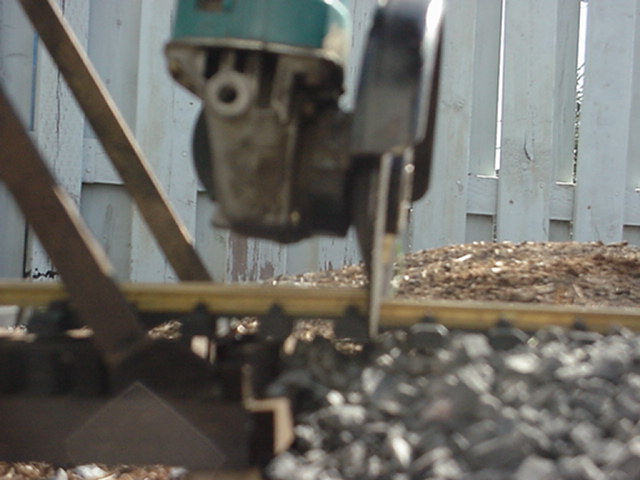
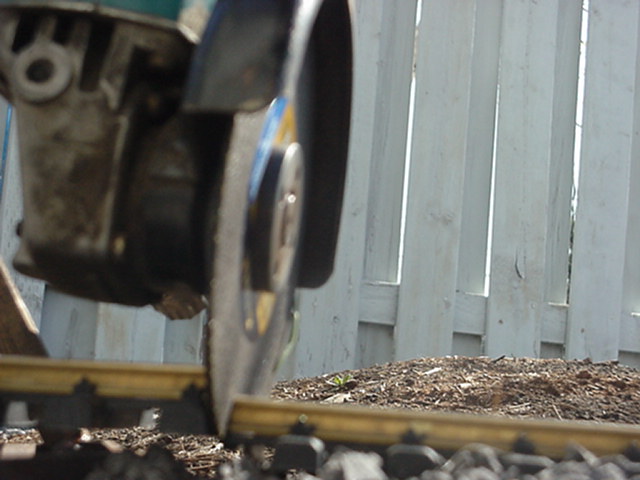
On coupe la voie à l'aide d'une meule à acier. | We cut the tracks with a grinder. |
 |
||
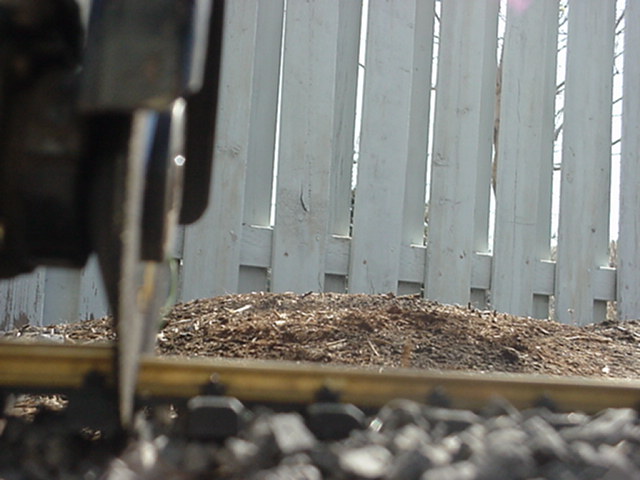 |
Ce qui donne une coupe franche et juste. | Which make a clean and precise cut. |
 |
||
 |
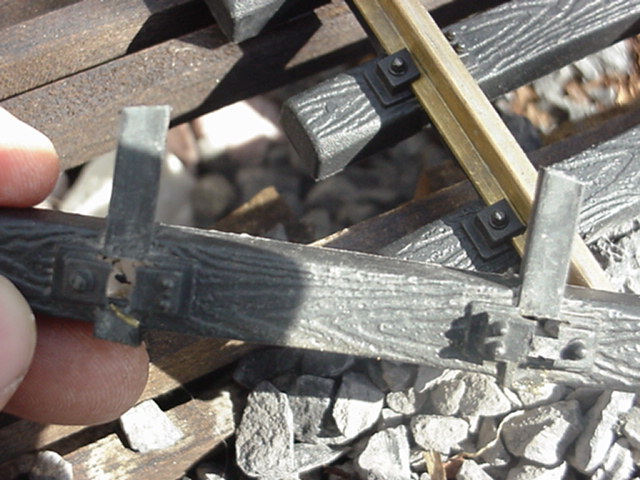
À l'aide d'un Xacto on enlève les dormants de trop (ceux qui empêches les joiners de glisser en place). | With a sharp knife (Xacto), we remove the first tie to make room for the rail clamp. |
 |
||
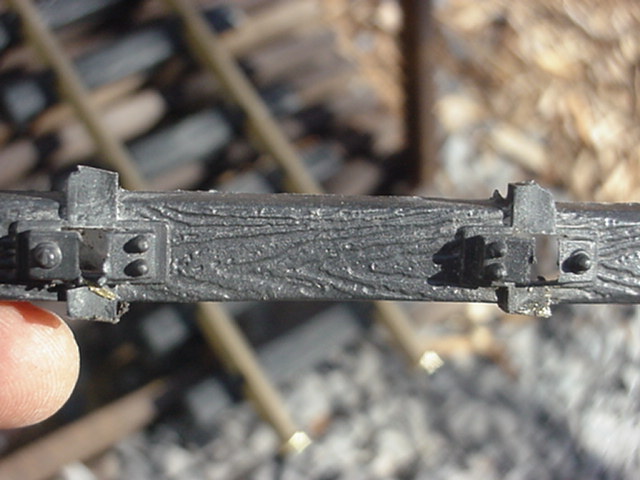 |
Puis en enlève les morceaux de plastique qui dépasse avant de remettre les dormants en place. | Then we trim the little piece of plastic. This will enable us to put the ties back with enough room for the clamps. |
 |
||
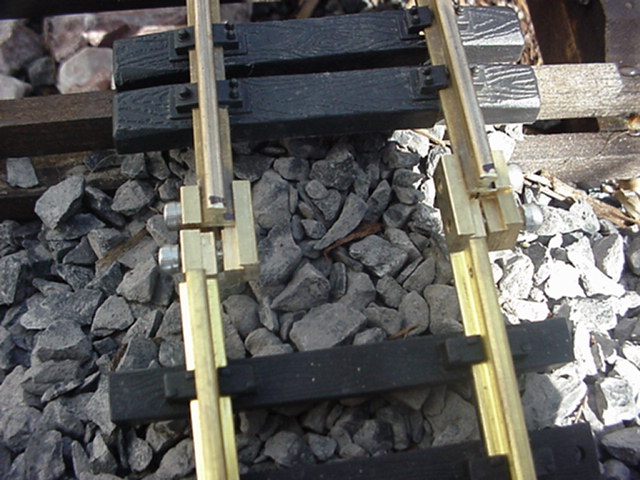 |
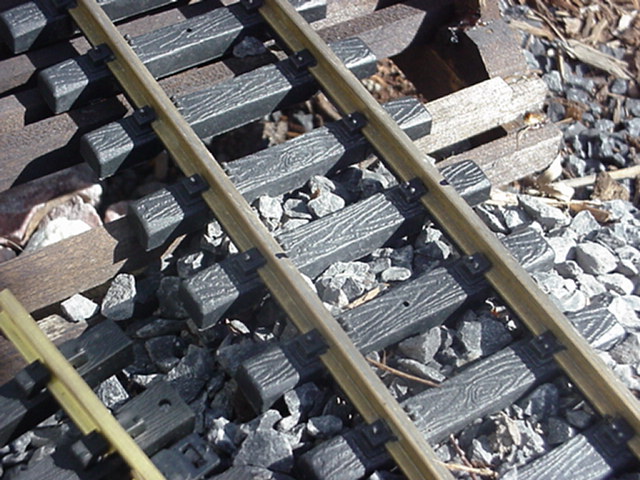
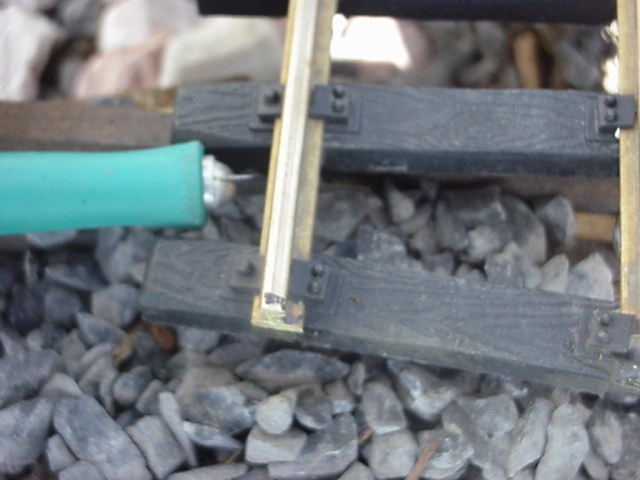
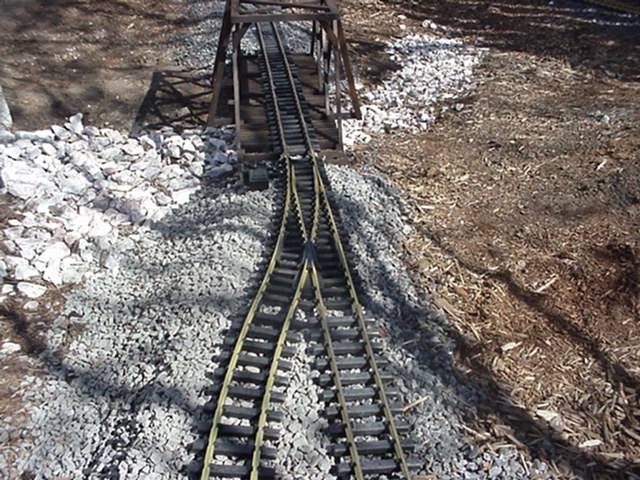
Des rails clamps de métal sont posés. | The rail clamps are put in place. |
 |
Puis l'aiguillage. | Then the turnout itself. |
 |
||
 |
||
 |
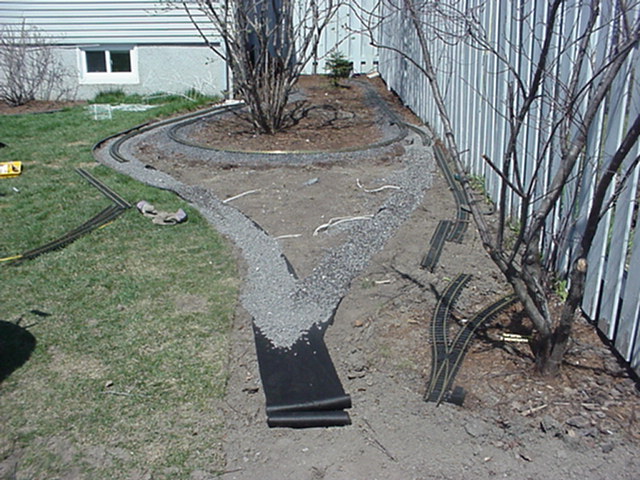
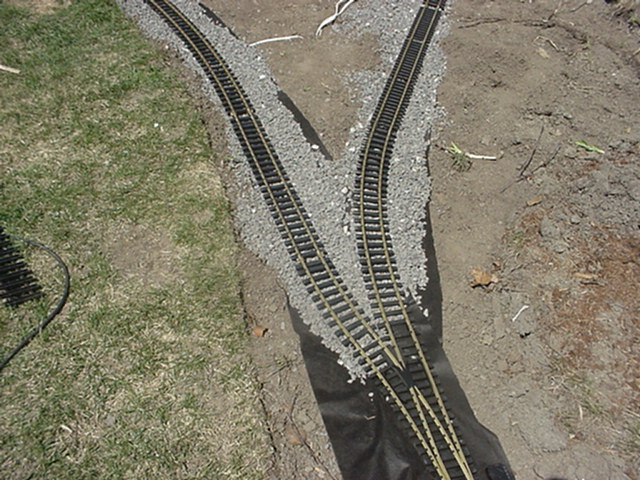
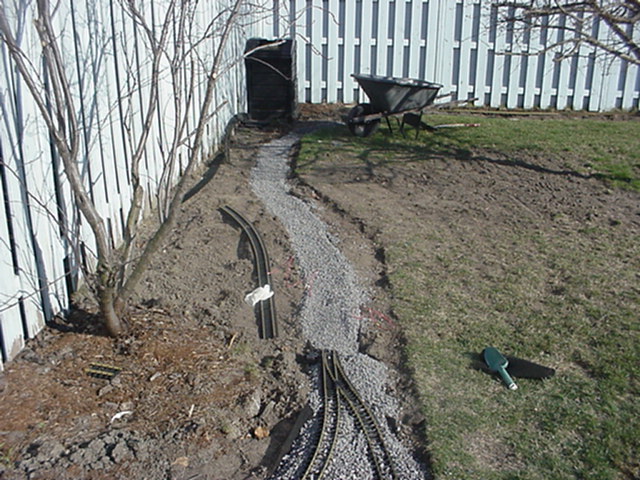
La nouvelle voie prends forme. | The shape of the new track. |
 |
||
 |
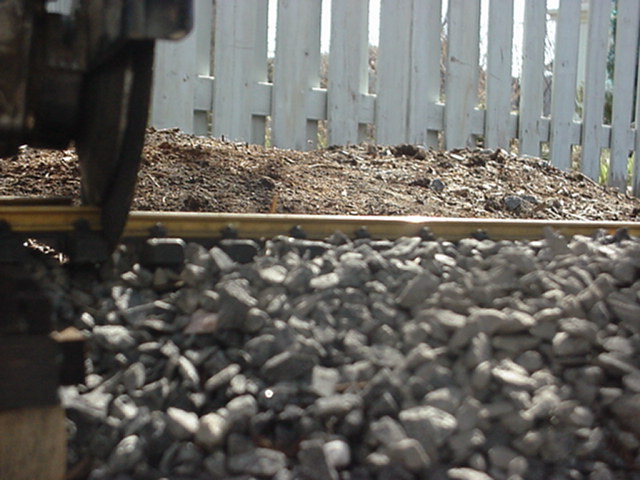
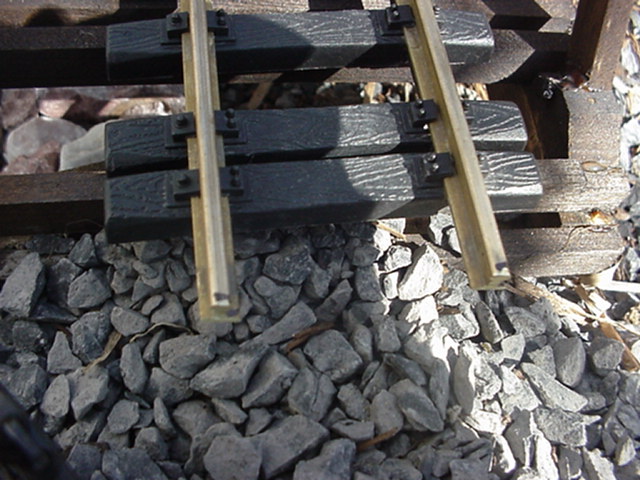
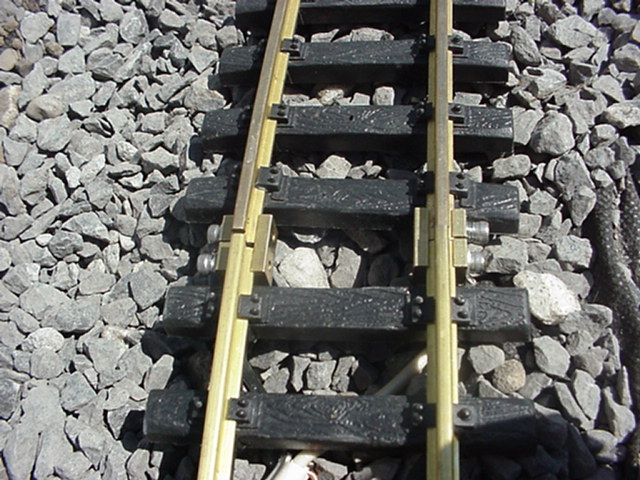
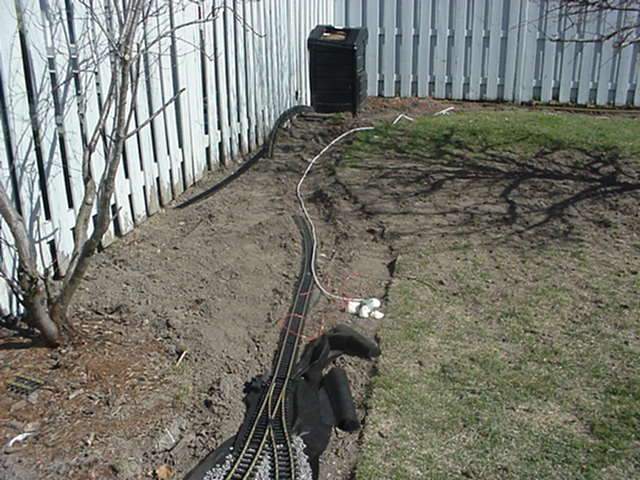
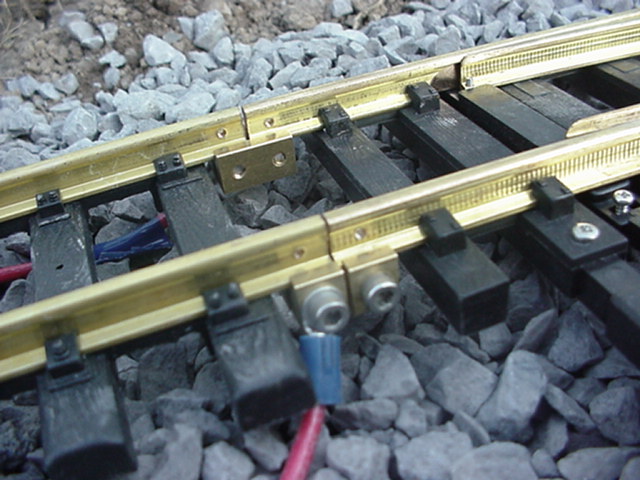
Au centre de cette photo, on voit bien les câbles qui dépassent et qui amèneront le courant aux deux vois de chaque côté. | In the middle of the picture, we can clearly see the cables that will feed the current to the tracks. |
 |
||
 |
||
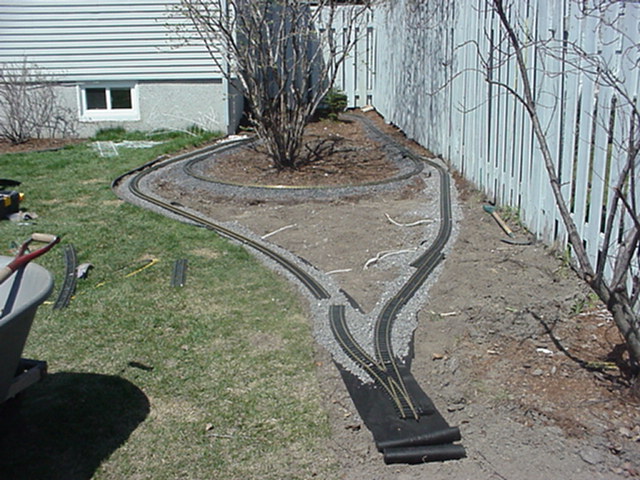 |
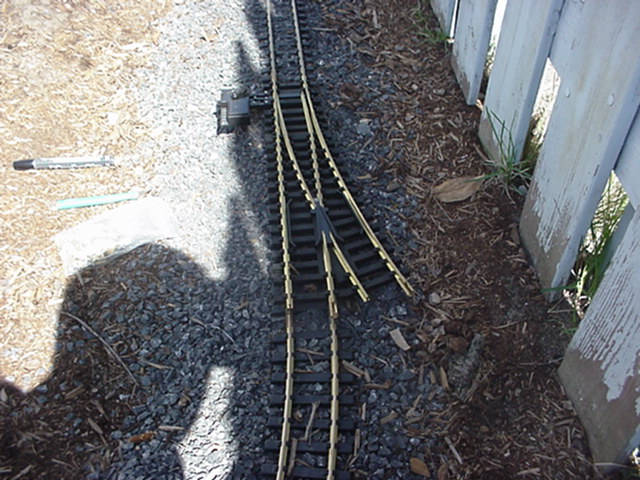
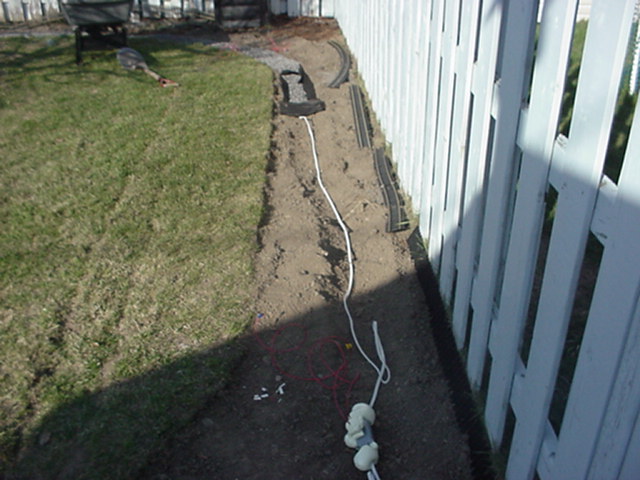
Pour joindre les deux voies à l'aiguillage, on dû faire plusieurs coupes de voie rigide. Les gens utilisant des "flex track" auront plus de facilité pour ce bout. | To join the both tracks to the turnout (the "head" of the wye), we had to cut a rigid track section. People using flex track won't get this problem. |
 |
||
 |
||
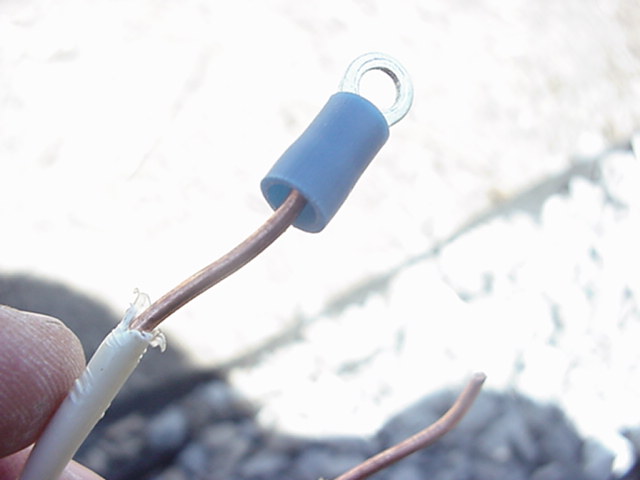 |
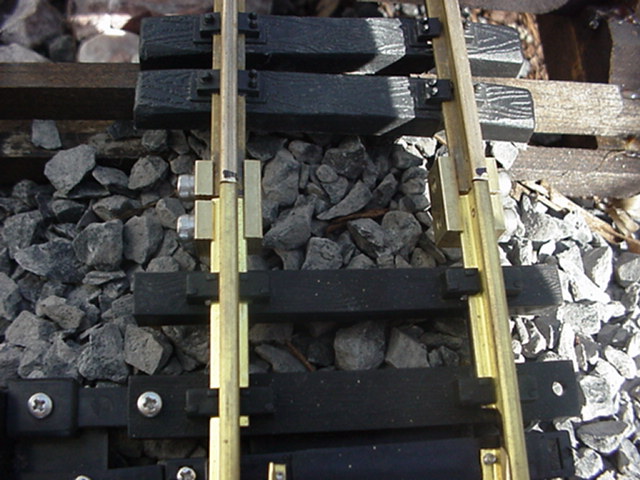
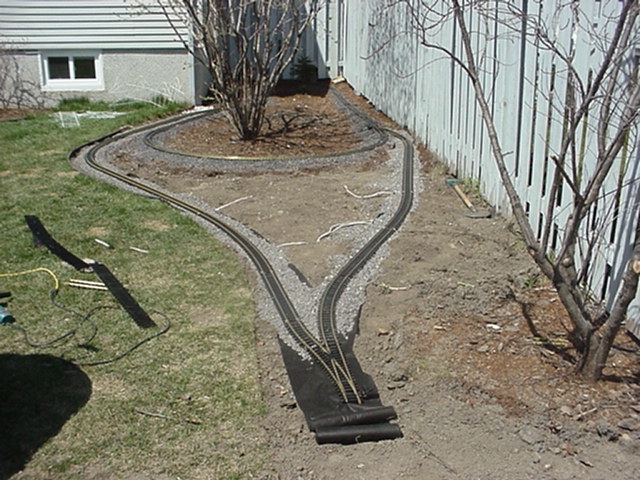
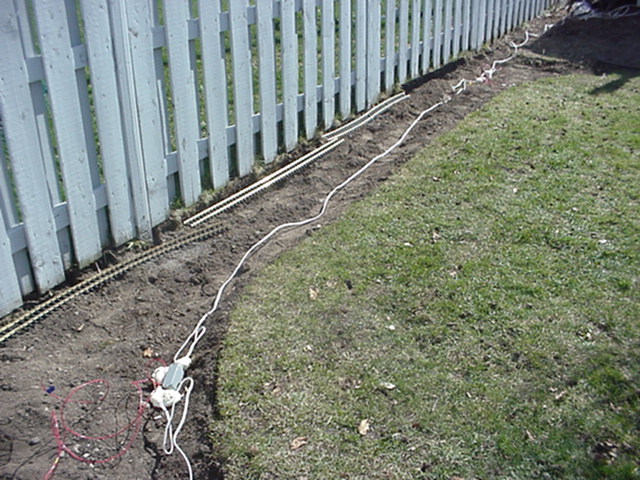
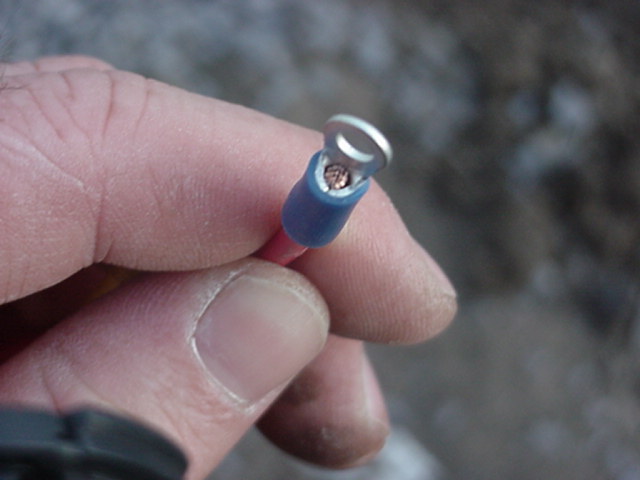
Des connecteurs ont été installés aux fils conducteurs. | Connectors have been installed on the wires. |
 |
||
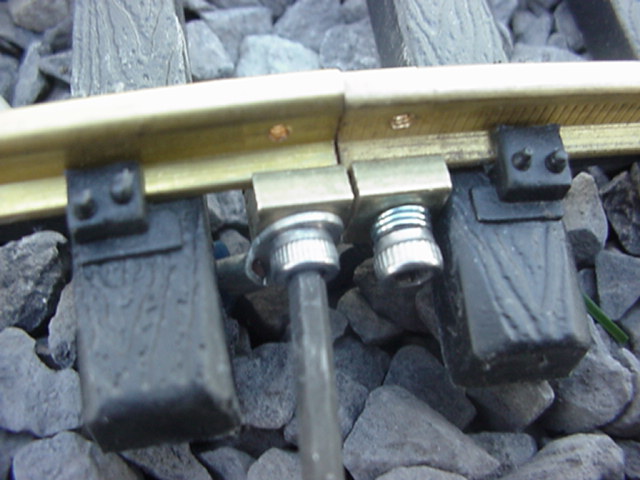 |
Puis visser en place sur les rails clamps. Cette méthode est plus facile et plus durable que de souder le fils sur le rail, comme lors de la Phase I. | Then they are screwed in place. This method is a lot more reliable and simple than soldering the wire to thetracks as in Phase I. |
 |
||
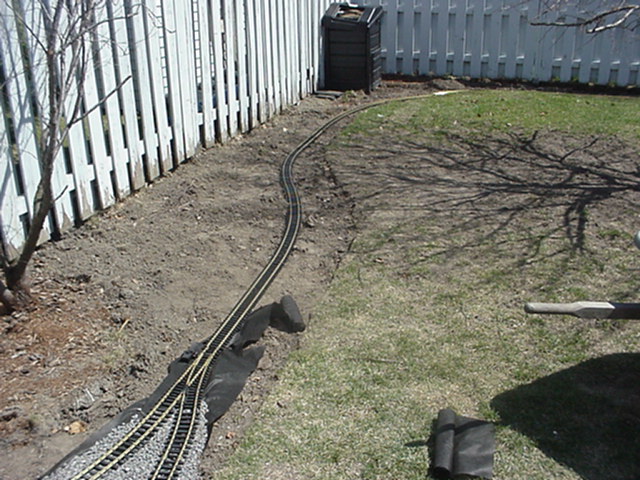 |
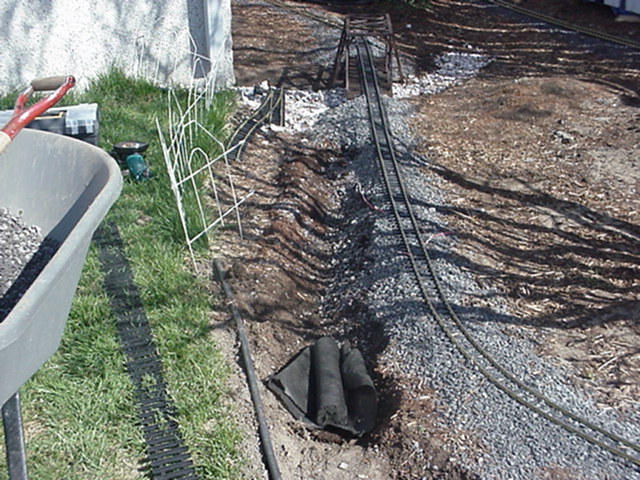
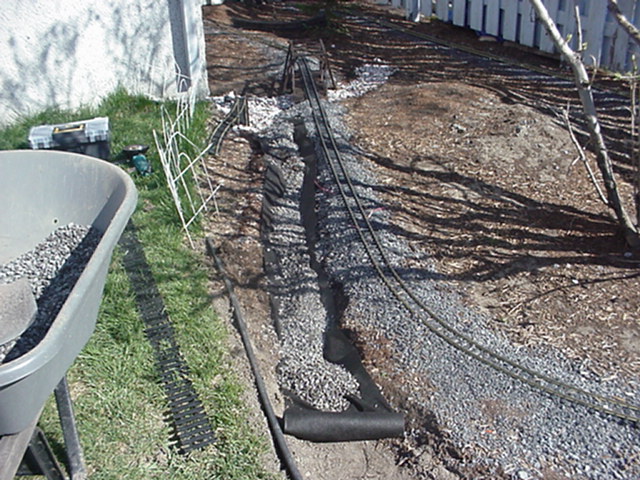
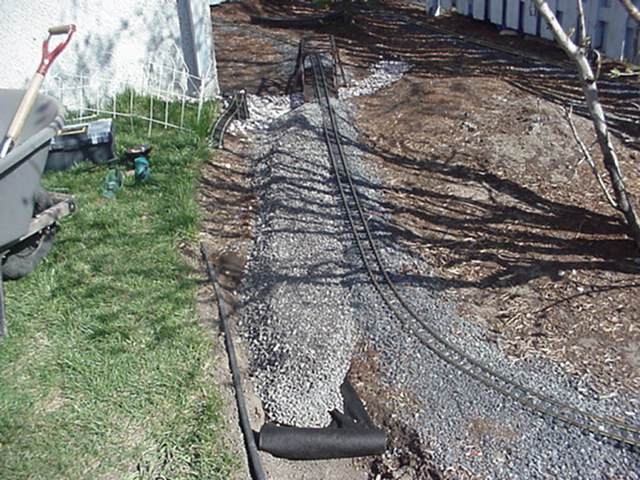
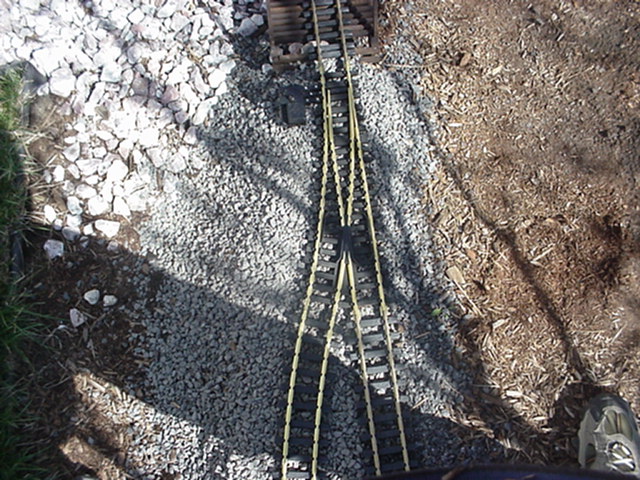
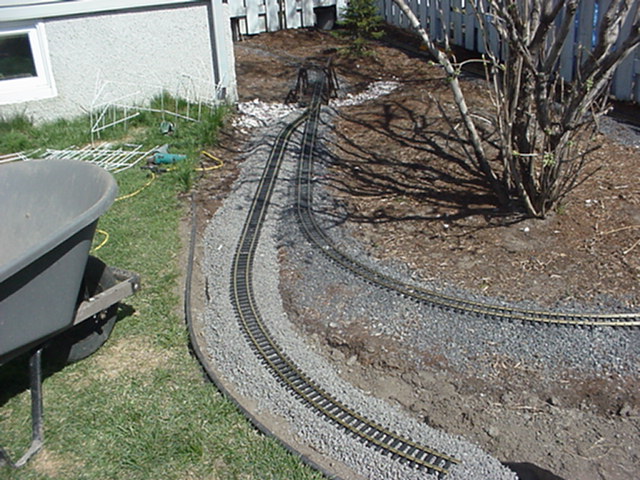
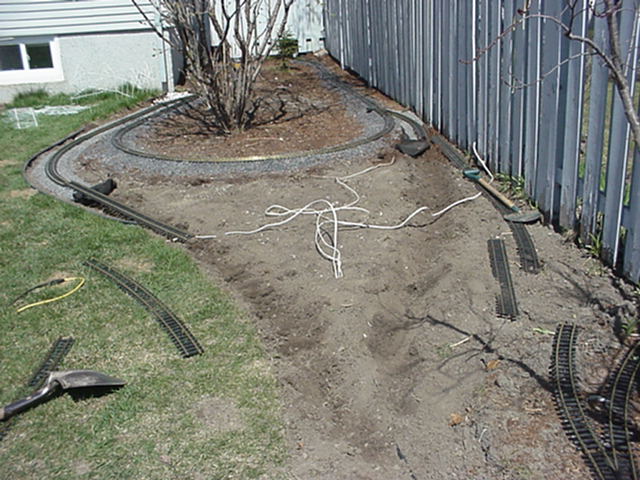
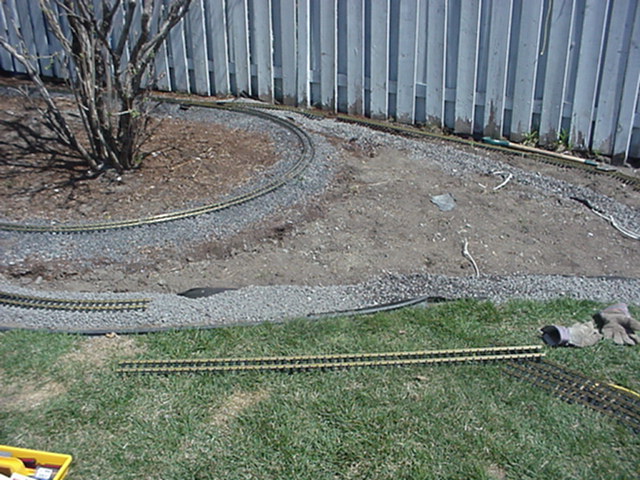
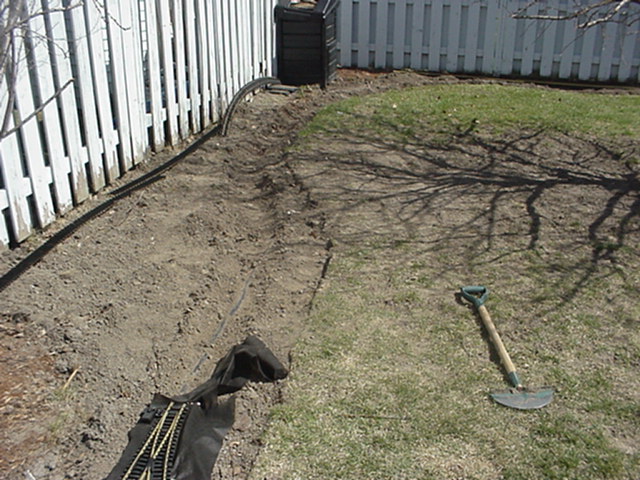
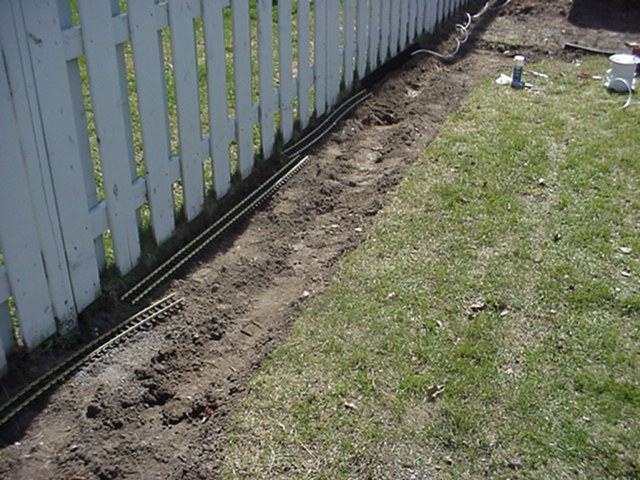
La voie est ensuite prolongé vers l'arrière du cabanon. | The track is now going to it's final destination (for this summer). |
 |
Les photos suivantes vous montre la progression des travaux. | The next picture will show the work in progress and how to attach connectors to wires. |
 |
||
 |
||
 |
||
 |
||
 |
||
 |
||
 |
||
 |
||
 |
||
 |
||
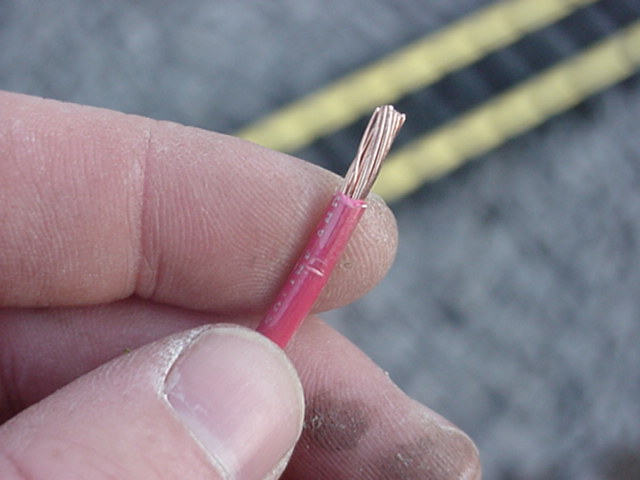 |
Même si le calibre du fils change, la technique pour y ajouter un connecteur reste la même. | Even if the gauge of the wire is different, the technic to attach a connector to a wire is still the same. |
 |
||
 |
||
 |
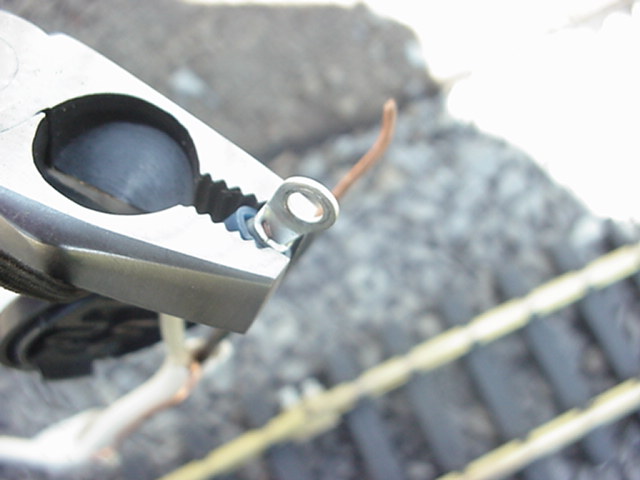
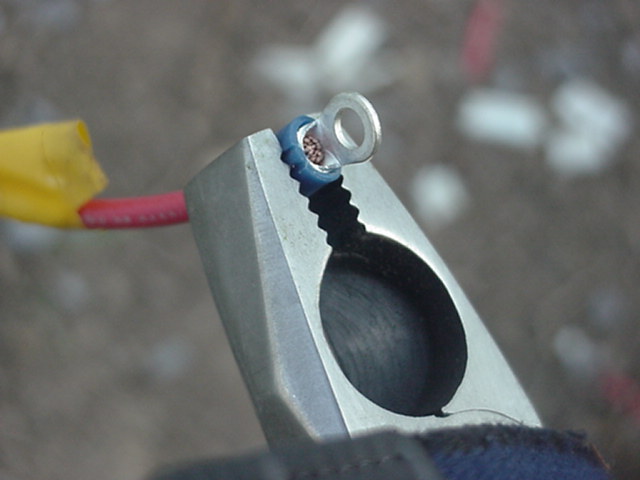
Démonter un côté du rail clamp. Une fois le connecteur en place sur le câble... | Unscrew completly a side of the rail clamp.... |
 |
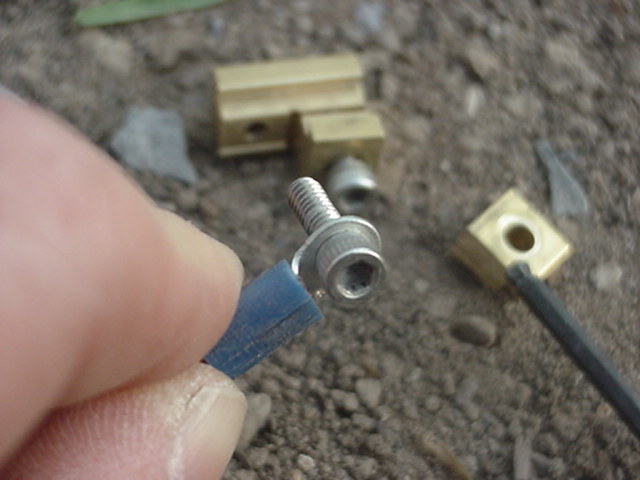
... insérez la vis du rail clamp, puis le côté amovible du rail clamp... | ... put the screw in the hole of the connector, then put the srew in the little side of the rail clamp... |
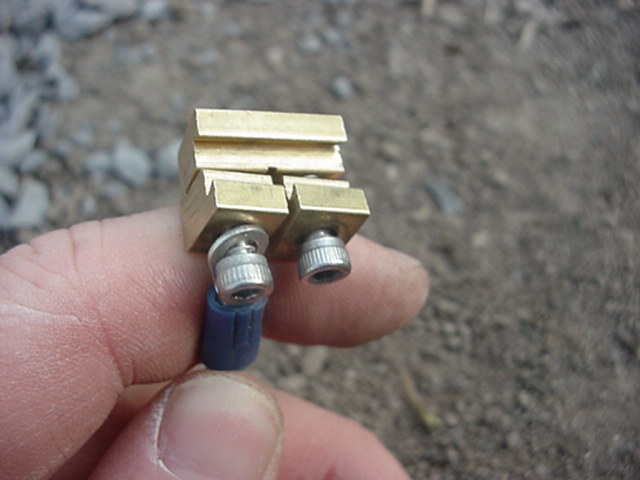 |
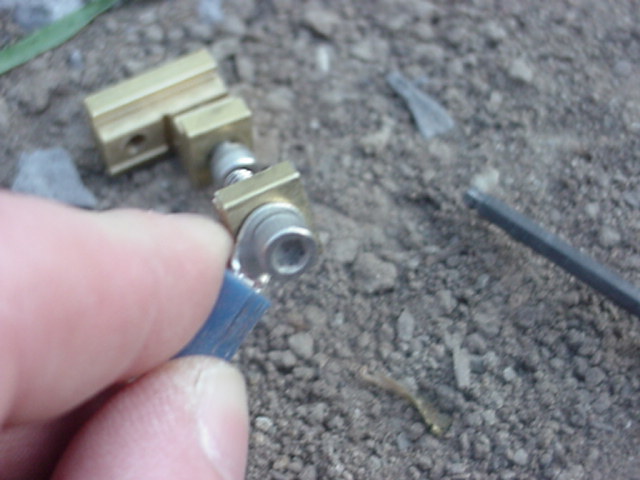
... puis revissez la vis à sa place. | ... then put back the screw in the big side of the rail clamp. |
 |
Une fois le ballast mis en place, rien n'y paraîtra. | When the tracks will be ballasted, the rail clamp, the connector and the wire will desappear. |
 |
|
Avant de copier cette page, lisez le copyright
Before copying this page, read the copyright


