


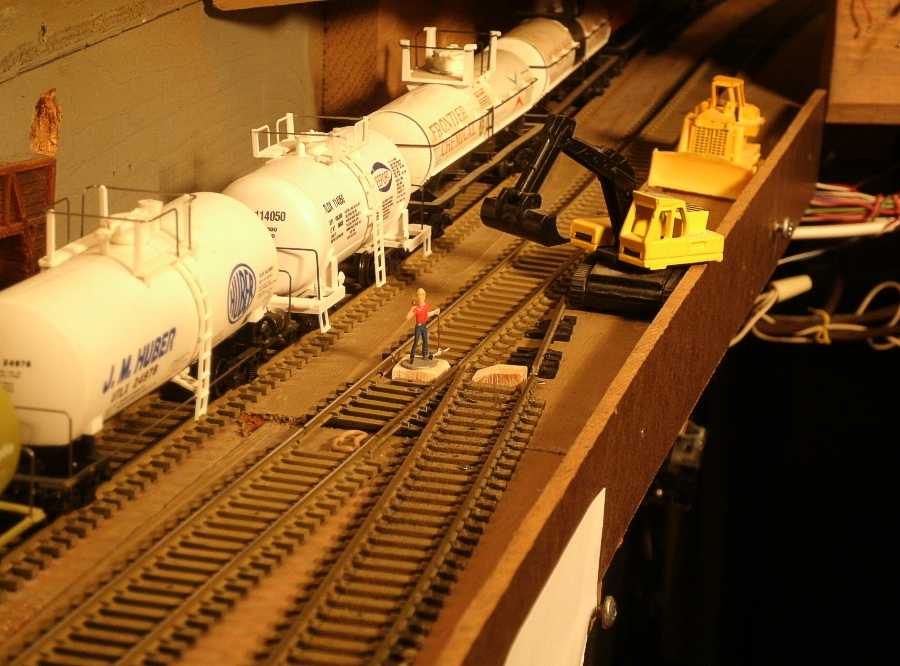
 My HO scale model railroad had a River Junction with a simple track plan with one crossover for 20 years on my model railroad.
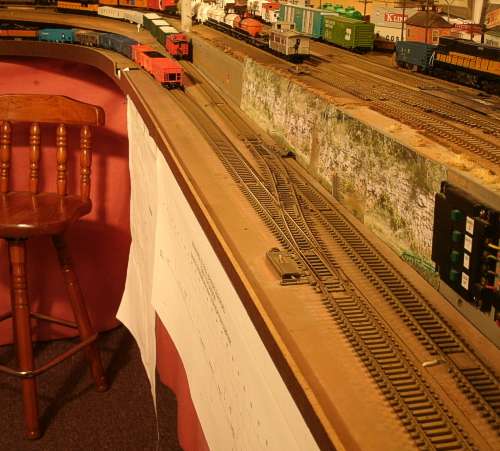
 The left line is a 'water-level' line but not exactly. The grade looks steep.
The right line is definitely steep, over 4%, climbing up from the Mississippi River and into Iowa, and I sometimes use helper engines on it.
 Then I added a left-hand crossover using some 30-year old used No. 4 turnouts,
They are bit 'sharp' compared to the No. 6, but that's all I had left from model rail meets many years ago.
That opened up some switching possibilities. And allows access for a little switch engine to push cars into a junction siding while also avoiding the really steep hill.
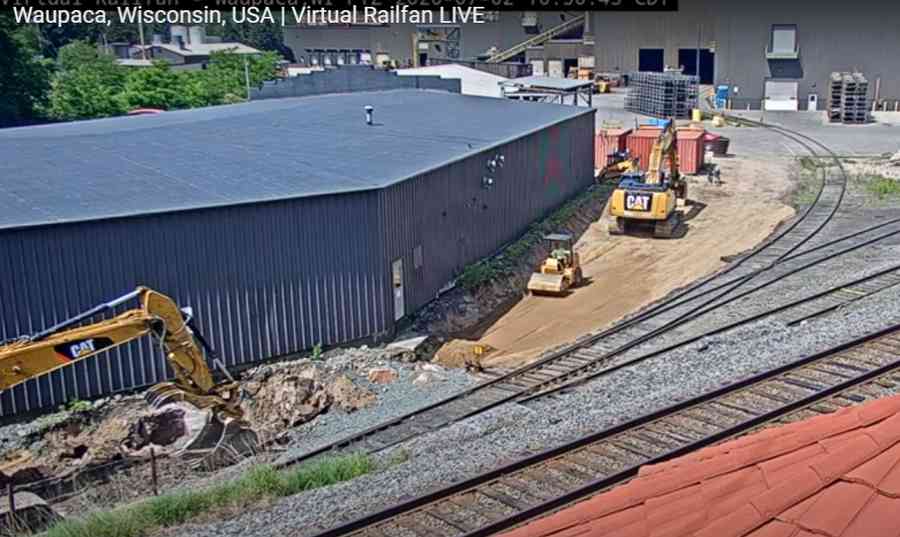
| Waupaca is getting a switch replacement in July 2020 |
 .
.
|
so, I got out my construction equipment, and pliers and etc. I figured how to squeeze one more track into my junction, without adding more support boards. I could have tried a No. 6 switch, but I ran out of them. With the gradual curve coming out from the underpass, the location was best served by a narrow angle wye switch. |
 .
..
|
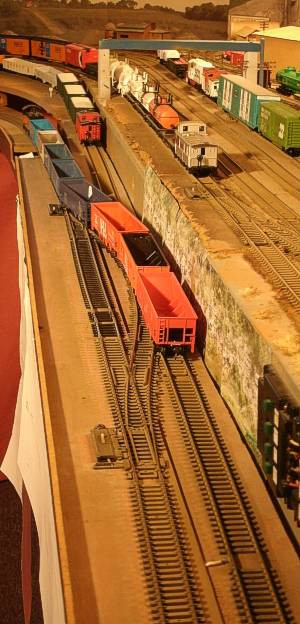
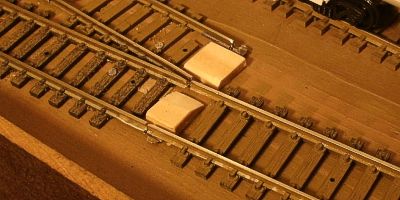
Below, the switch is set to the left, and then to the right.
This is NOT a stub switch where the point rail is moved. It's more like a stub frog switch. |
 ,
,  .
.
|
To move it, reach in with a finger nail and pull the rail out and slightly up, and let it go. The springiness of the flex track makes this one naturally center between tracks. It rests on the blocks. ( I can paint them to 'hide' them ) Then push the track sideways where you want it, and it drops down into place. |
 .
.
|
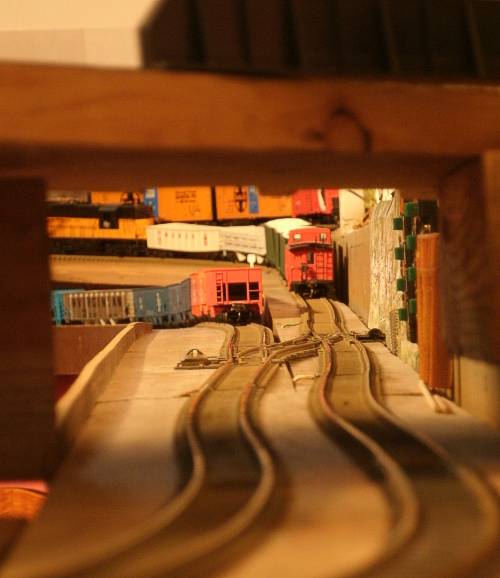
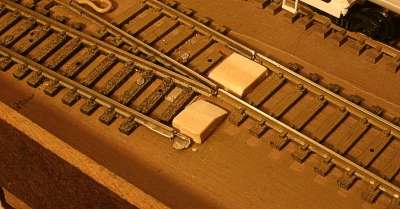
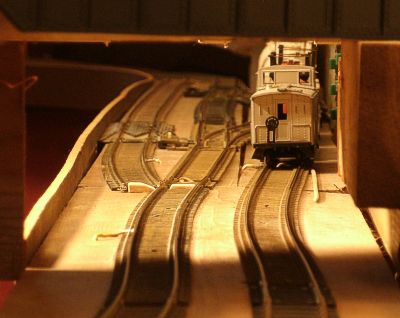
Below is looking through the underpass, with the switch set left and right The switch is approximately a No. 12 wye, and trains can go through it gracefully at speed.
I could improve the looks by adding a dummy rail so it could look more like a real track switch, It is easy to see the switch position from a distance, which is very useful on my railroad. |
 ,
,  .
..
|
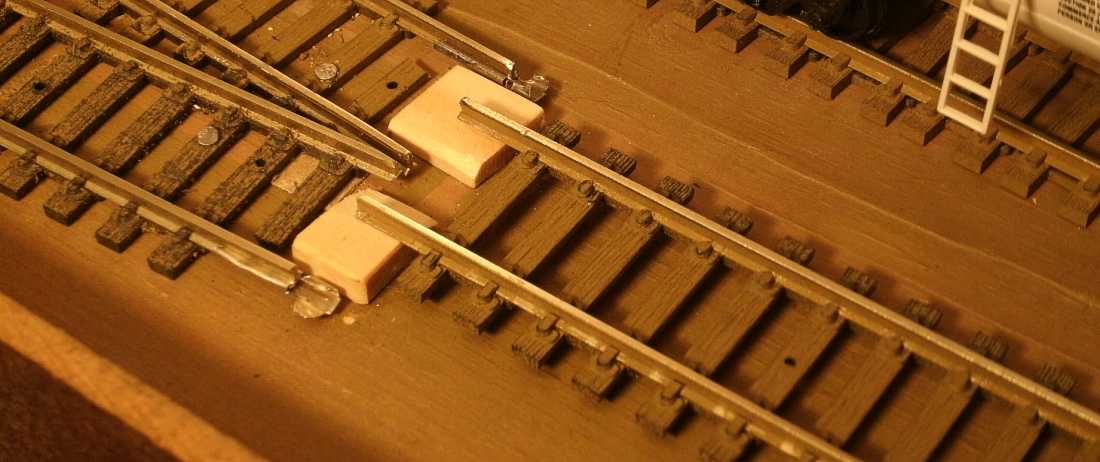
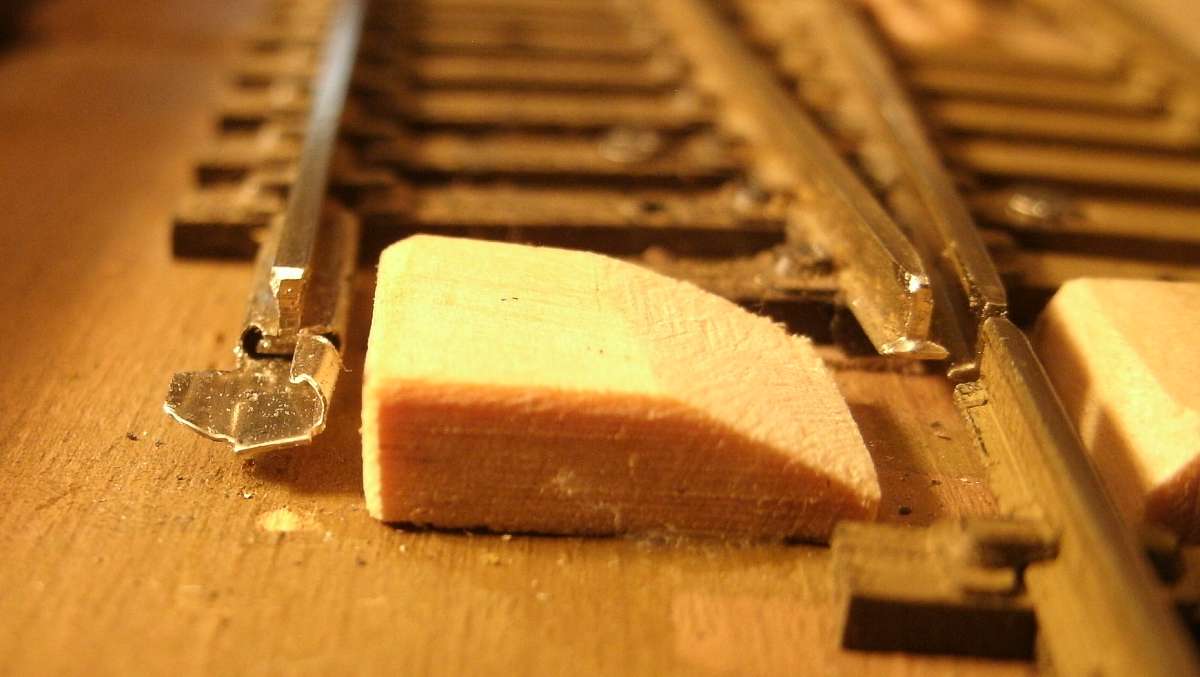
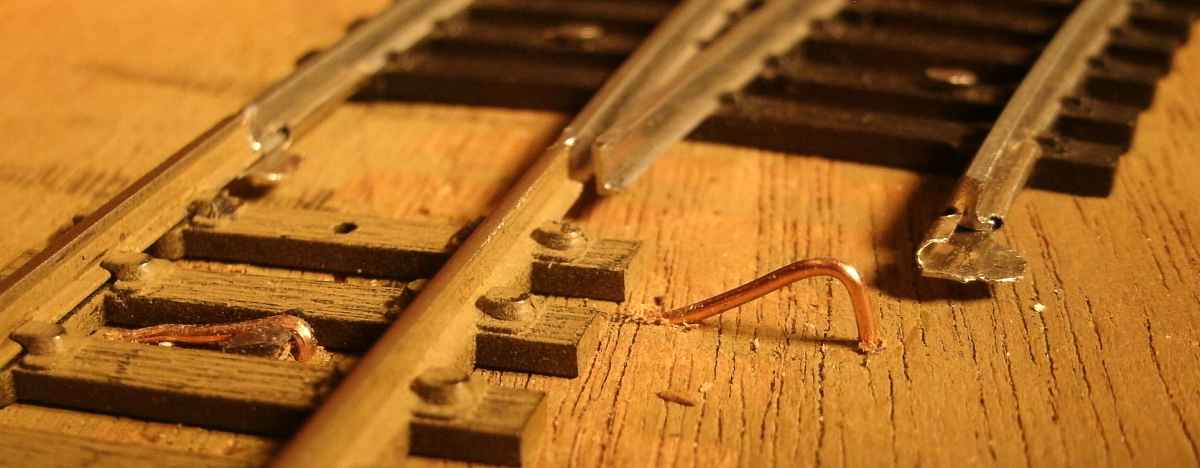
Here is a close view. The rail joiner is split open, this is done most easily with an old Bachmann China snap track rail joiner because they have a hole drilled where I want to un-curl the joiner. One side has its original shape. The other side is flattened to become a support shoe, so when the rail falls in place, it can't miss. The spring of the flex track holds the rail in the half-joiner. It not only holds the rail, it also can make this a track power selective switch.
There is no need for a rail joiner near the frog location, the alignment is close enough, because all of the track rests on its ties. One thing I don't do is operate the switch when a car or locomotive is within 50 scale feet, since I have to lift the the track to release the rail before moving the track. |
.
.
|
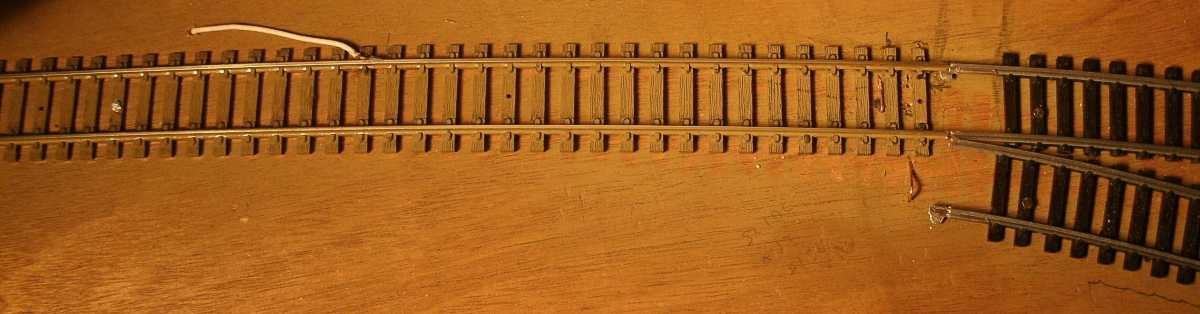
That worked good, so then I made a curved turn out for the other end of this siding. If I wanted to disguise what I did, I could paint some ties and rail onto that flat wood board to fill in the blank spaces. Left position. |
.
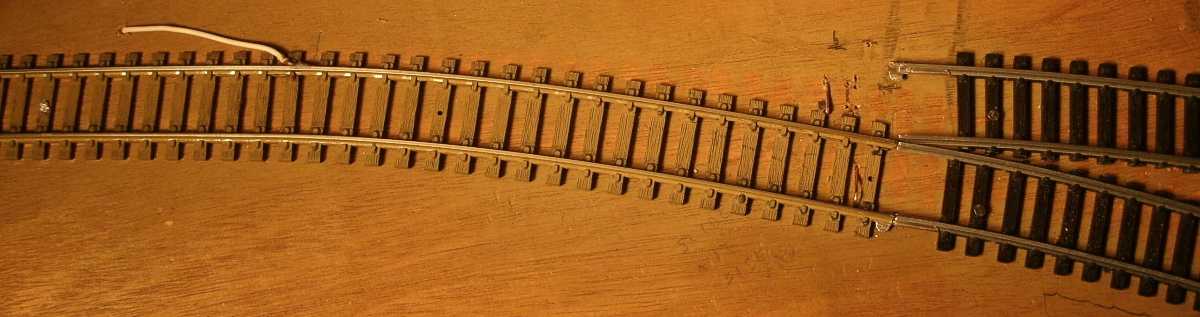
Right position.
|
To get the natural springiness needed to make this switch work, the flex track needs the ability to curve easily. Most flex track does. My curved switch is fairly 'sharp' and the movement wants to slide the one rail along the ties until the rail end starts jamming tight to the other. So, I added a 'rail anchor' by soldering an electrical feeder wire to it. That's the white wire in the 2 pictures above. Now that rail doesn't creep, but still has several inches to slide and flex. |
|
This one is built with a slight difference, because the flex track wants to spring outwards always. The split rail joiners are set to hold against that outwards push, which is to the left in this picture. The wire ramps guide the track. To go from the outer curve position to the inner, just push the track over to the right; it goes up the ramp and drops into place. It's not a fussy operation. To set the track outwards, lift the inner rail out and up a little and then let it snap away from your finger, the flex track springiness whips the track to the outer position where it is caught by the other rail joiner. |
.
| And don't expect me to make an electric remote control for this monstrosity. |
to My Main Index Page on the TrainWeb site.
This page was filmed and wrote in July 2020


