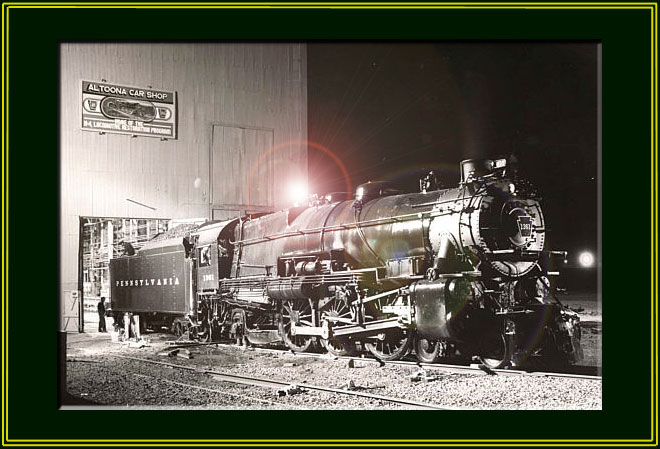
The PRR K-4s #1361
Steam Locomotive Restoration Project
Page 11
(This site is provided as a courtesy of the Altoona Railway Museum Club)
This page was last updated on: Monday, March 22, 2010 .
January 2003 K4 Update
These photographs were taken between June 2002 and December 2002 by Charles Cantrell, 1361 Volunteer..
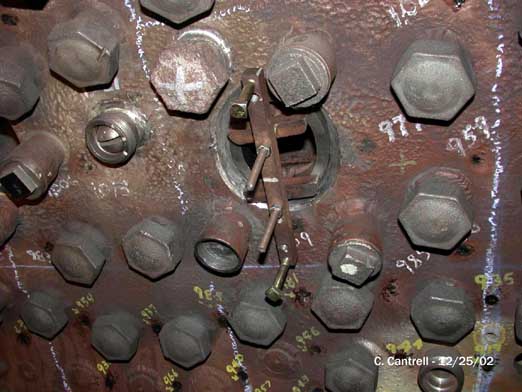
Fixture used to hold handhold sleeve in place for tac welding. These are removed to clean the arch tube.
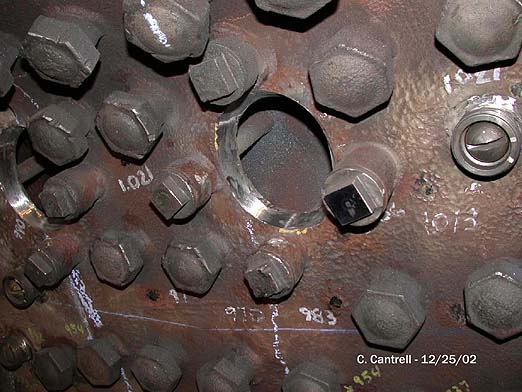
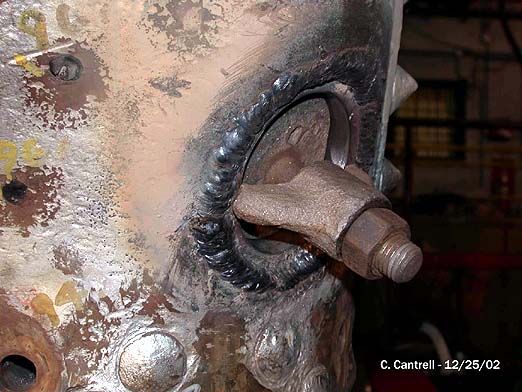
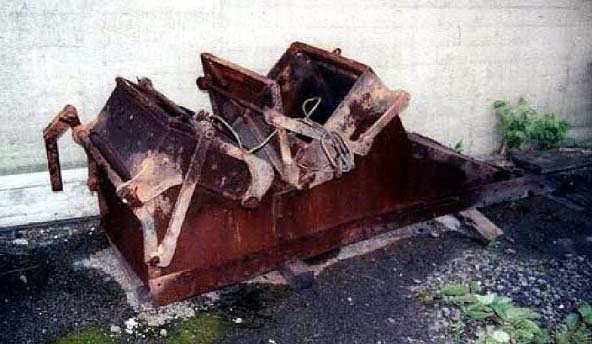
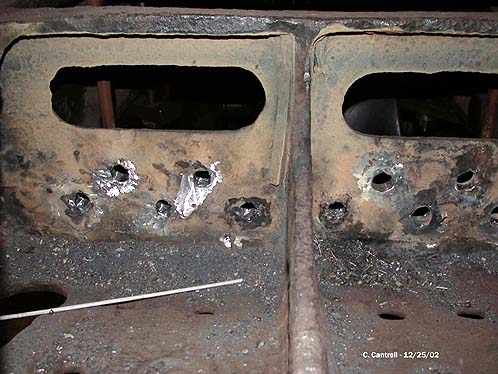
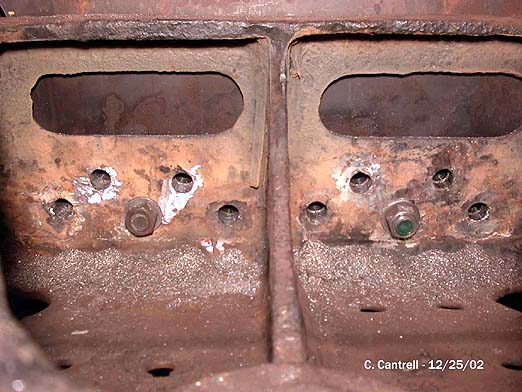
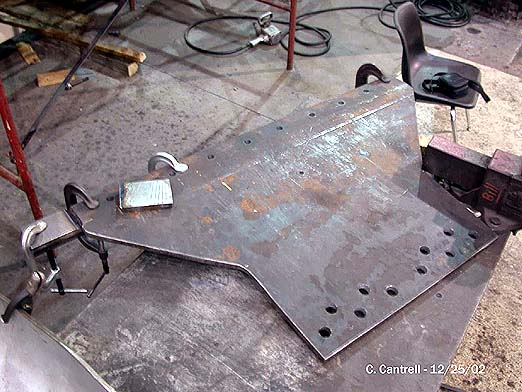
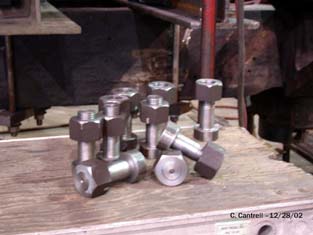
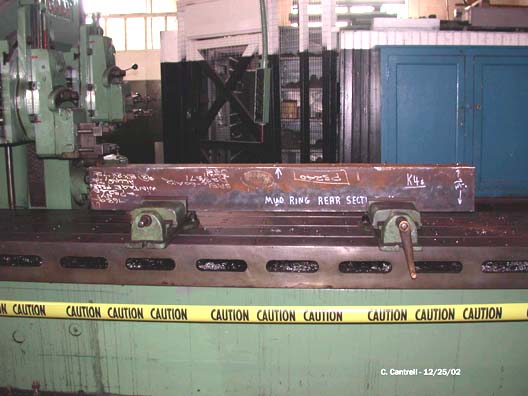
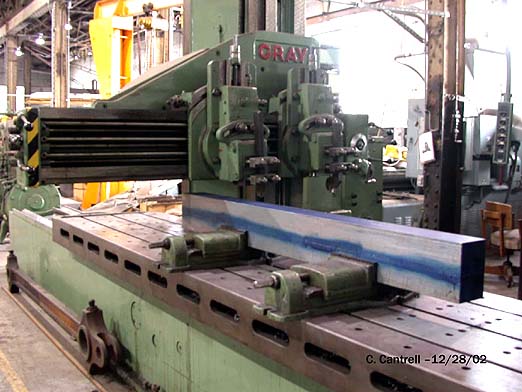
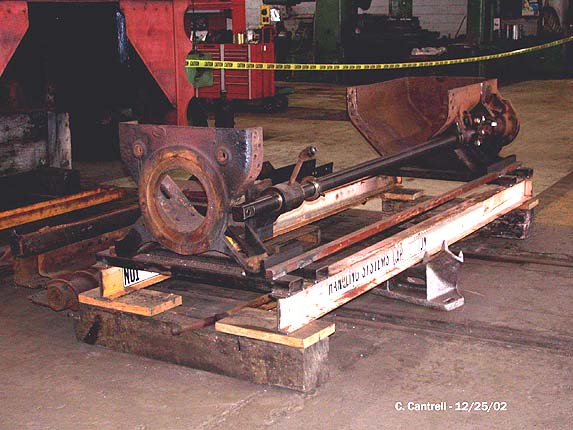
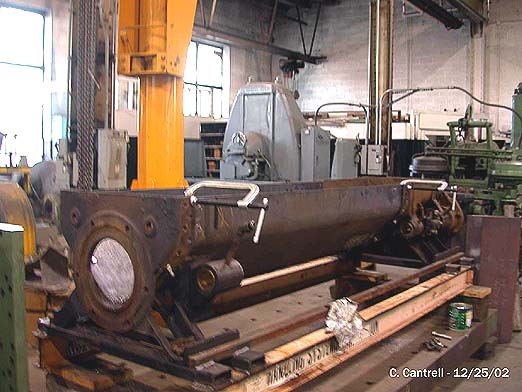
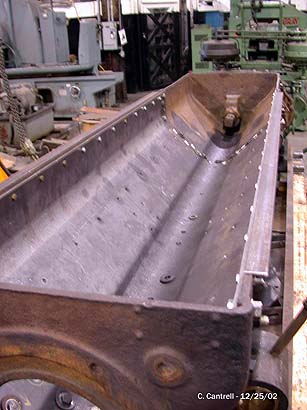
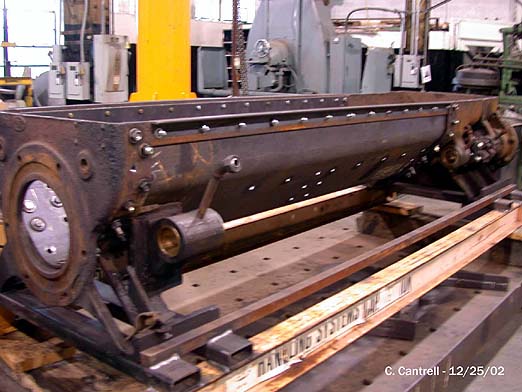
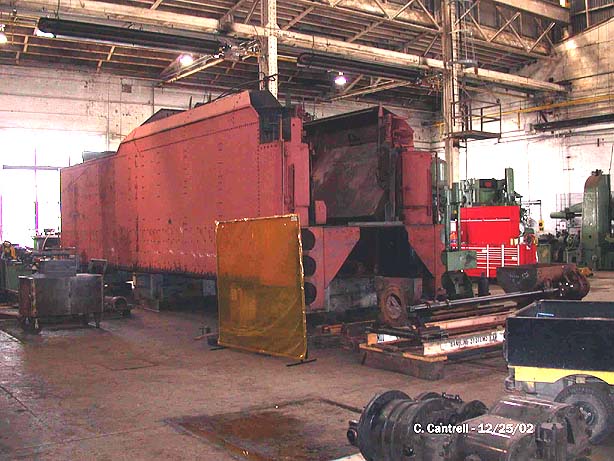
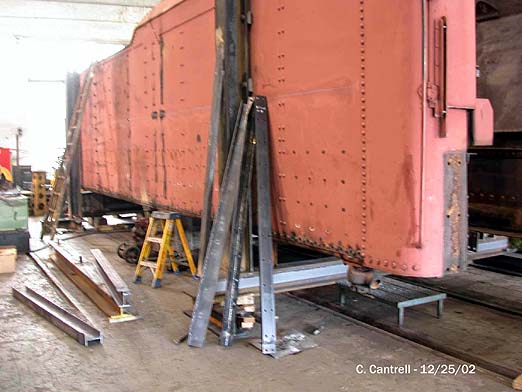
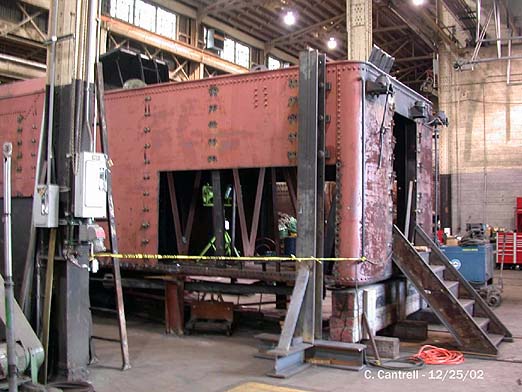
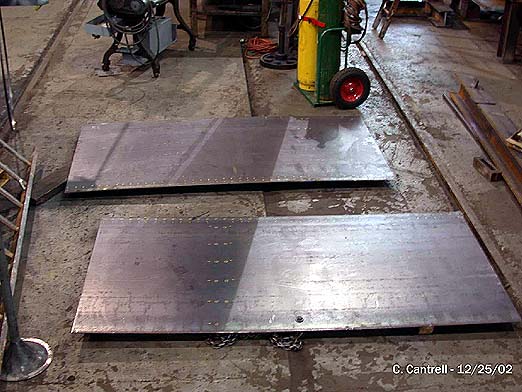
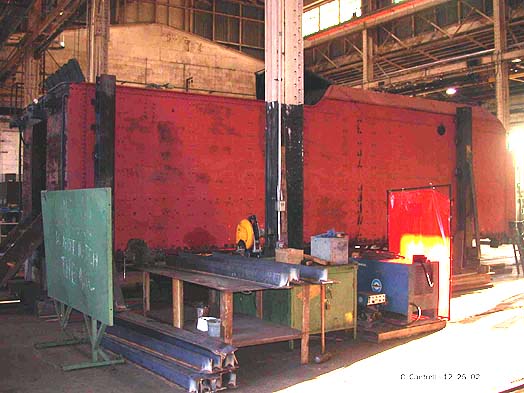
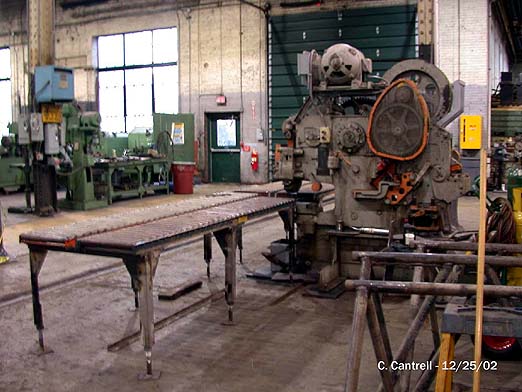
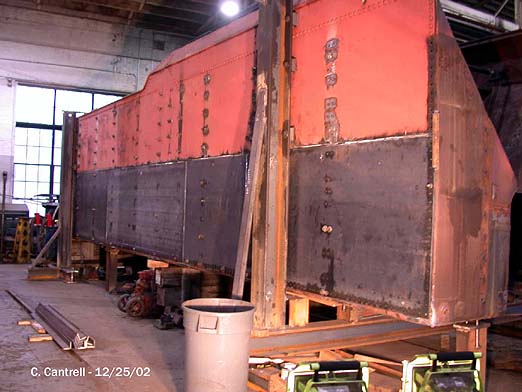
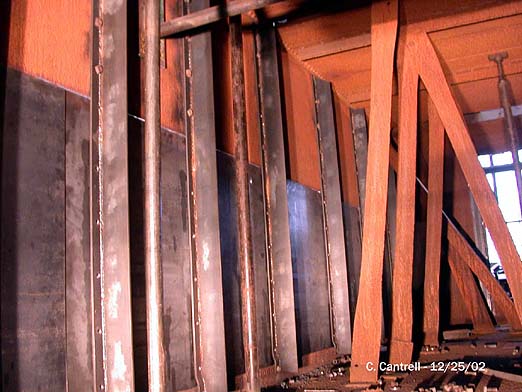
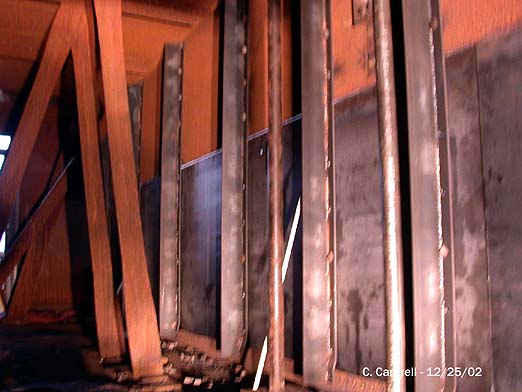
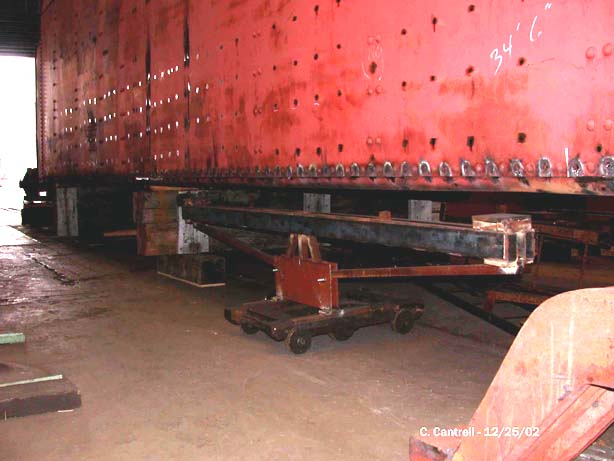
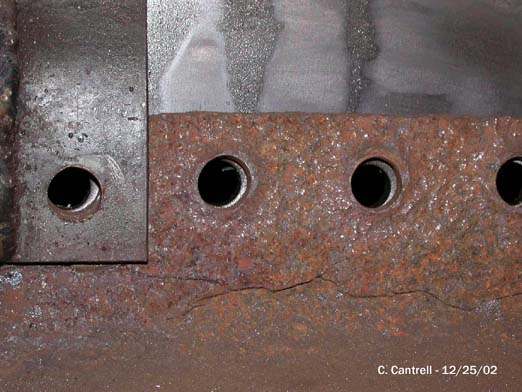
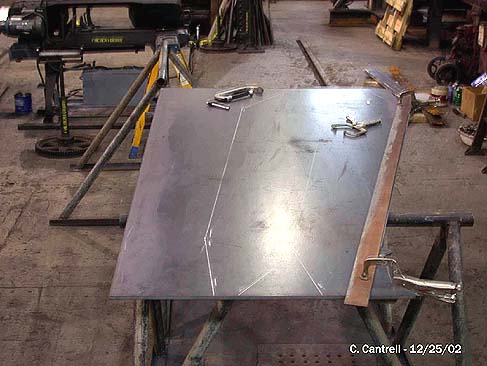
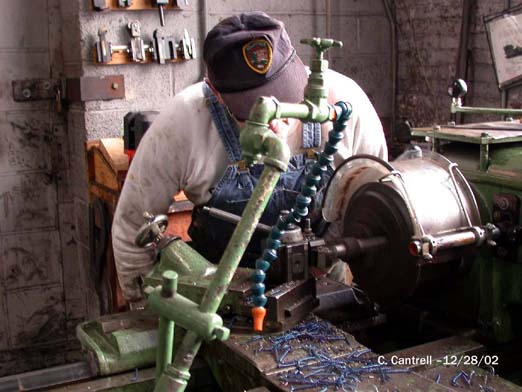
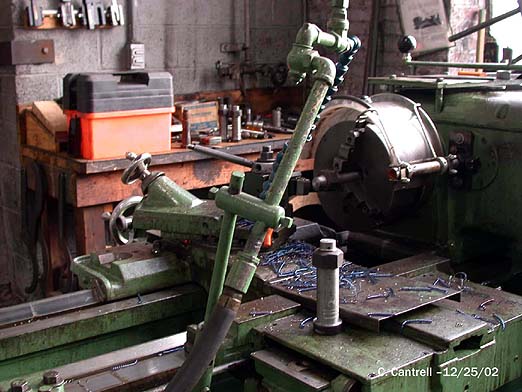
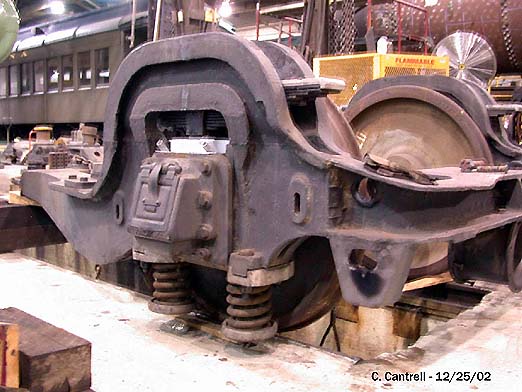
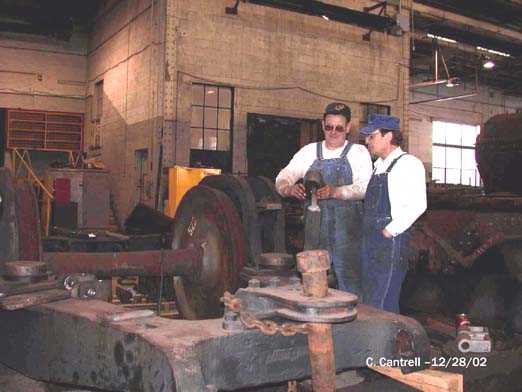
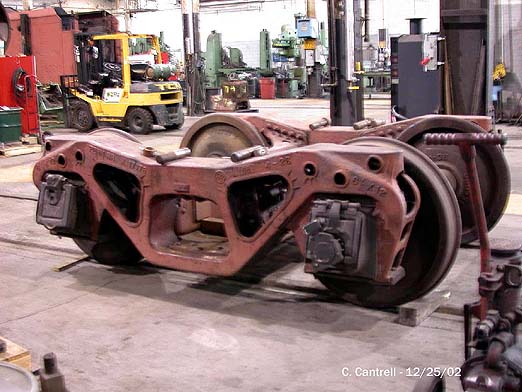
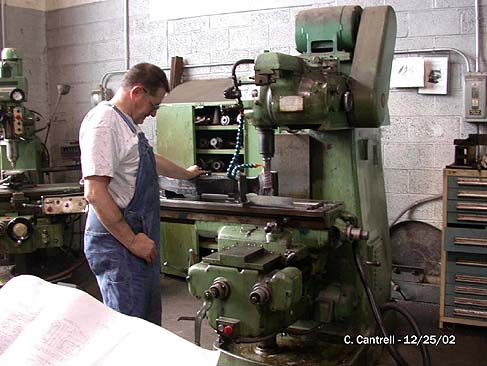
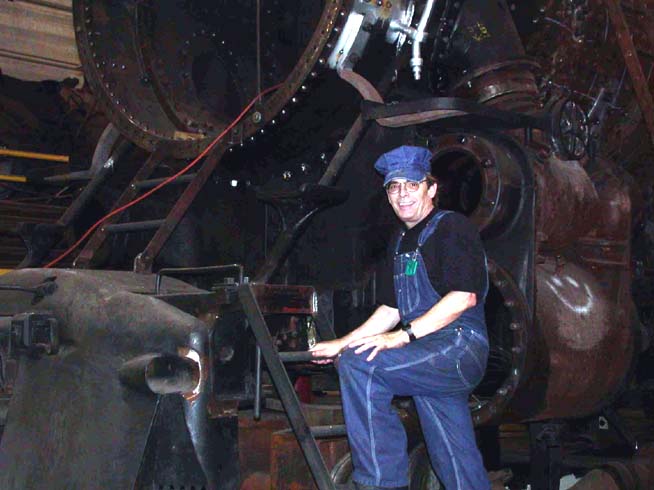
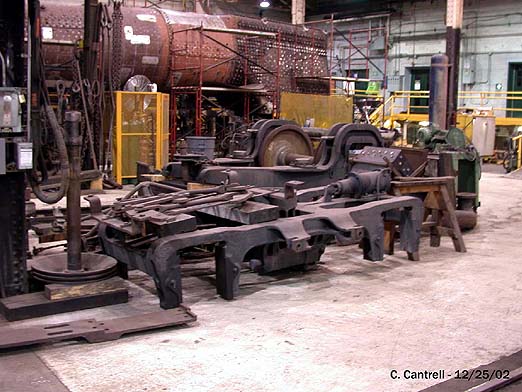
Picture of throat sheet where handhold sleeve is to be installed. The opening must be ground slightly larger than new sleeve prior to welding. New mud ring clean out with hand hold installed. Picture of the old ash pan assembly prior to rebuild. One can easily see the deterioration due to age and rust. Lower ash pan assembly with doors in place prior to riveting It was necessary to build up all holes in the main engine frame cross member. This was due to excessive wear. Here you can see the initial welding phase. Main engine frame cross member during die grinding phase. All holes, in the new mud ring expansion sheet, had to be ground to approximately the same size as the cross member holes prior to reaming to final size. New bolts and nuts had to be machined, from bar stock, to complete the assembly. New mud ring expansion sheet being fabricated from ¾” boilerplate. New bolts and nuts machined for the new mud ring expansion sheet. A new piece of bar stock measuring 6’x8”x5” mounted in the Gray planer is ready for planing. This bar will become a new rear section of the mud ring. Three quarter view of new mud ring section during initial planing in the Gray 14’ planer. Stoker assembly in fixture fabricated to maintain alignment. Templates will have to be made and a new trough formed from sheet stock. The stoker assembly will remain in this fixture during the complete reassemble. Stoker trough with new sheeting being fitted. Here the trough is being set up to center punch all of the rivet holes. Inside view of the new stoker trough. All of the bolts will be replaced as rivets are installed. Right side view of the stoker assembly. Note fixture still holds stoker trough in alignment. View of tender prior to rebuild. Note the stoker assembly has been removed for rebuild. Fixture fabricated to hold the tender squarely in place for rebuild. You can see several of the new side sheet braces being fabricated in the photo. Rear view of tender showing initial removal of the lower side sheets. Prior to removal, all of the braces had to be fabricated and drilled. Again, note the tender alignment fixture. New tender lower side sheets being marked up prior to punching rivet holes. The holes will be punched utilizing the Buffalo Iron Worker. New braces being fabricated for the tender. Buffalo Iron Worker, brought in by contractor, to fabricate sheet metal assemblies. In this picture, it has been set up to punch holes in new lower side and braces for the tender. It can also be used to shear bar stock, round stock, angle iron, etc. New tender lower side sheets being fitted. Sheets will then be removed for sandblasting and priming prior to final installation. As a point of interest, some 1300+ rivets have been removed from the tender to date. All of which must be replaced. Inside view of new, left side, tender lower side sheets and braces. Sheets and braces had to be replaced due to excessive corrosion. Inside view, right side, tender lower side sheets and braces. No, it’s not a seesaw, as someone had comically written on its side. It was necessary to fabricate a fixture to pull dents from the floor of the tender. Here you see the fixture placed under the tender floor prior to use. One of several large cracks found in the tender floor. This particular crack was approximately 38” long. Tender slope sheet braces being marked up for cut out utilizing a plasma cutter. The sheets will them have to be formed and rivet holes punched prior to sandblasting, priming, and installation. Volunteer Walter Elvidge machining new equalizer hanger bolts and nuts. Close-up of new tender spring hanger equalizer bolt with nut during machining. The bolt shoulder now has to be machined on the bolt to finish the machining. The trailing truck has entered the reassemble phase. Here you see the new springs being installed. Volunteers Walter Elvidge and Charles Cantrell begin installation of trailing truck equalizer hangers. Tenders lead truck during rebuild. Note new journal boxes. The bronze bearings have been replaced with new roller bearings to meet current railroad regulations. However, the old style journal boxes have been retained to maintain original appearance. Volunteer Walter Elvidge milling new seats on a equalizer bar. Recent volunteer Charles Cantrell alongside 1361. Charles started with the 1361 restoration effort in June 2002. Besides assisting in all phases of the restoration, he has been documenting the restoration through photography. The historical society and the project engineer use these photographs to keep abreast of the restoration. He is also providing photos for the web site with commentary. Pony truck being rebuilt. It is currently waiting for new wheels from Ohio Valley Rail Car prior to further assembly.
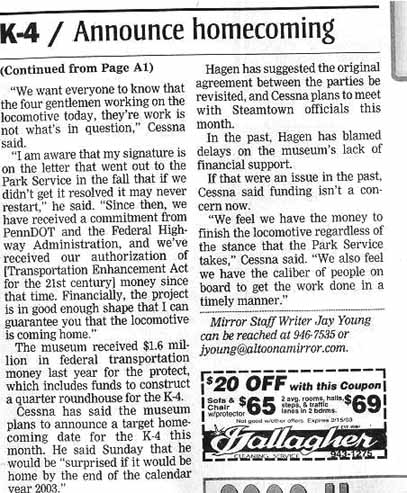
Altoona Mirror article dated 2-10-2003 PART 1 Altoona Mirror article dated 2-10-2003 PART 2
Stay tuned for additional photographs of the PRR K-4s #1361 Restoration!!