Fig 37 |
Locomotive bells have always
been a bit of a problem in 7/8 scale. While there are several very
nice castings out there on the market, they are somewhat pricy for a comparatively
small part of a project. Christmas shopping at Walmart was the solution
this year, actually it was clearance shopping at the after Christmas sales
that found a garland decoration 9 foot long and full of injection molded
plastic bells just th perfect size for severneighthsification. As
molded they have a christmasty, continental pattern on them and are coated
with a glossy gold paint, course this is nothing that a little sanding
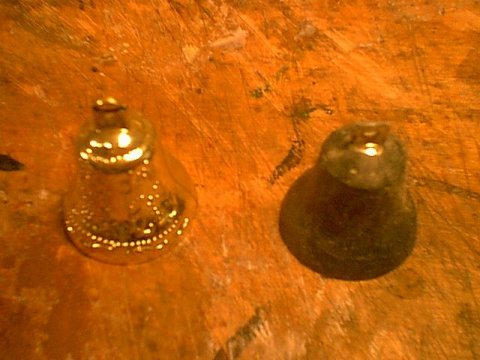
wont take care of. in Figure 37 you see the stock bell on the left
with a sanded down one on the right. Once the bell was sanded, it
was washed, then a coat of 24 KARAT (not really, its just the brand name)
sprayed on. Several coats of clear coat complete the illusion of
shiny cast brass.
Every bell needs a hanger so I fabricated my own from brass bits and styrene. after it was painted black, a hole was drilled in thetop of the bell and secured with CA. The bell then found its way onto No8's boiler. |
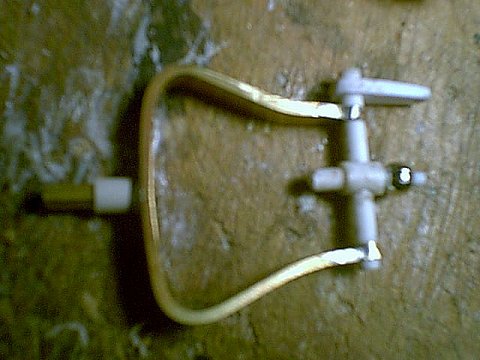
Fig 38 |
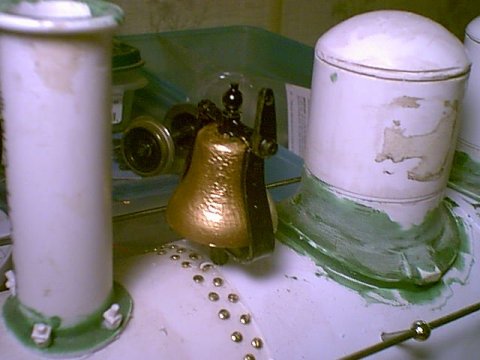
Fig 39 |
| From this point on in
the construction progress its mainly details, details, details which is
actually somthing I enjoy immensly. i tend to work on detailing in
sub assemblies to be applied to the locomotive as I go along. Theres
nothing very technical about how I fabricate the various items, but a good
working knowledge ofthe various appliances that are on a steam locomotive,
and how their associated plumbing is arranged is a MUST! Sure the
plumbing looks complicated, but by taking it one system at a time, just
like the real shop crews did its quite manageable.
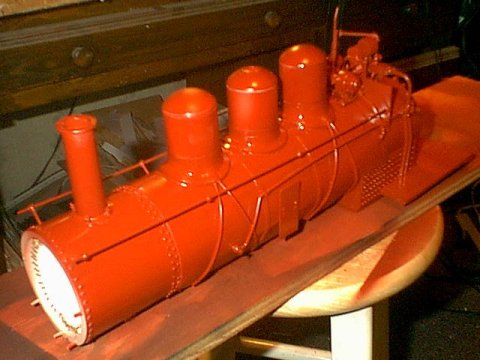
The first assembly done was the airbrake reservoir and radiator that cools the compressed air as it comes from the compressor on the other side of the boiler. Figure 40 The tank itself is a section of PVC waterpipe with a plumbing cap on each end with a .001 styrene wrapper applied to it. The radiator and plumbing fittings are made from various sizes of styrene rod cut and bent to shape |
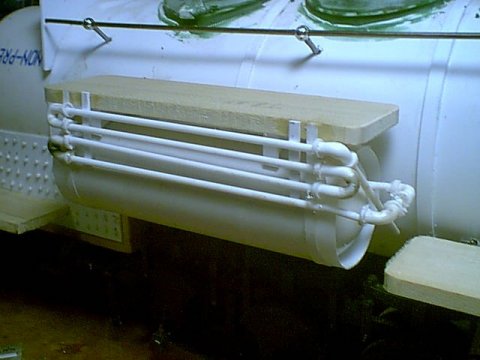
Fig 40 |
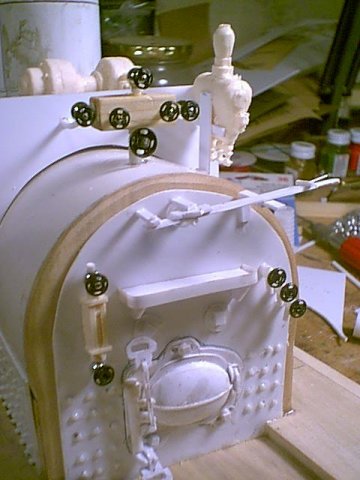
Fig 41 |
Some people seem to find detailing
a dauting task, spending more on the little bits than they did for the
base locomotive in the first place! For me its a fairly simply, zen
like operations primarily what I call a study in shapes. Consider
the valve handles in Figure 41. These are dress snaps
availible anywhere that fabic supplies are found, and they come in various
sizes just like real valve handles. Many things can be fabricated
from some scrap styrene, like the throttle on the back head, mainly just
a few strips of styrene assembled to look like a throttle. Just figure
out what shapes compose the throttle, cut them out and assemble!
Its really easier to do than it is to talk about.
Even something as intricate as the clamshell firebox door and air actualting lever on it was built up one piece at a time from various scrap bits, I'm not above using a bit of wood from time to time to make what I need. Can ya beleive I actually had somone take me to task for using a wooden block for the turrent and and the flat sheet of wood fo the rear of the boiler when I showed them this picture? Since Lubricators and water glasses are things found on on all steam locomotives, I made masters of each of these appliances and invested some RTV rubber in making a mold, since these dtails would tend to be the same in all locomotives. The generator just forward ofthe cab wall is also a resin casting. |
| After all the detail assemblies
were built and applied, The boiler moved into the paitnshop where it recieved
a primer coat. Figure 42 After being allowed to dry thoroughly the
whole assembly was painted with gloss black spraypaint then the little
details were brush painted with gold for the barss bits and the valve handles
brought out with red. Figure 43 Its really a shame that this
is mostly hidden once the cab is in place.
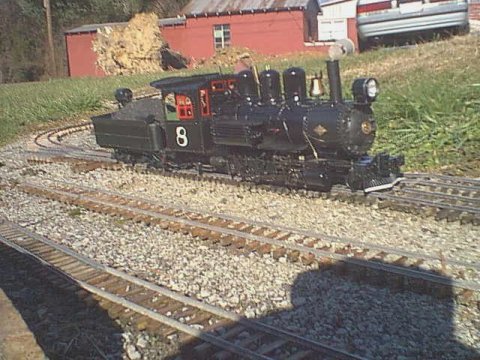
Now for the finishing touches, the cab windows were tricked out in red, and the road number properly hand stenciled to her cab sides. All thats left was to hook up a battery and take her fer a test drive! Figure 44 Unfortunately, not everything
goes according to plan. After much fiddling and adjusting, I never
could get the trailing truck to to track reliably, it would derail for
no apparent rhyme or reason. After much blood sweat and cursing I
fianlly abandoned it, making No8 a 2-8-0 Consolidation after all.
Even at that shes' a good looking locomotive and a welcome addition to
the fleet. Most days will find her holding down mail train
and passenger runs, with the odd pinch hitting on the freights and mixed
trains.
|
|
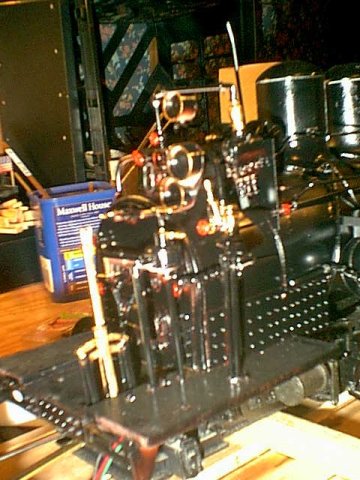
Fig 43 |
 |