


Photos by Harry Wong and Chris Palomarez
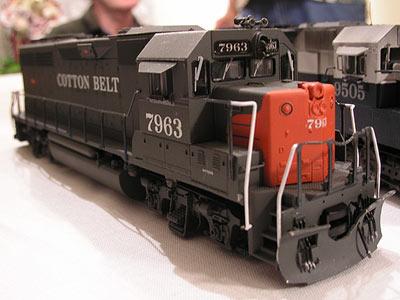
The Cotton Belt GP40R started out as an out of the box Atlas GP40. Most of the work went into the battery boxes and fuel tank. The fuel tank was always a pet peave of mine with the Atlas GP40 that they made the fuel tank look so shallow, I trimmed and filed the ears down and filled in the holes that were now revealed between the frame and the tank. I didn't do any of the fancy plumbing and traction motor cables since I lacked good photos of the prototype. Having the tank look better was a big step for this model.
The Battery Boxes were fabricated from several Cannon and Co. resources. I used the dash-2 line sub-base parts and grafted on the SP split battery box doors removing 2 of the horizontal ribs. The prototype photos I've seen have flat split battery box doors. The big doors next to the nose in front of the cab were pieced togother from three different C&Co. doors. Harry Wong described a technique he learned from Paul Ellis with the luevers. The trick was to pick up the Detail Associates louvers for a GP9 package, sand the back down the back so you could see light through them easily, trim them in half width, and glue them onto the side of the door. After all that work, it cast a dark shadow on doing any more GRIP rebuilds. The louvers were the easy part. Building the big door was harder and much more stressful trying to get everything cut accurately in such a small surface area.
The Cab is stock believe it or not. I was planning on using a Cannon Cab but as I was trying out a proof of concept on stretching the "WannaBe" engineer window. As I progressed I was was more pleased then I originally hoped for with the modification on the stock cab so I just went with it. The hardest part, and it wasn't that hard surprisingly, was getting the weather stripping around the cab window to be consistent after the window got stretched. I cut the opening a little wider then I needed and use .010 x .030 strip styrene and glued it into the opening, curving it around the corners. After the glue dried I sanded any rough spots and used a little Gunze Mr. Surfacer to blend it all together. Pretty soon we'll have parts that duplicate this straight out of the bag so I won't be needing to do this modification again.
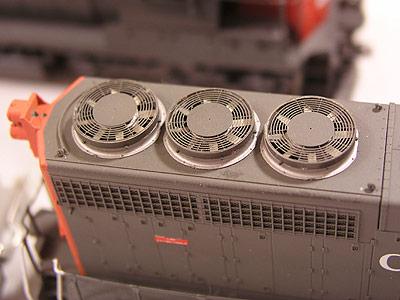
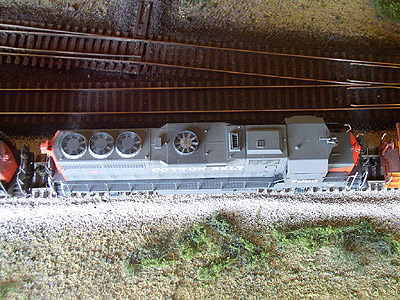
As an after thought, I decided to redo the entire roofline with Cannon & Co. parts. The stock inertial and exhaust stack just didn't do it for me and prefered the finer looking Cannon parts. Systematically, and just in time, Cannon released his fans and totally changed my mind about sticking with the stock fans. This was a blessing and it totally completed the roof line.


