


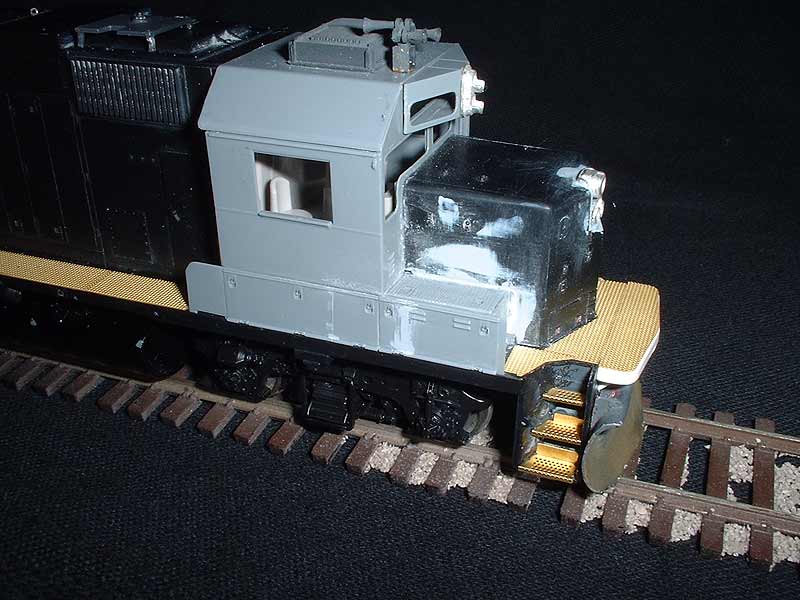
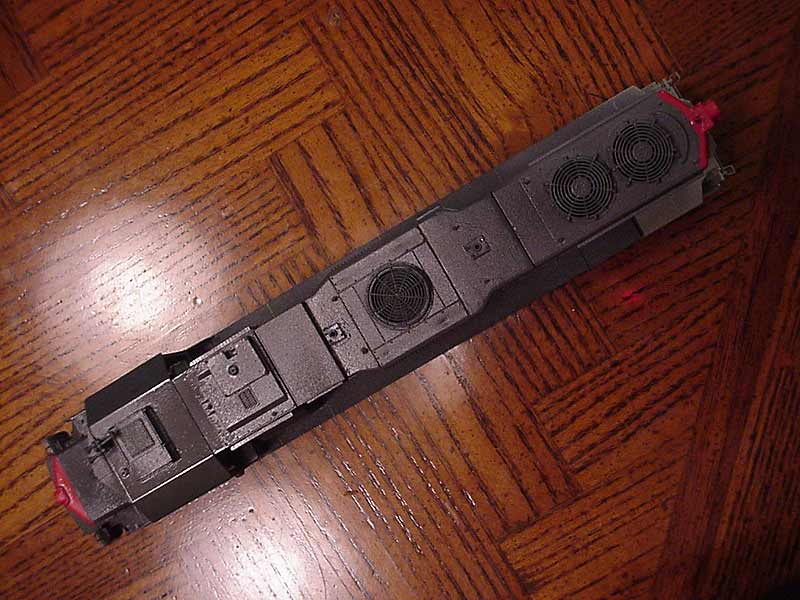
These are just some preliminary shots to show progress on the latest of my projects, 4835.
Please note this model isn't even close to being ready for paint yet. Allot of progress has been made since these preliminary shots. Since then I added the SP style, 4 hole, jacking pads, filled and sanded the louvers on the cab (SP GP38-2s Had electric heaters), Reworked the rear pilot, added whip antenna in front of the AC next to the horn, finished general grab iron and lift ring details, and much more to come!
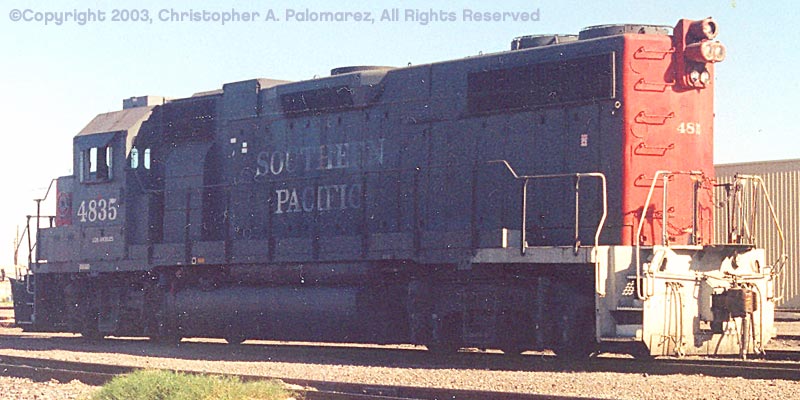
Here's a Prototype photo for reference. Note that this unit doesn't have the rebuilt 4 stack arrangement at the same time the full gyra-light packages. I'm positive that it got rebuilt the same time it lost it's lights.
3/26/02 Model Photos include:
Brakeman Side and,
Engineer Side of the cab.
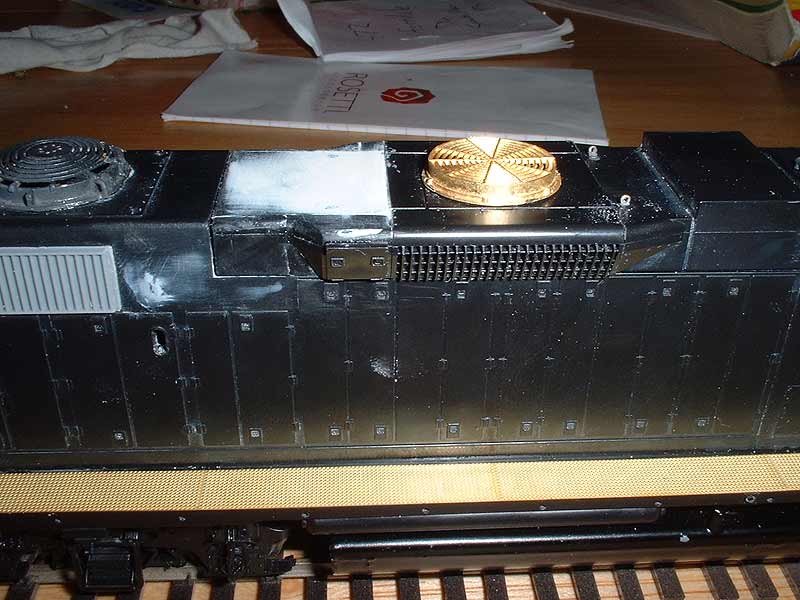
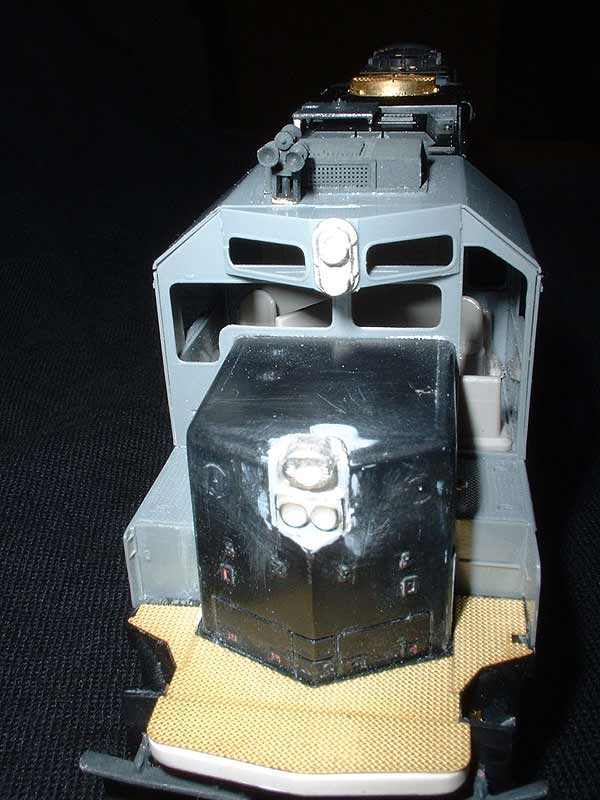
The Door on the Dynamic Brake, Engineer Side of the long hood. I used the rear section of a GP50 Dynamic Brake.
Dynamic Brake and Blower Duct w/ Access Door. Note the blank section behind the grilles on the Dynamic Brake, use some of the extra left over stuff from the Front Section of the GP50 Dynamo.
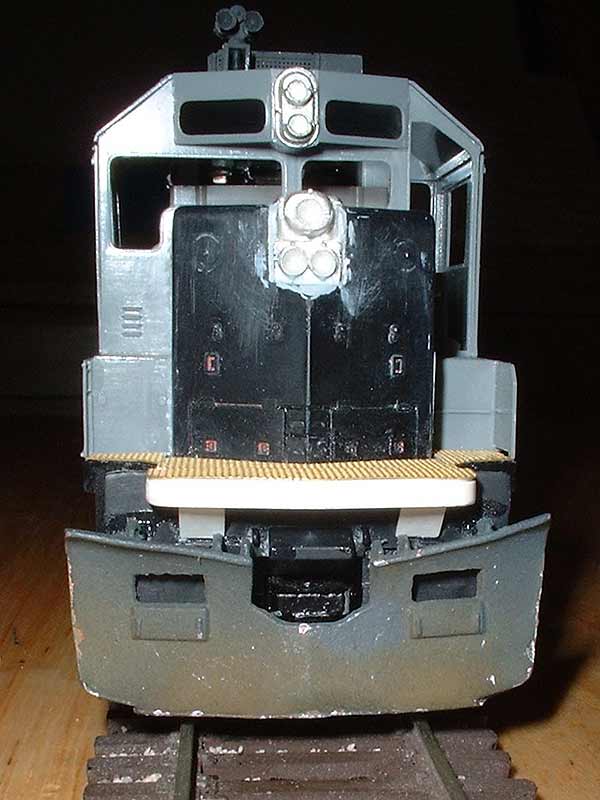
Front Pilot including plow, albeit the wrong plow. It needs Details West #209 instead. Sans MU hoses, lifting slots, and coupler lift bar at this point.
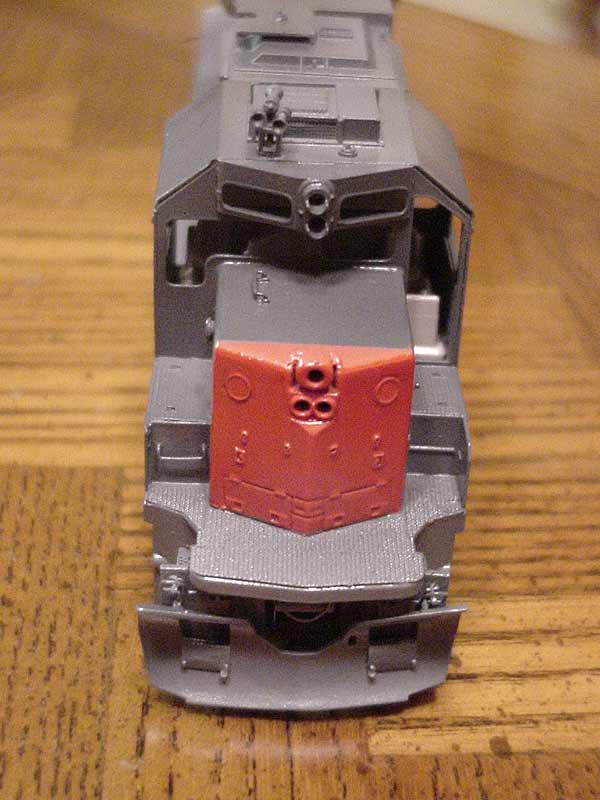
Nose detail with the Cannon and Co. Safety Tread #2001.
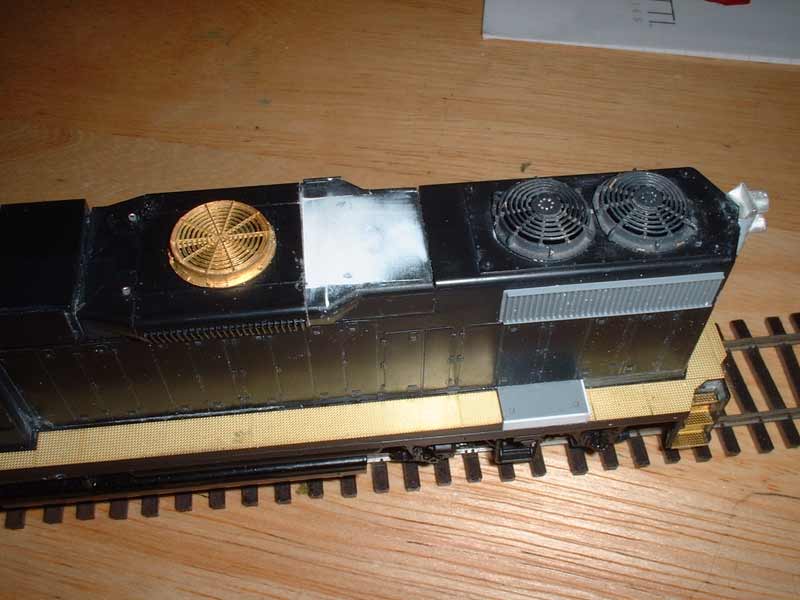
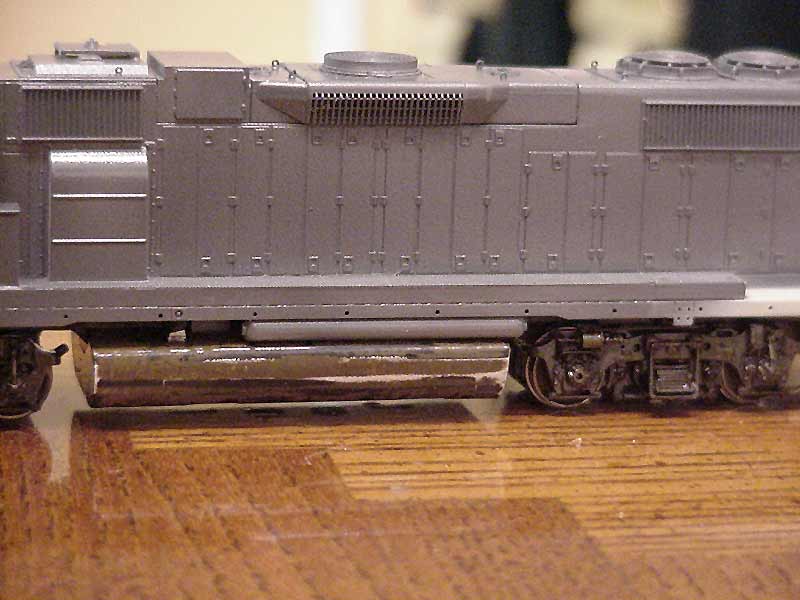
Radiator Grilles Cannon and Co. #1401 to match the prototype. I noticed after the fact the Athearn GP38-2 Inertial Grilles are wrong for the SP units, and need to be replaced with Cannon #1301.
Another gotcha I realized too late was that the SP order, since it was in production during and after 1979, all noses are 88" Cannon #1104 and not the 81" that is stock on the Athearn Model. The method demonstrated on this model, will never be repeated on future units (4815, 4802, 4841) by massaging an Athearn Nose to fit Cannon Battery Boxes and new Brake Wheel nose details. It just doesn't warrant the time to save the 3 dollars. It's really easier and yields better results to use the Cannon parts homogeneously. I would also replace the High hood end with Cannon #1154. Sanding and filling the rear number boards is a risky thing, by putting the file too close to the bolt details on the grab irons.
4/23/02 Model Photos include:
Brakeman Side and,
Engineer Side of the cab.
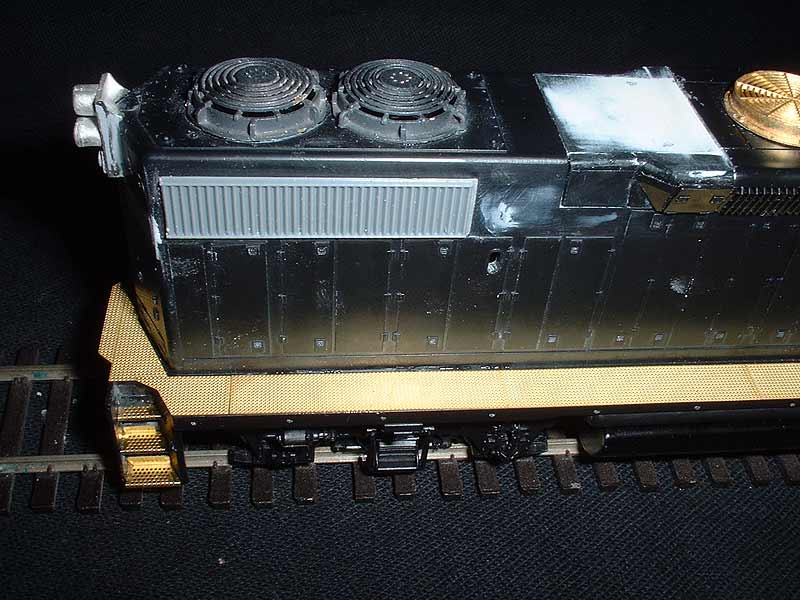
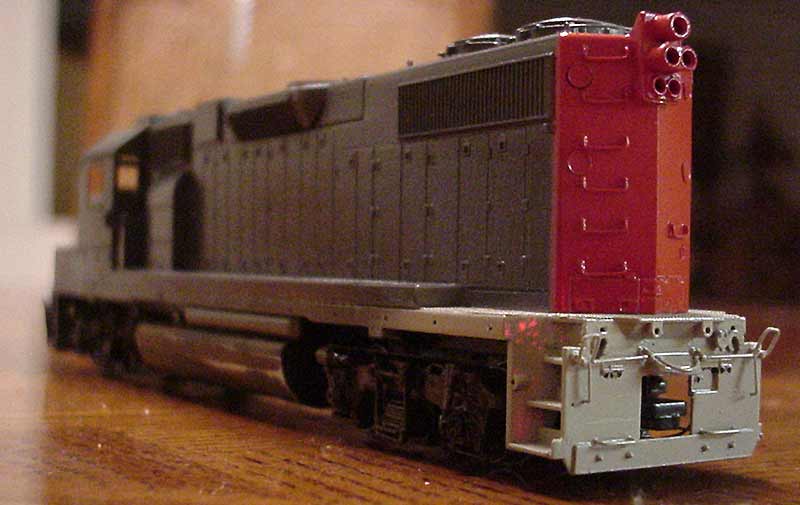
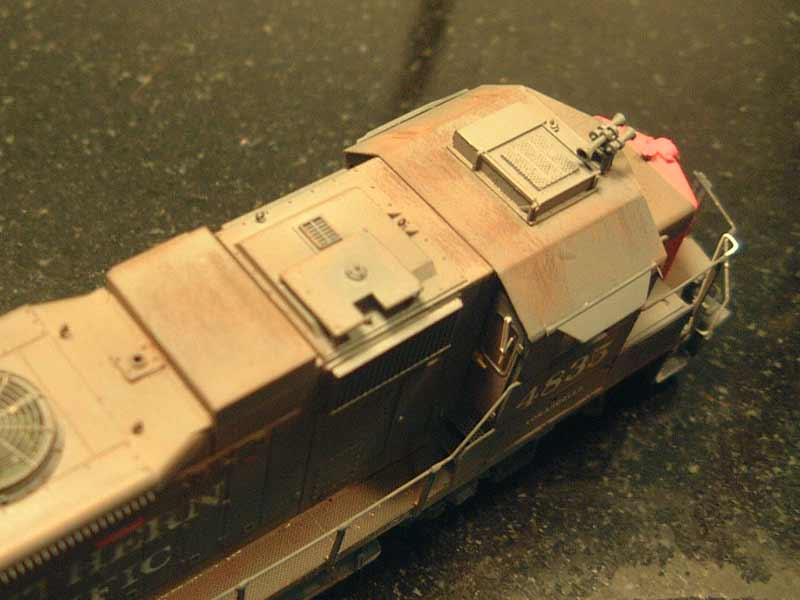
The de-turbo stacks on the Dynamic Brake. These were scratch built as there were no suitable details to simulate SP's.
Dynamic Brake and Blower Duct. I used drops of Gunze Sangyo Mr. Surfacer 1000 over the Athearn seam between the floor board and the blower duct. Once dry I sanded the drops smooth to duplicate the spot weld effect. Simple and effective.
Front Pilot including plow, sans MU hoses at this point.
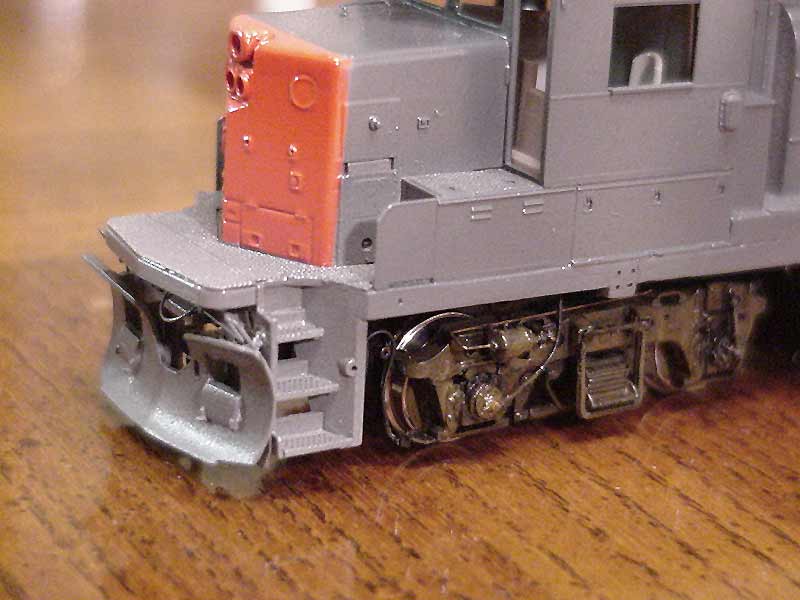
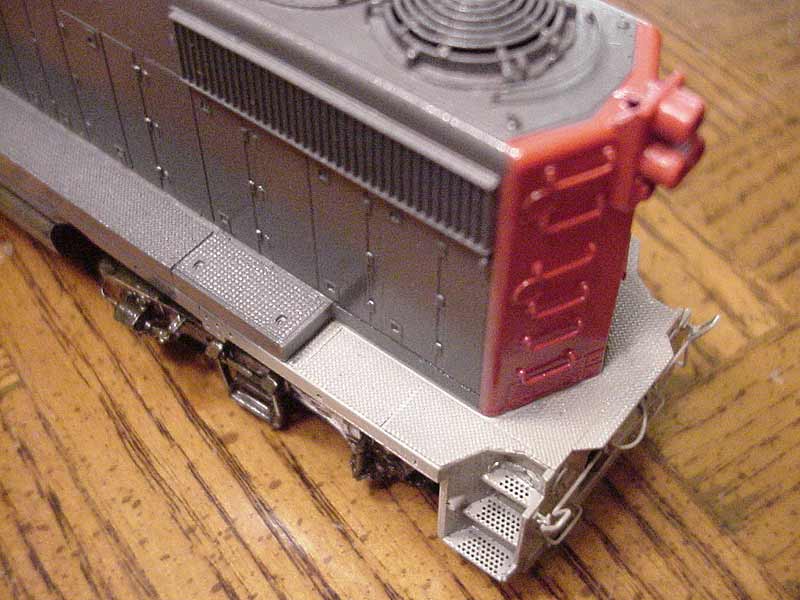
Rear Pilot detail with again sans MU and air brake hoses..
Rear Pilot Overhead To match the patch job on the rear pilot of the Prototype, I painted the rear pilot Antique white
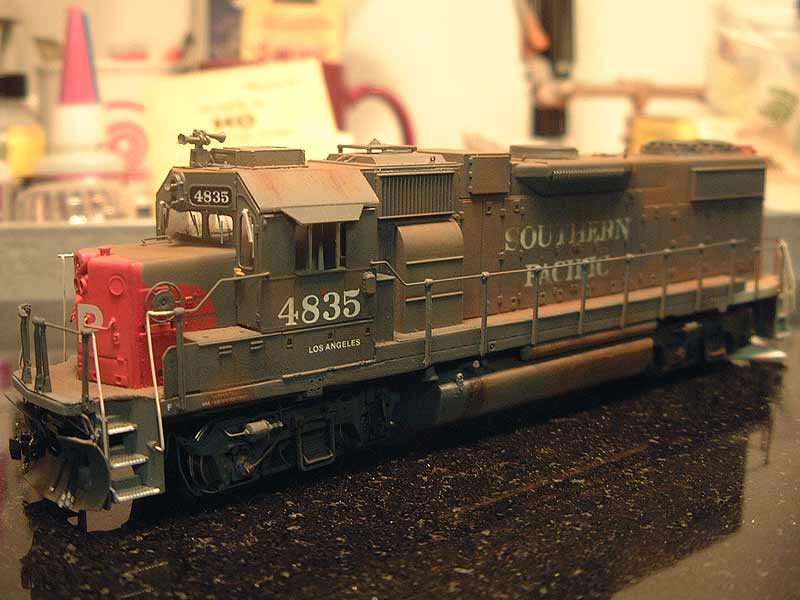
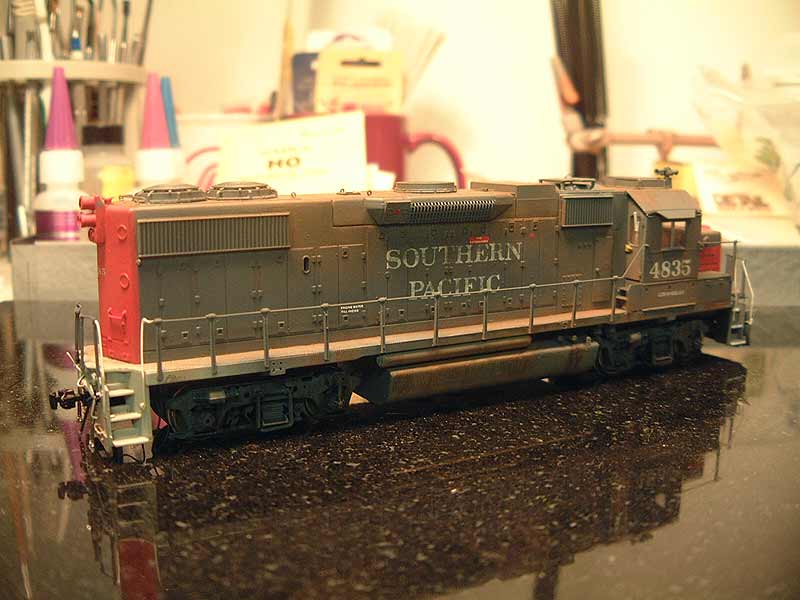
5/12/02 Model Photos (by Harry Wong) include:
Engineer Side before bulbs were inserted,
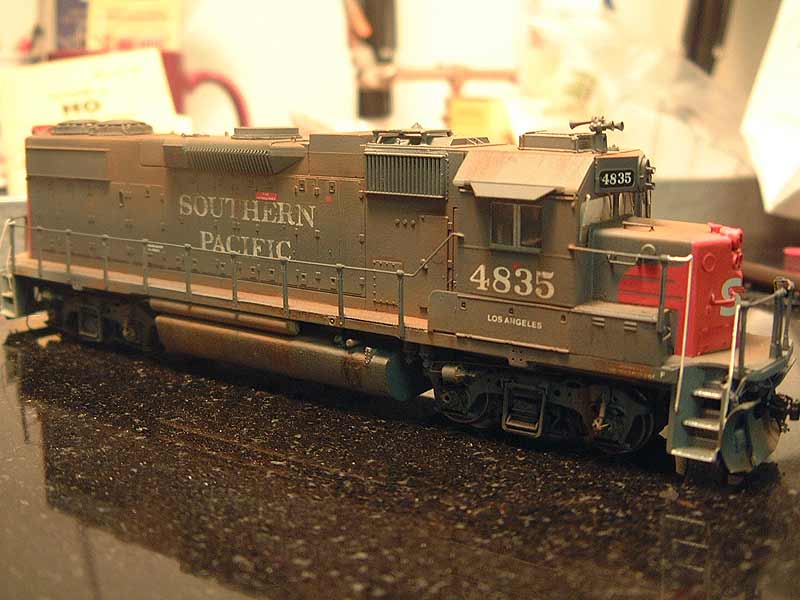
Brakeman's Side of the unit.
The Primered Rear Pilot is in view to match the Prototype as it existed in Phoenix. On the long hood, under the dynamics, decals were scrubbed with a pink pet eraser to simulate the ripping and fading of the lettering. The decal was protected with MicroScale Liquid Decal Film to make sure it wouldn't disintegrate in the water. I plan to do this to future units that have seen better days. I weathered the roof with chalks, and colored pencils to simulate the rust streaks.
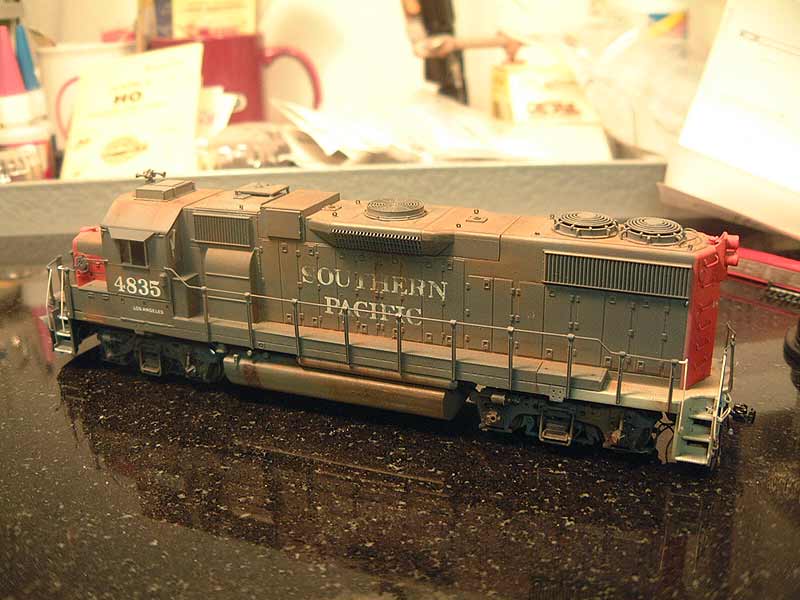
Completed Model Photos (by Harry Wong) Hard at Work:
 |
 |


