NOTE: The following documents describe a different method of producing a larger skip hoist boom from what I actually did. Since I had an extra Walthers Blast Furnace kit lying around, I figured I could cannibalize its parts. [OUCH -- I still kick myself for doing that!] Assuming that most people will not desire to buy an extra kit for parts, I am presenting the more sensible approach: How to build the missing pieces yourself.
BTW, at this point I will focus only on enlarging the "vanilla" skip hoist boom, even though I dressed mine heavily with details. I want to keep this as simple as possible.
Once you have formed a 191/2-inch sheet, you will extend its length by glueing some 2-inch sections of .125"x.125" strip styrene to the end designated as the top. Then, laying a few lengths of .040"x.125" strip styrene sequentially on their narrow edges, you will split the base into two sides from top to bottom (see image below, left). Now you have two rectangular openings where the skip buckets are tipped to empty their loads (below, right).
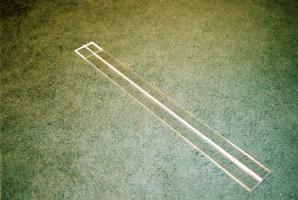
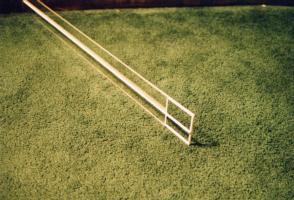
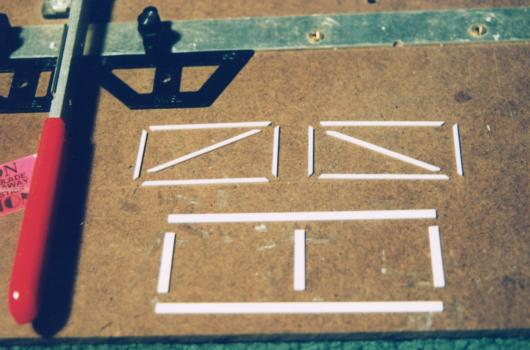
The two sets of strip styrene mentioned above will provide the raw material to build the missing side frame panels.
[Click here to view detailed instructions for cutting and assembling the side frame panels.]
A set of freshly-cut component pieces to make two of the four required panels is pictured below:
Before glueing the top section onto each inner frame, you should make sure that it fits into its corresponding outer frame. The tops of the miter-cut vertical pieces should line up exactly with the tops of the outer-frame verticals.
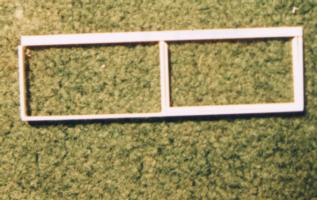
As shown, you can test the fit by placing the top member of the outer frame in its intended position. If the inner verticals are too tall, just trim them with an Xacto blade until they fit.
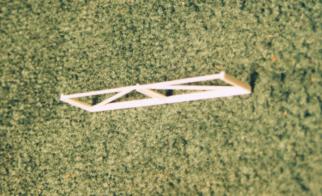
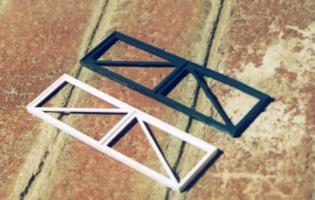
Attach the top horizontal piece of the outer frame and you should now have an object that resembles a pair of skip hoist side frame panels from the Walthers kit (see image below, left). This can be used interchangeably with the kit panels (below, right); once the boom has been primed and painted the difference will be very hard to notice.
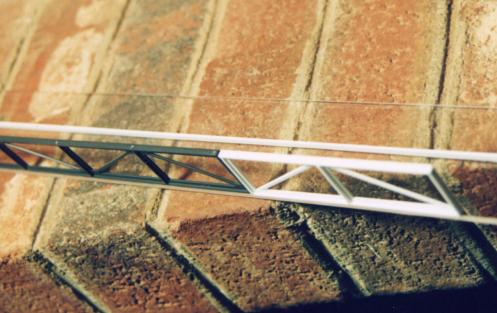
Now repeat the above steps for the other side frame, and you'll have an enlarged skip hoist awaiting your own further personal detailing!
-KJL 04/19/02