5 March 2009 Meeting Activities
March Clinic #1: Modeling Water with Don Francis
(Click on Image for Enlargements* Photos by Gary) |
|---|
Don used 1/2" thick foam on 1" foam with basic shapes for a starting platform,
cut with a back saw with coarse teeth. The area is typical of western Nebraska
& eastern Colorado. It was painted a latex brown, sprayed and ground foam added. |
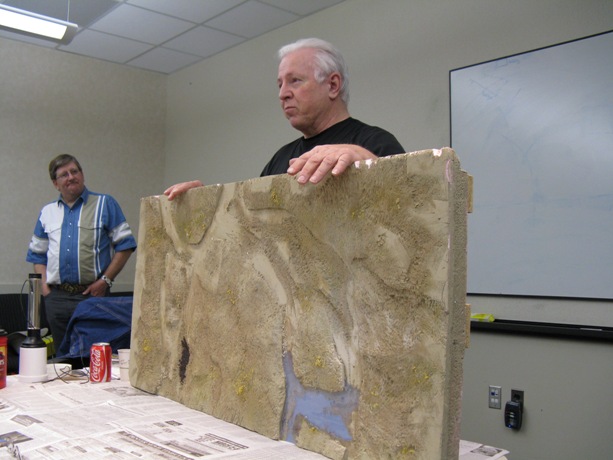
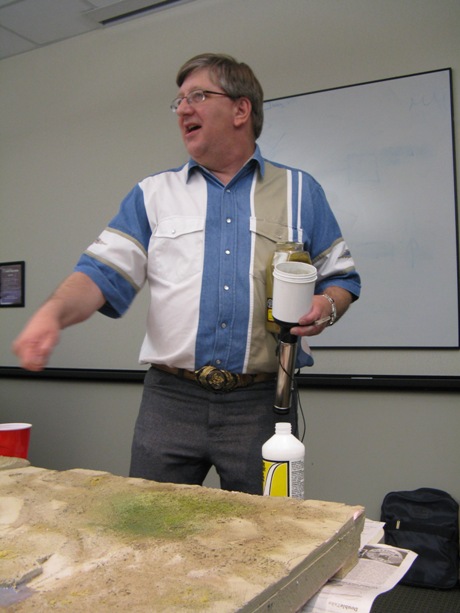
Don Francis |
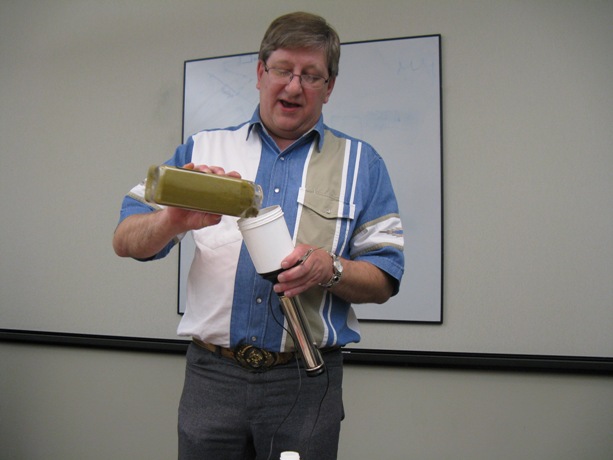
The poured blue water used about 1 1/2 oz of resins and blue latex paint stirred
into the resin - just a little blue, 6-7 drops, to give the water depth. Envirotex
Lite results in a high gloss finish. Some creep and wicking occurs. A gloss medium
can be applied to the water and rocks. Build up the Envirotex in layers (~1/8"). |
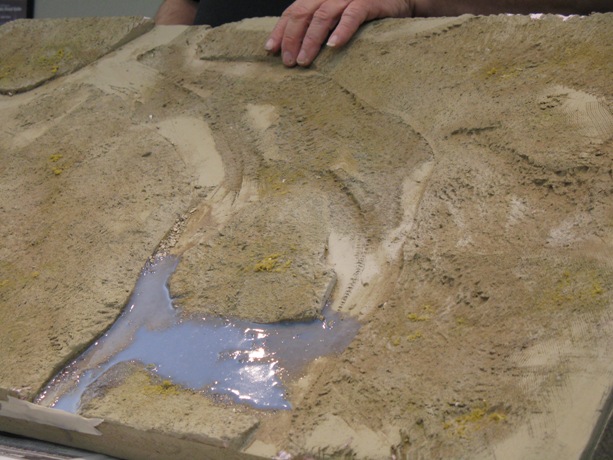
Blue Lake |
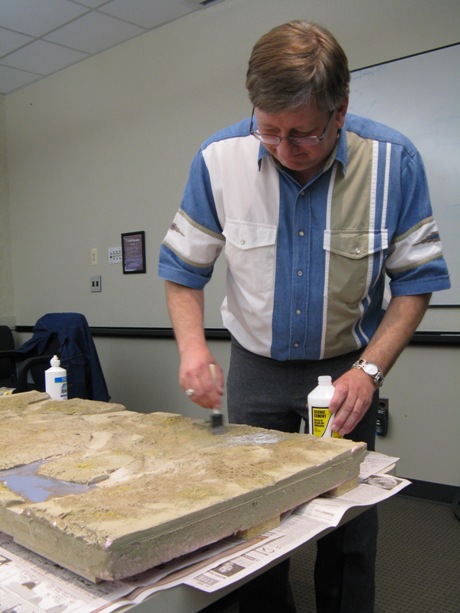
For the water base, the ground was painted brown, with flat black in middle for a lot
deeper. Don't paint all the way to shore. The darker the more depth. Envirotex will
expand more for temperature changes as compared to surrounding scenery, so use care.
Mix equal parts of resins Part I and Part II. Stir well, don't worry about bubbles.
Approximately 1/2 hour working time until tacky. Throw away mixing cups and stirrers
they cannot be reused. Some reused mixing cups resulted in water staying tacky 2 yrs. |

Deep Lake |
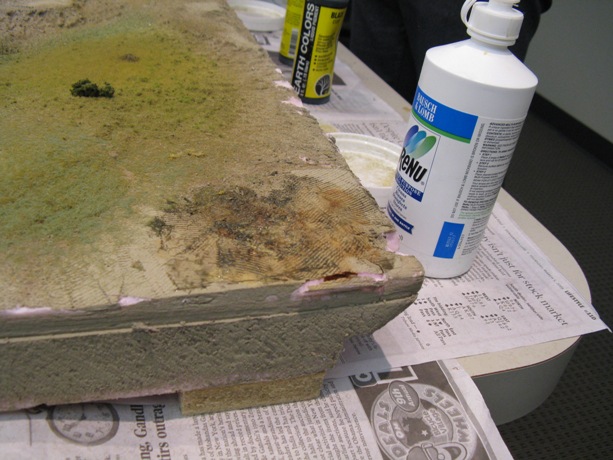
For cleanup, use industrial soap (lava). Make sure area is well sealed, envirotex
will drip through very tiny openings. There is very little odor with this brand. Use
a small propane torch to remove the bubbles in the resin by applying heat, holding 6"
away, or can burn up a lot of layout. The bubbles are removed when mixed with carbon
dioxide (CO2) from the flame, or, by using a straw, you can blow on the "water" to
remove the bubbles. Remember to blow!! |
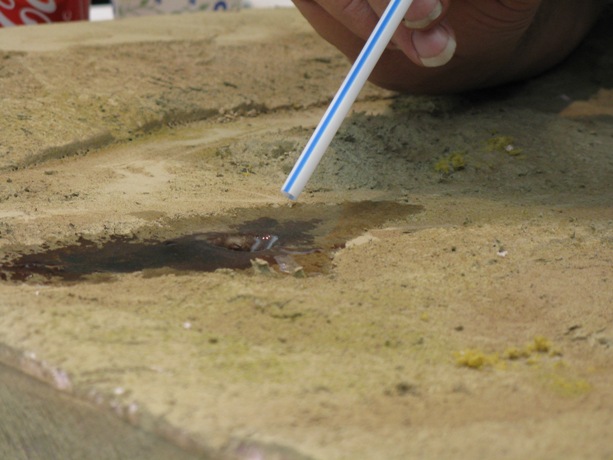
Adding CO2 |
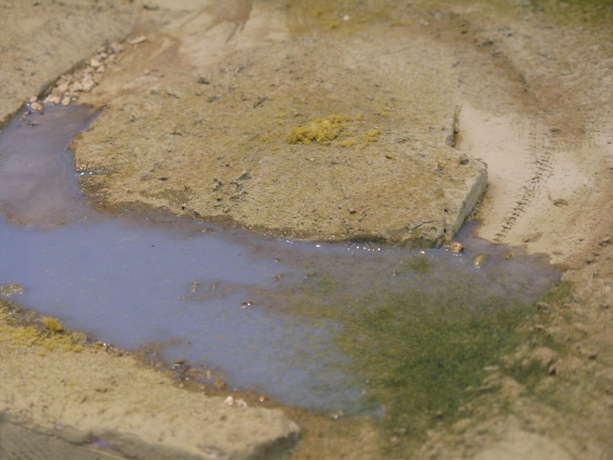
The edges will bead and be rounded. Use straw to breathe on to flow out the "water"
by spreading it out, which will clear it of bubbles and smooth it out. In the photo,
you can see the "hole" created by blowing the resin around. Use different shades of
brown, going lighter towards shore. Always pour resins in multiple layers. |

Making an impression |
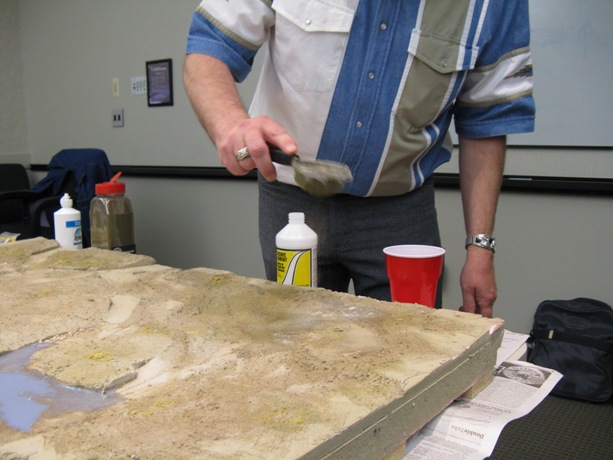
Pour in first layers, add people/boats, then additional layer(s). Add color little
by little. Each layer with another drop of color will darken the water a bit,
starting with only a drop or two. The next layer will cover. Always pour small amounts
with 1/8" maximum, right on top of previous layer. |

Smoothing out the resin |
For ripples, dry brush with white paint. Envirotex designed to be flat. Use Woodland
Scenics or Art medium on top for ripples. Note: Torch does not speed drying time-only
removes bubbles. Drying time is approximately 2 hours. |
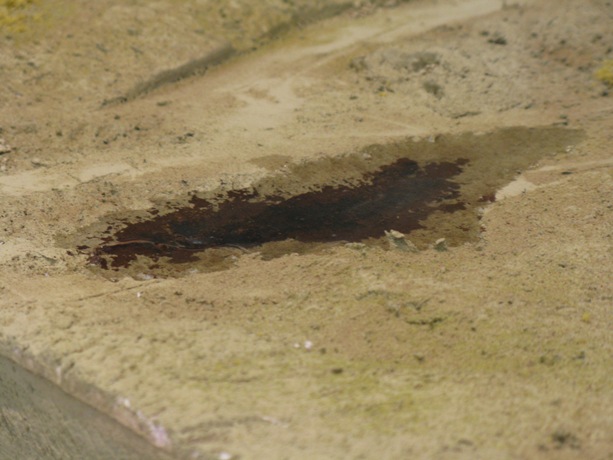
"Water" is totally clear
of bubbles. |
March Show & Tell: Diesels & Electrics
(Click on Image for Enlargements* Photos by Gary) |
|---|
 |
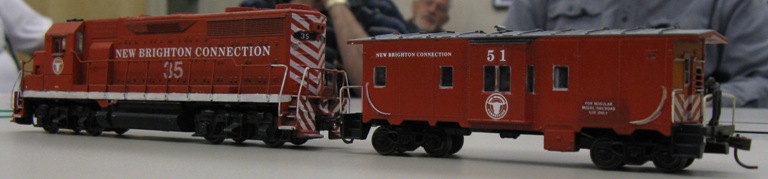 |
| Rich Flammini's HO Scale GP35, 1 of 2 in existence. New Brighton Connection from his old
club back in Minnesota. |
 |
 |
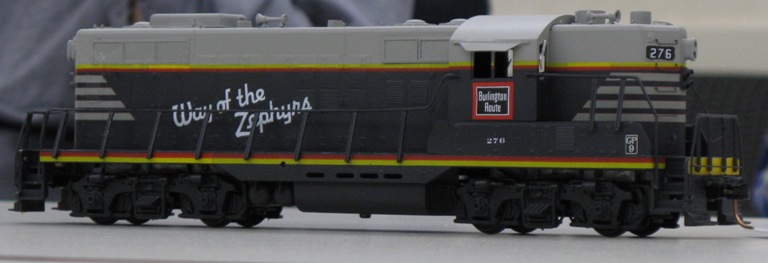
| Glenn's S Scale GP9. After market cab & heater. Originally undecorated. Painted and decaled,
including striping. American Models GP9: Burlington, Rock Island and Western Chicago. From Des Plaines Hobbies. |
 |
 |
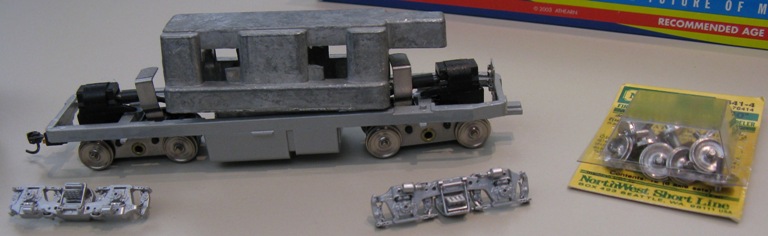 |
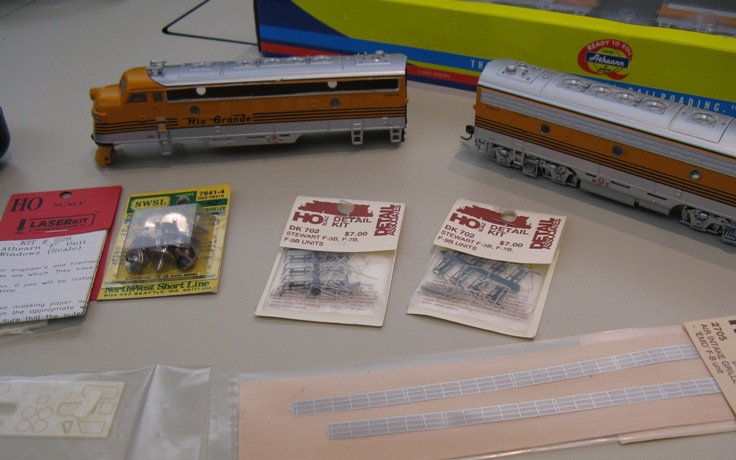
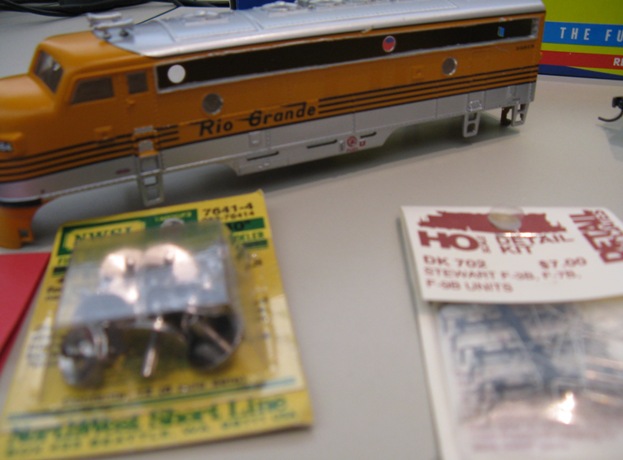
| Gary Myers' HO Scale F7 ABBA upgrade project. Two RTR Athearn F7AB pairs, to be upgraded with
new Detail Associate side screens, American Model Builders Window Kit (makes window openings smaller), Detail
Associates grab irons kit, and NWSL wheel kit for 40" wheels. |
 |
 |
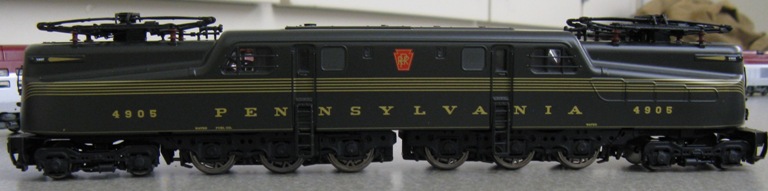
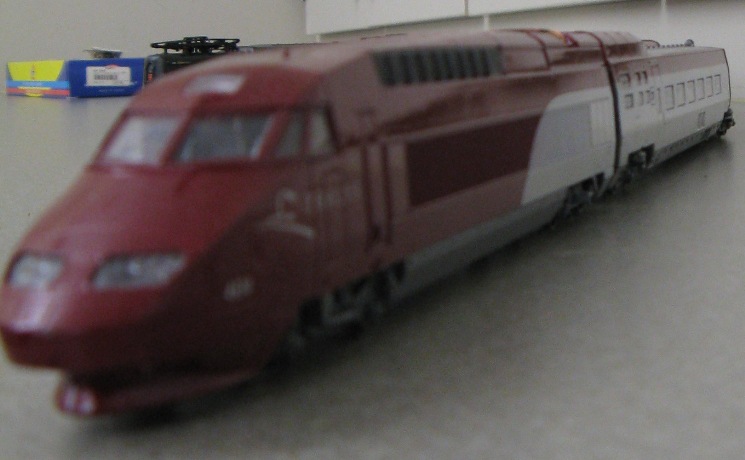
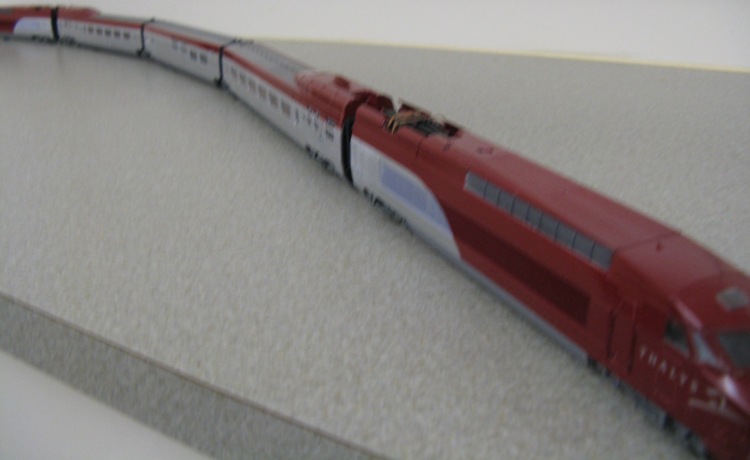
| Bill Johnson's HO Scale GG1 and Thalys Bullet Train. |
 |
 |
 |
March Clinic #2: Static Grass with Tom Frerichs
(Click on Image for Enlargements* Photos by Gary) |
|---|
Static grass is very uniform, but needs a ground foam foundation to 'stand' on,
applied with a diluted matte medium. Note that a plaster coat will soak up water.
Woodland scenic ground foams will be used to model spring in the Rockies. |
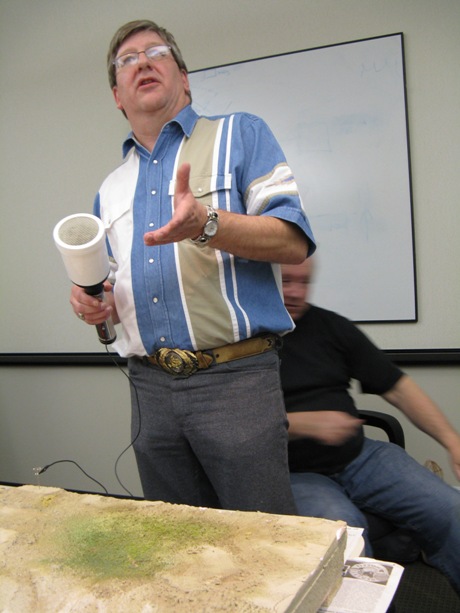
Tom Frerichs |
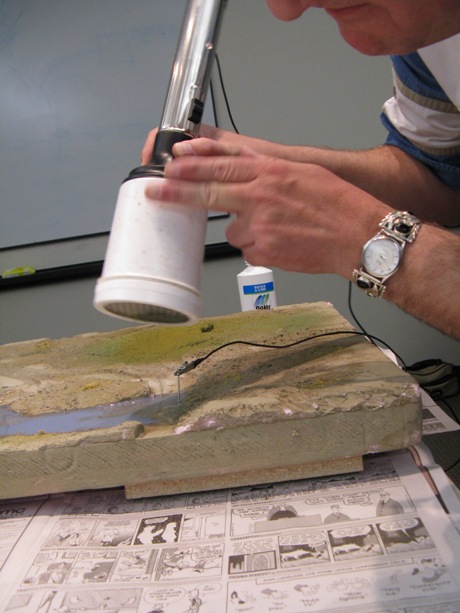
Matte can be applied with an airbrush, 5 psi, by misting overhead and letting it 'fall'
onto the ground (avoid spraying directly). In this case, without an airbrush, Tom
applies some woodlands scenic cement directly with a brush. |
applying matte medium |
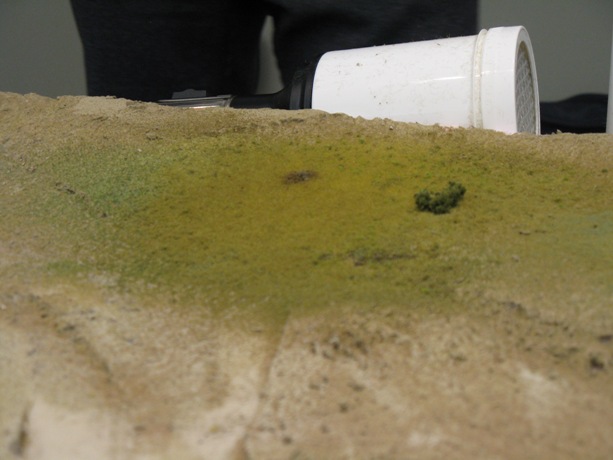
Here turf is applied by Tom by using a strainer. Adding fine turf at first, various
sizes are added. The coarser the material, less is added. Rule: The more coarse the
material, the less is used. Complete the area with ground foam before adding in the
static grass. |
sprinkling on ground foams |
Use Woodland Scenics Grass Flock, which are rayon fibers, for the static grass. Wind-
Hurst generator can be used to make static. Tom is using a NOCH static grass shaker,
which uses a new 9v battery (low current). |
filling grass into static maker |
A pin is inserted in the wet matte medium, with a wire alligator clipped to it and
connected to the static shaker. The shaker is shaken or tapped by hand, to let the
grass flock through the screen onto the wet ground foam. The static causes the fibers
to stand on end, and eventually 'glue'permanently as the matte medium dries. To apply
near buildings, wrap them first in a damp paper towel, or mask with cardboard. Here,
a plaster overcoat of the ground before scenicing helps distribute the charge well
when soaked in water. |
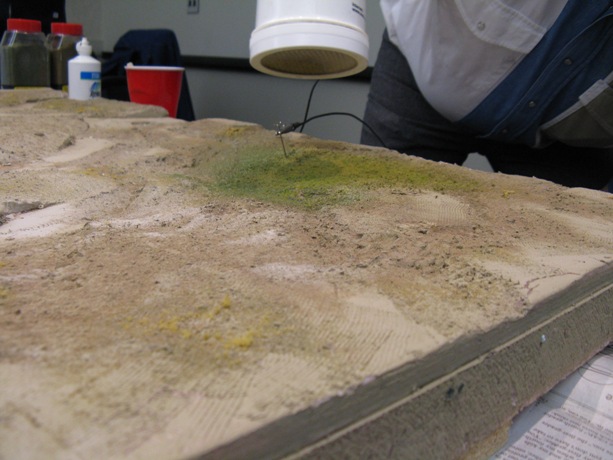
Making standing grass |
Scenery takes 3 elements: 1) Color - even zip (plaster & pigment) is the first piece.
2) Form - adding shapes with hills, castings, rock faces, etc. 3) Texture - adding dirt,
ground foams, then grasses give the 3 dimensional look to add depth. Use a cheap,
disposable camera to take pictures of ordinary scenery in natural lighting, to keep as
reference material. Textures: Dirt roads are not flat, add weeds, deadfalls, trash in
the city, bushes - all add 'texture'. |
terrain with texture |
Railroad rooms are usually dim places with uneven lighting. Since incandescant lights
generate so much heat, fluorescents are often used, but result in 'blue' light. The
room can be brightened by replacing some fluorescents with 'red' bulbs.
Tip: Contact solution bottles can be used for diluted glue/matte medium. |
Don tries to give
Tom a 'shoulder' check
into the kidneys |
Scenery layer order: base, ground, exposed rock, masonry, bridge abutments, dirt, foam,
grass, small weeds, larger weeds, bushes, disturbed ground (excavations, graves, gopher
holes. Details: longer grass along fences and signposts, middle of roads, shoulders.
Final ballasting should be applied after the scenery next to the track is done. Industrial
sidings should have grasses. |
Tom 'taps' the grass
through the screen |
Texture & color recedes from the viewer. Farther from view, color and texture is lighter
and bluer. Toward the horizon, you look through thicker atmosphere containing more
moisture, which creates a haze and fades colors at distance. Over 18" away from viewer,
reduce textures, less browns, less dark color, more cerilion blue, less yellows.
Hobby liquitex acrylics can be used in place of Woodland Scenics. |
Static grass
along shoreline |
Scenery paint colors: Titanium White, Mars Black (Black+White=Grays), Burnt Sienna,
Raw Sienna, Raw Umber, Burnt Umber, Yellow Ochre, Burnt Ochre.
Paints can be blended with water and other colors. Mist spray matte medium to seal.
Spray upwards & let it rain. The matte finish cuts down sheen- it flattens and seals. |

Yellow Ochre,
Burnt Sienna |
Lighter colors on top, yellow static grass atop greener static grass, to simulate
blossoming. Layer dark colors first (on bottom), -dark earth, then add grass (where
water gathers). Always work dark to light, and lighter further away. |
Burnt Umber &
Black added |
Attendees: 20
Jerry, Nate, Karl, Rich, Don, Tom F, Wayne, John G, Dick, Al, Bill, John K, Jim, Gary, Byron, Mike, Steve, Glenn, Tom L,
& Ernie
NEXT MEETING: April 2nd
Clinic: Signalling, with Stewart Jones.
Show & Tell Theme: Track Structures.
|


